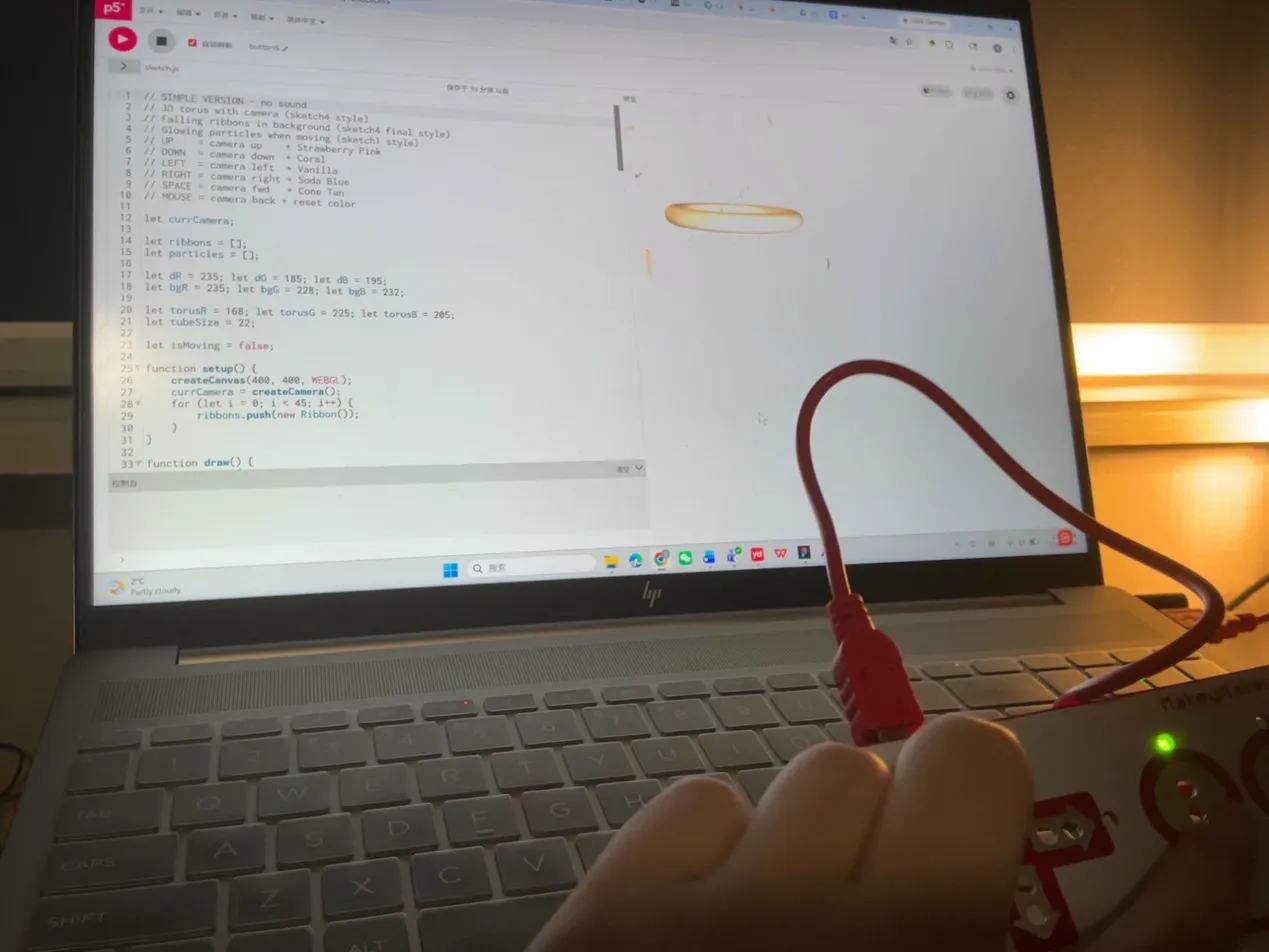
HYPERCORTISOLISM
2026    Design Portfolio

Module 3
Formstorming

Jiarui Yao / Sunny

Weekly Activity Template  ·  Physical Computing  ·  Makey Makey + p5.js  ·  Media Motion and the Body

PART 01
Project 3  ✦

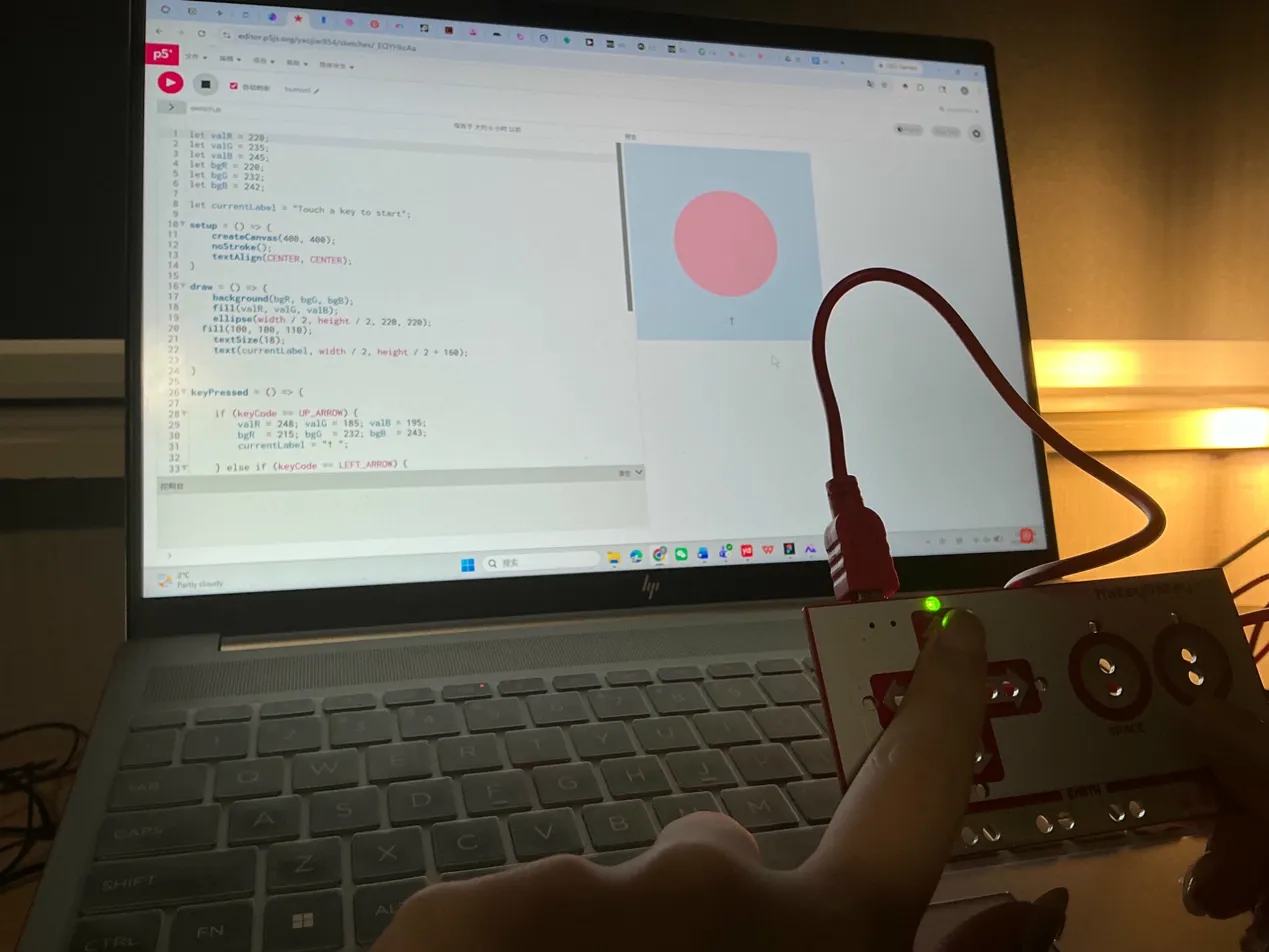
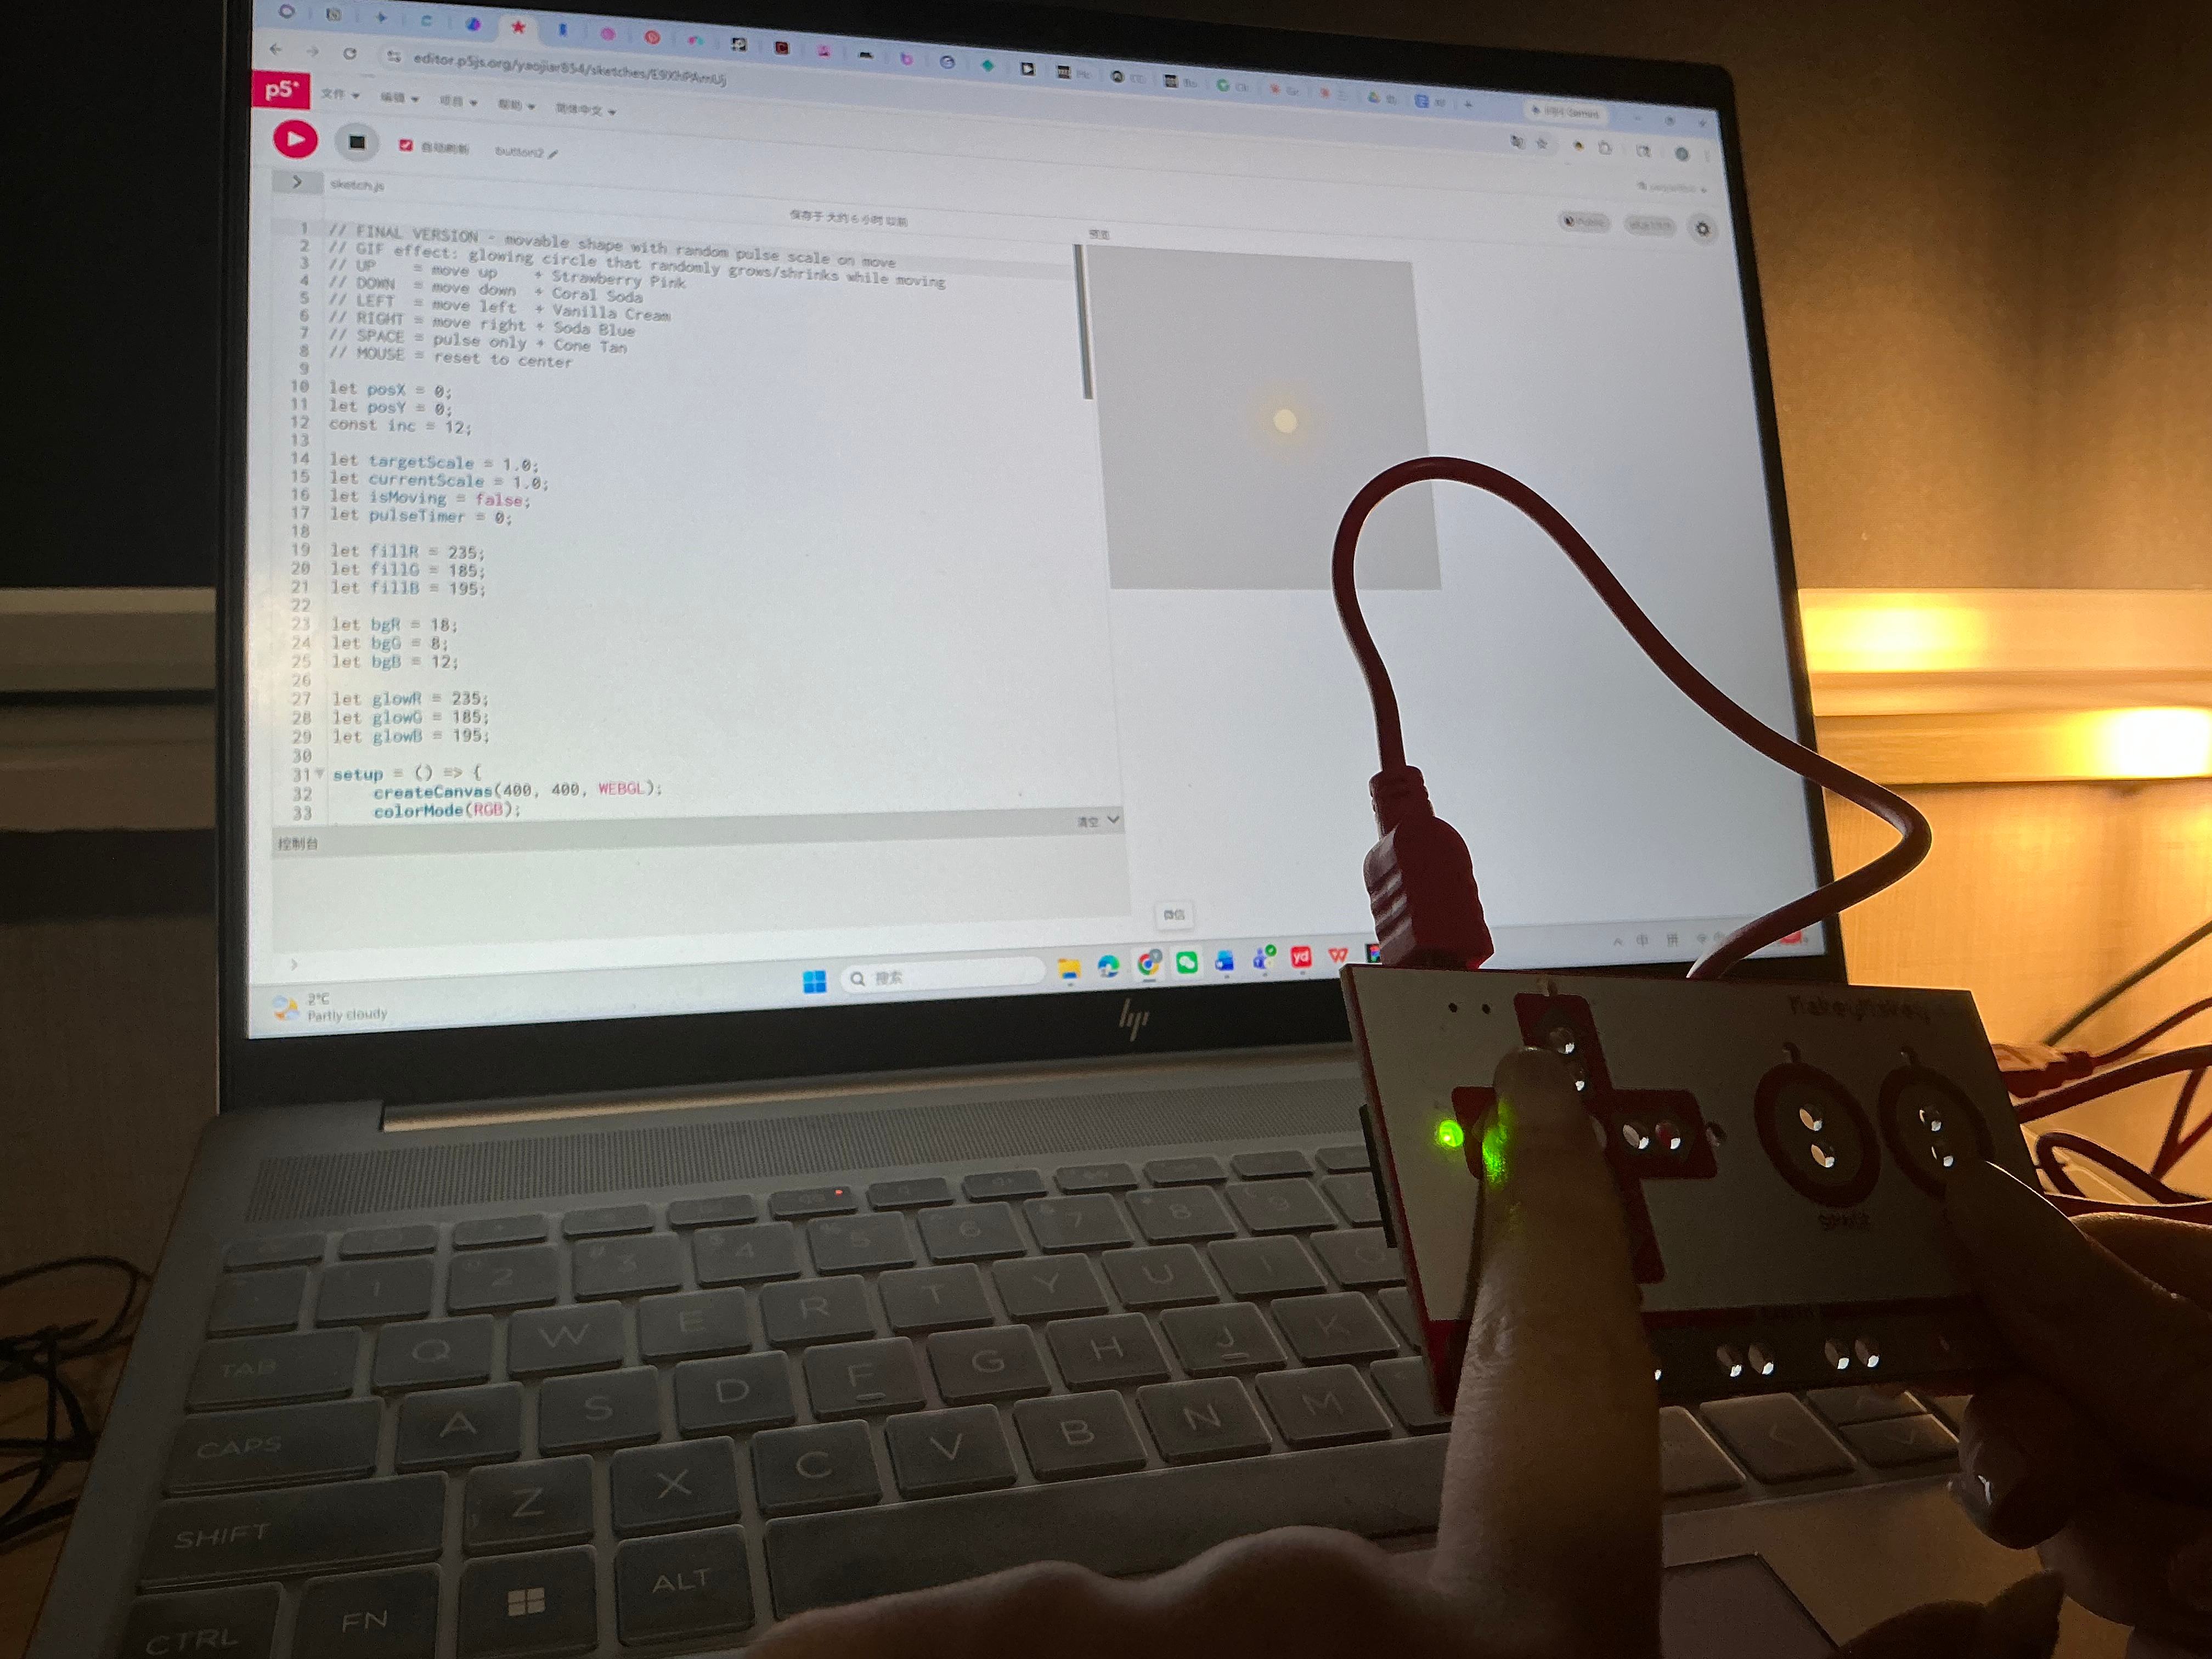
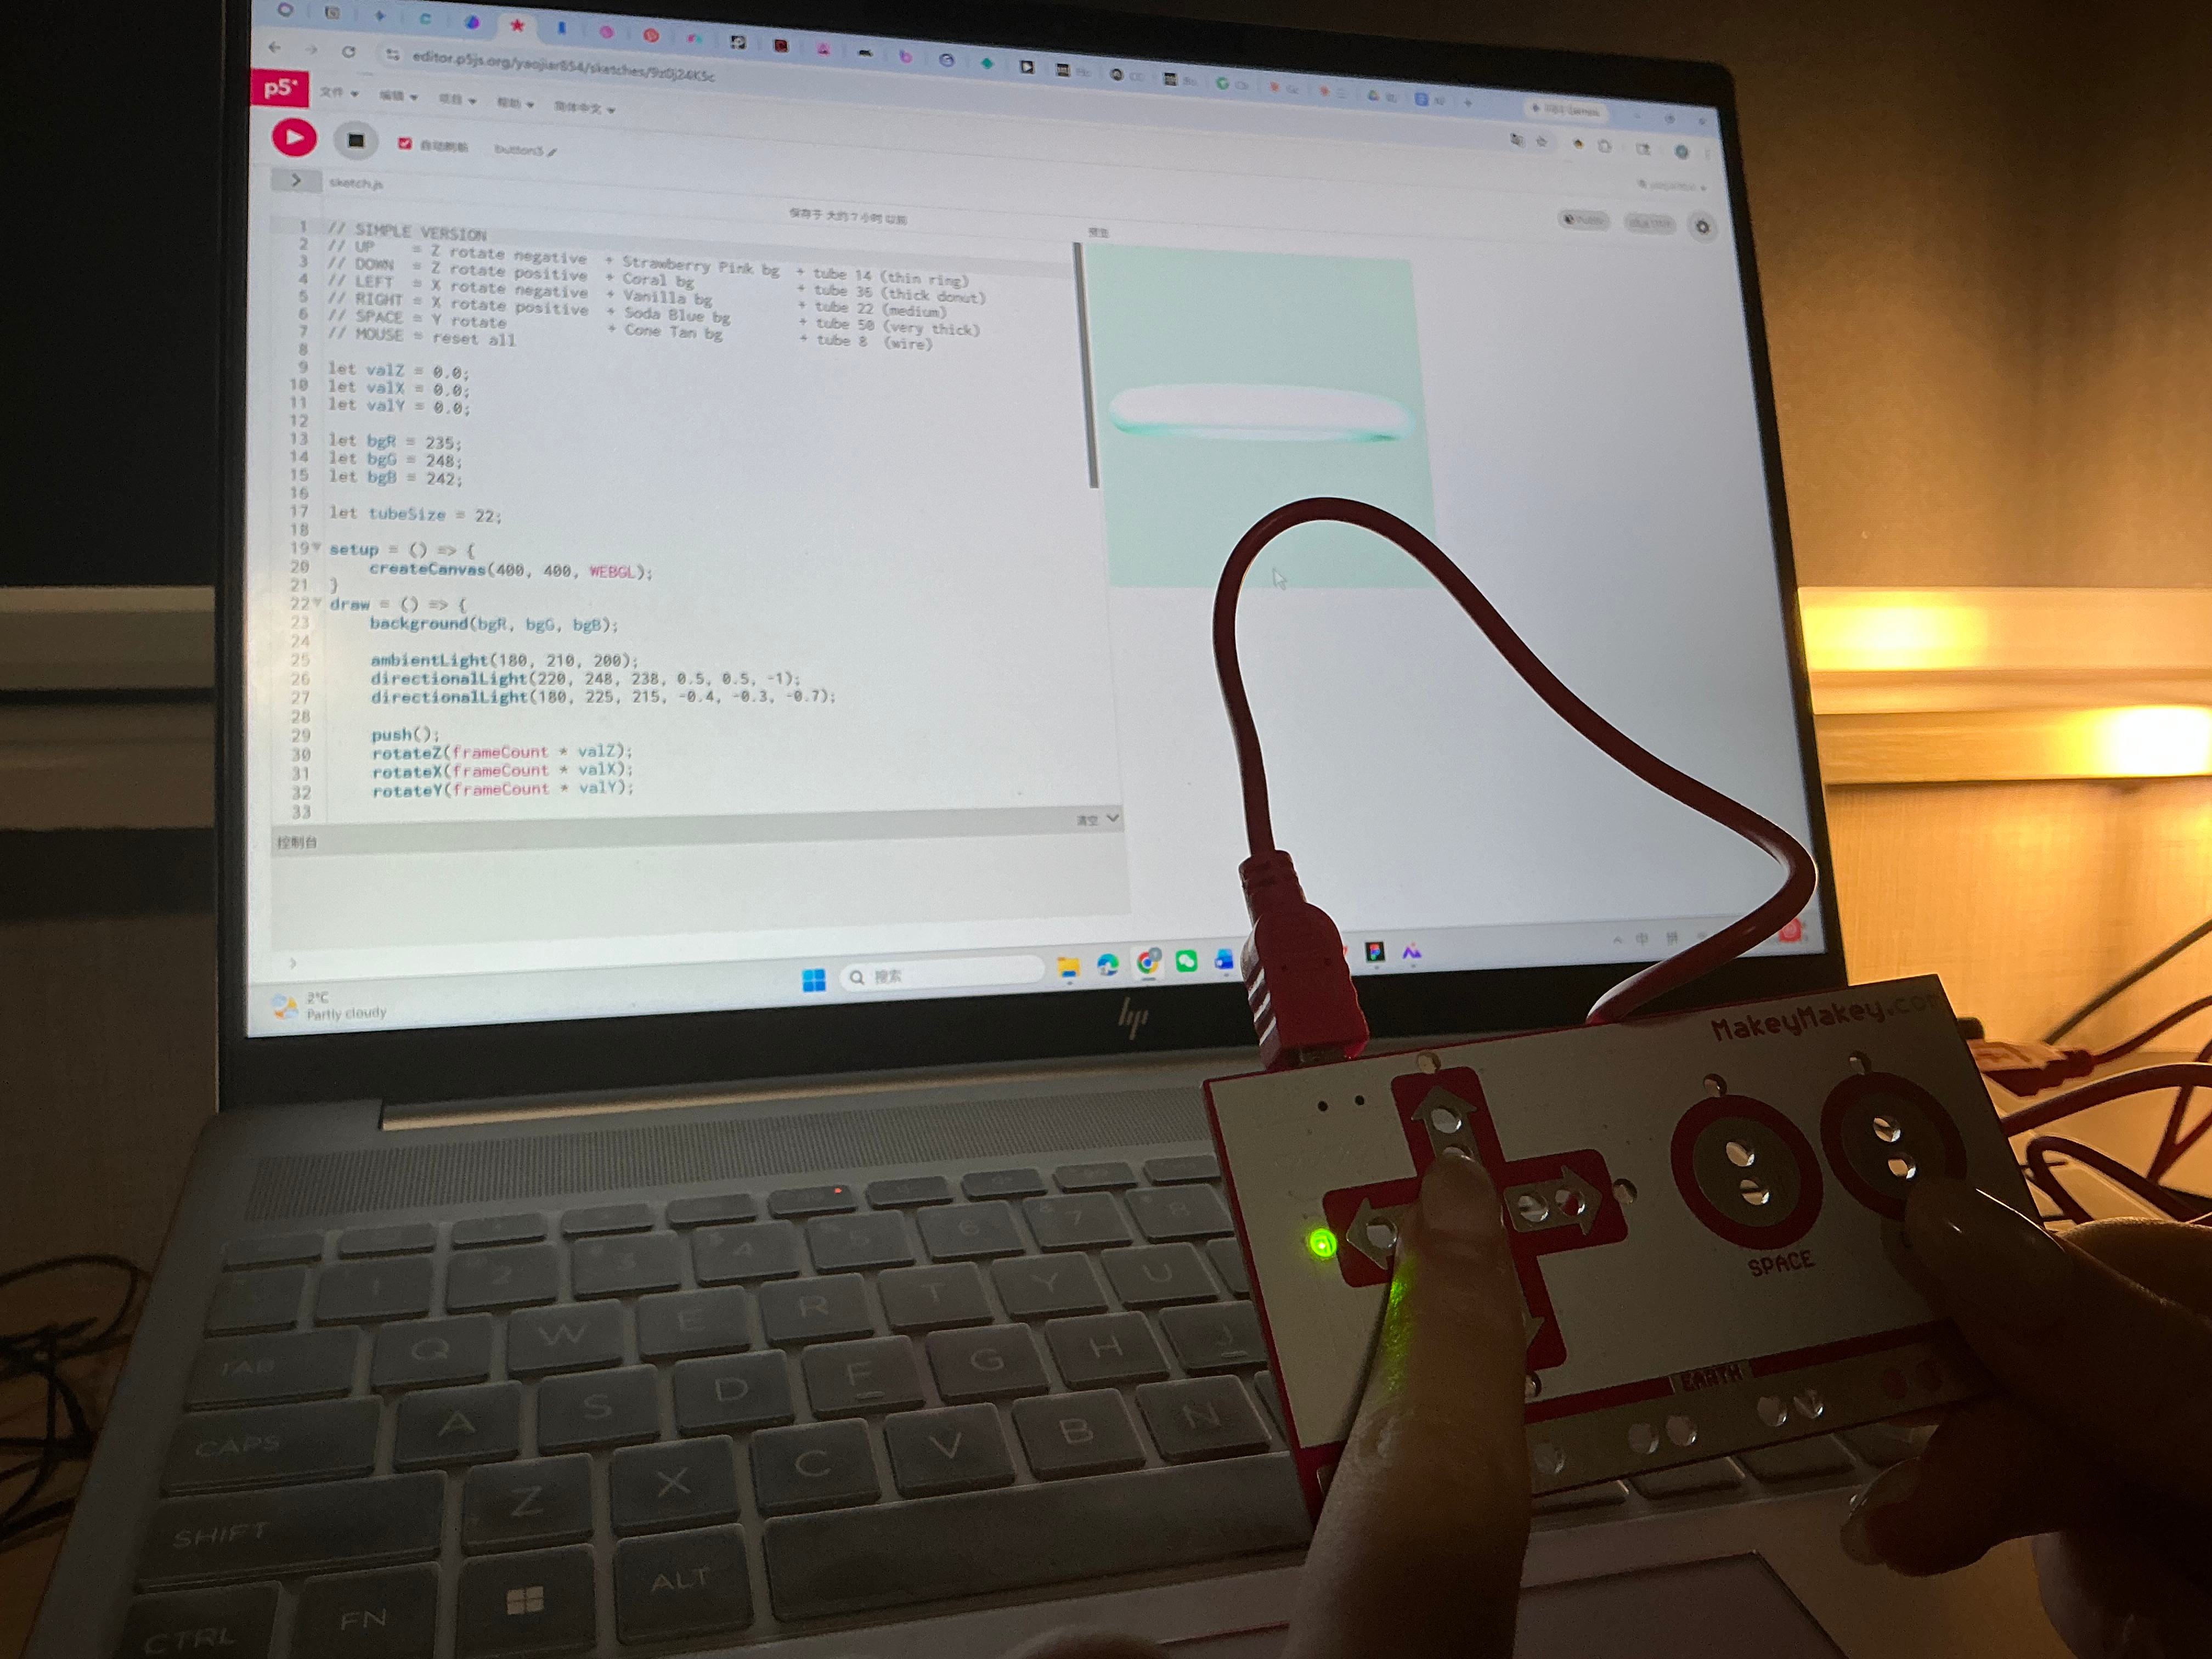
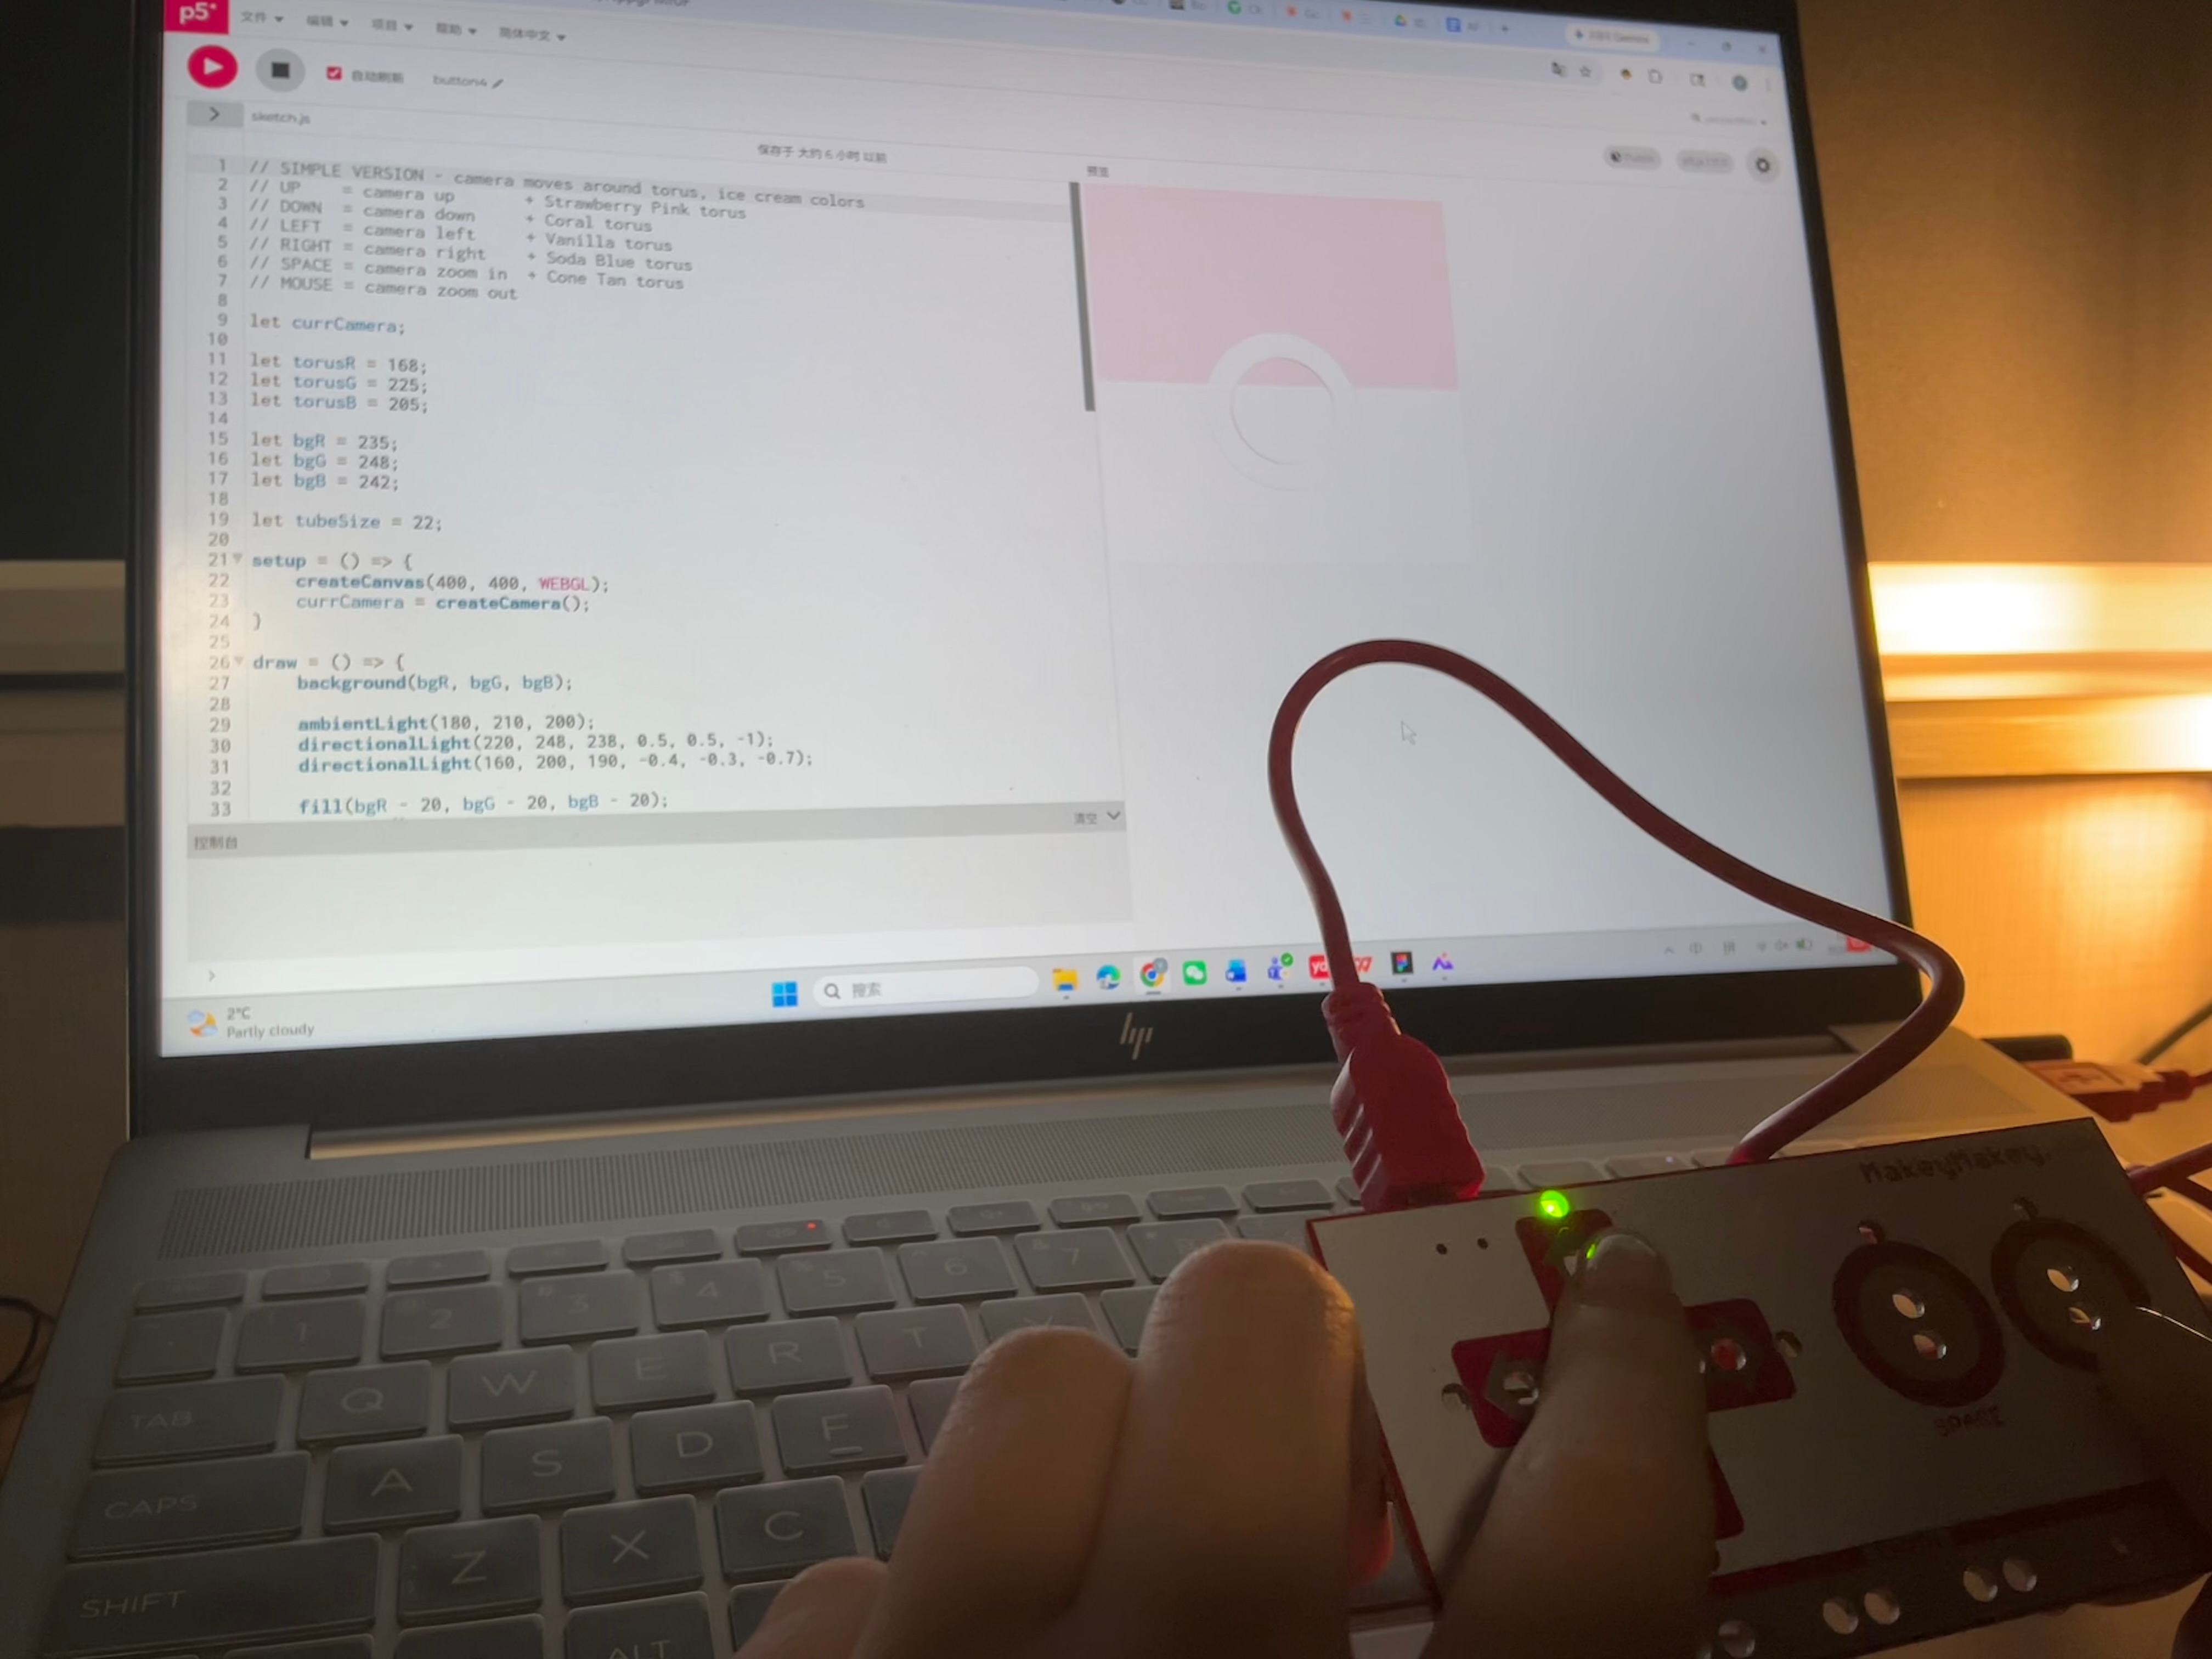
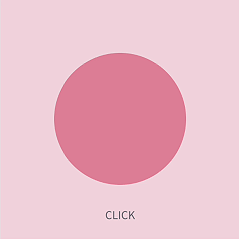
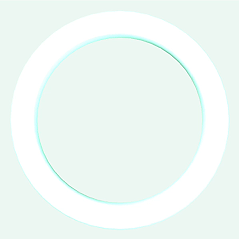
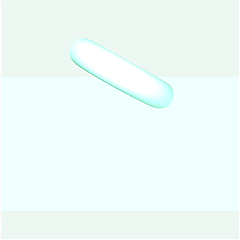
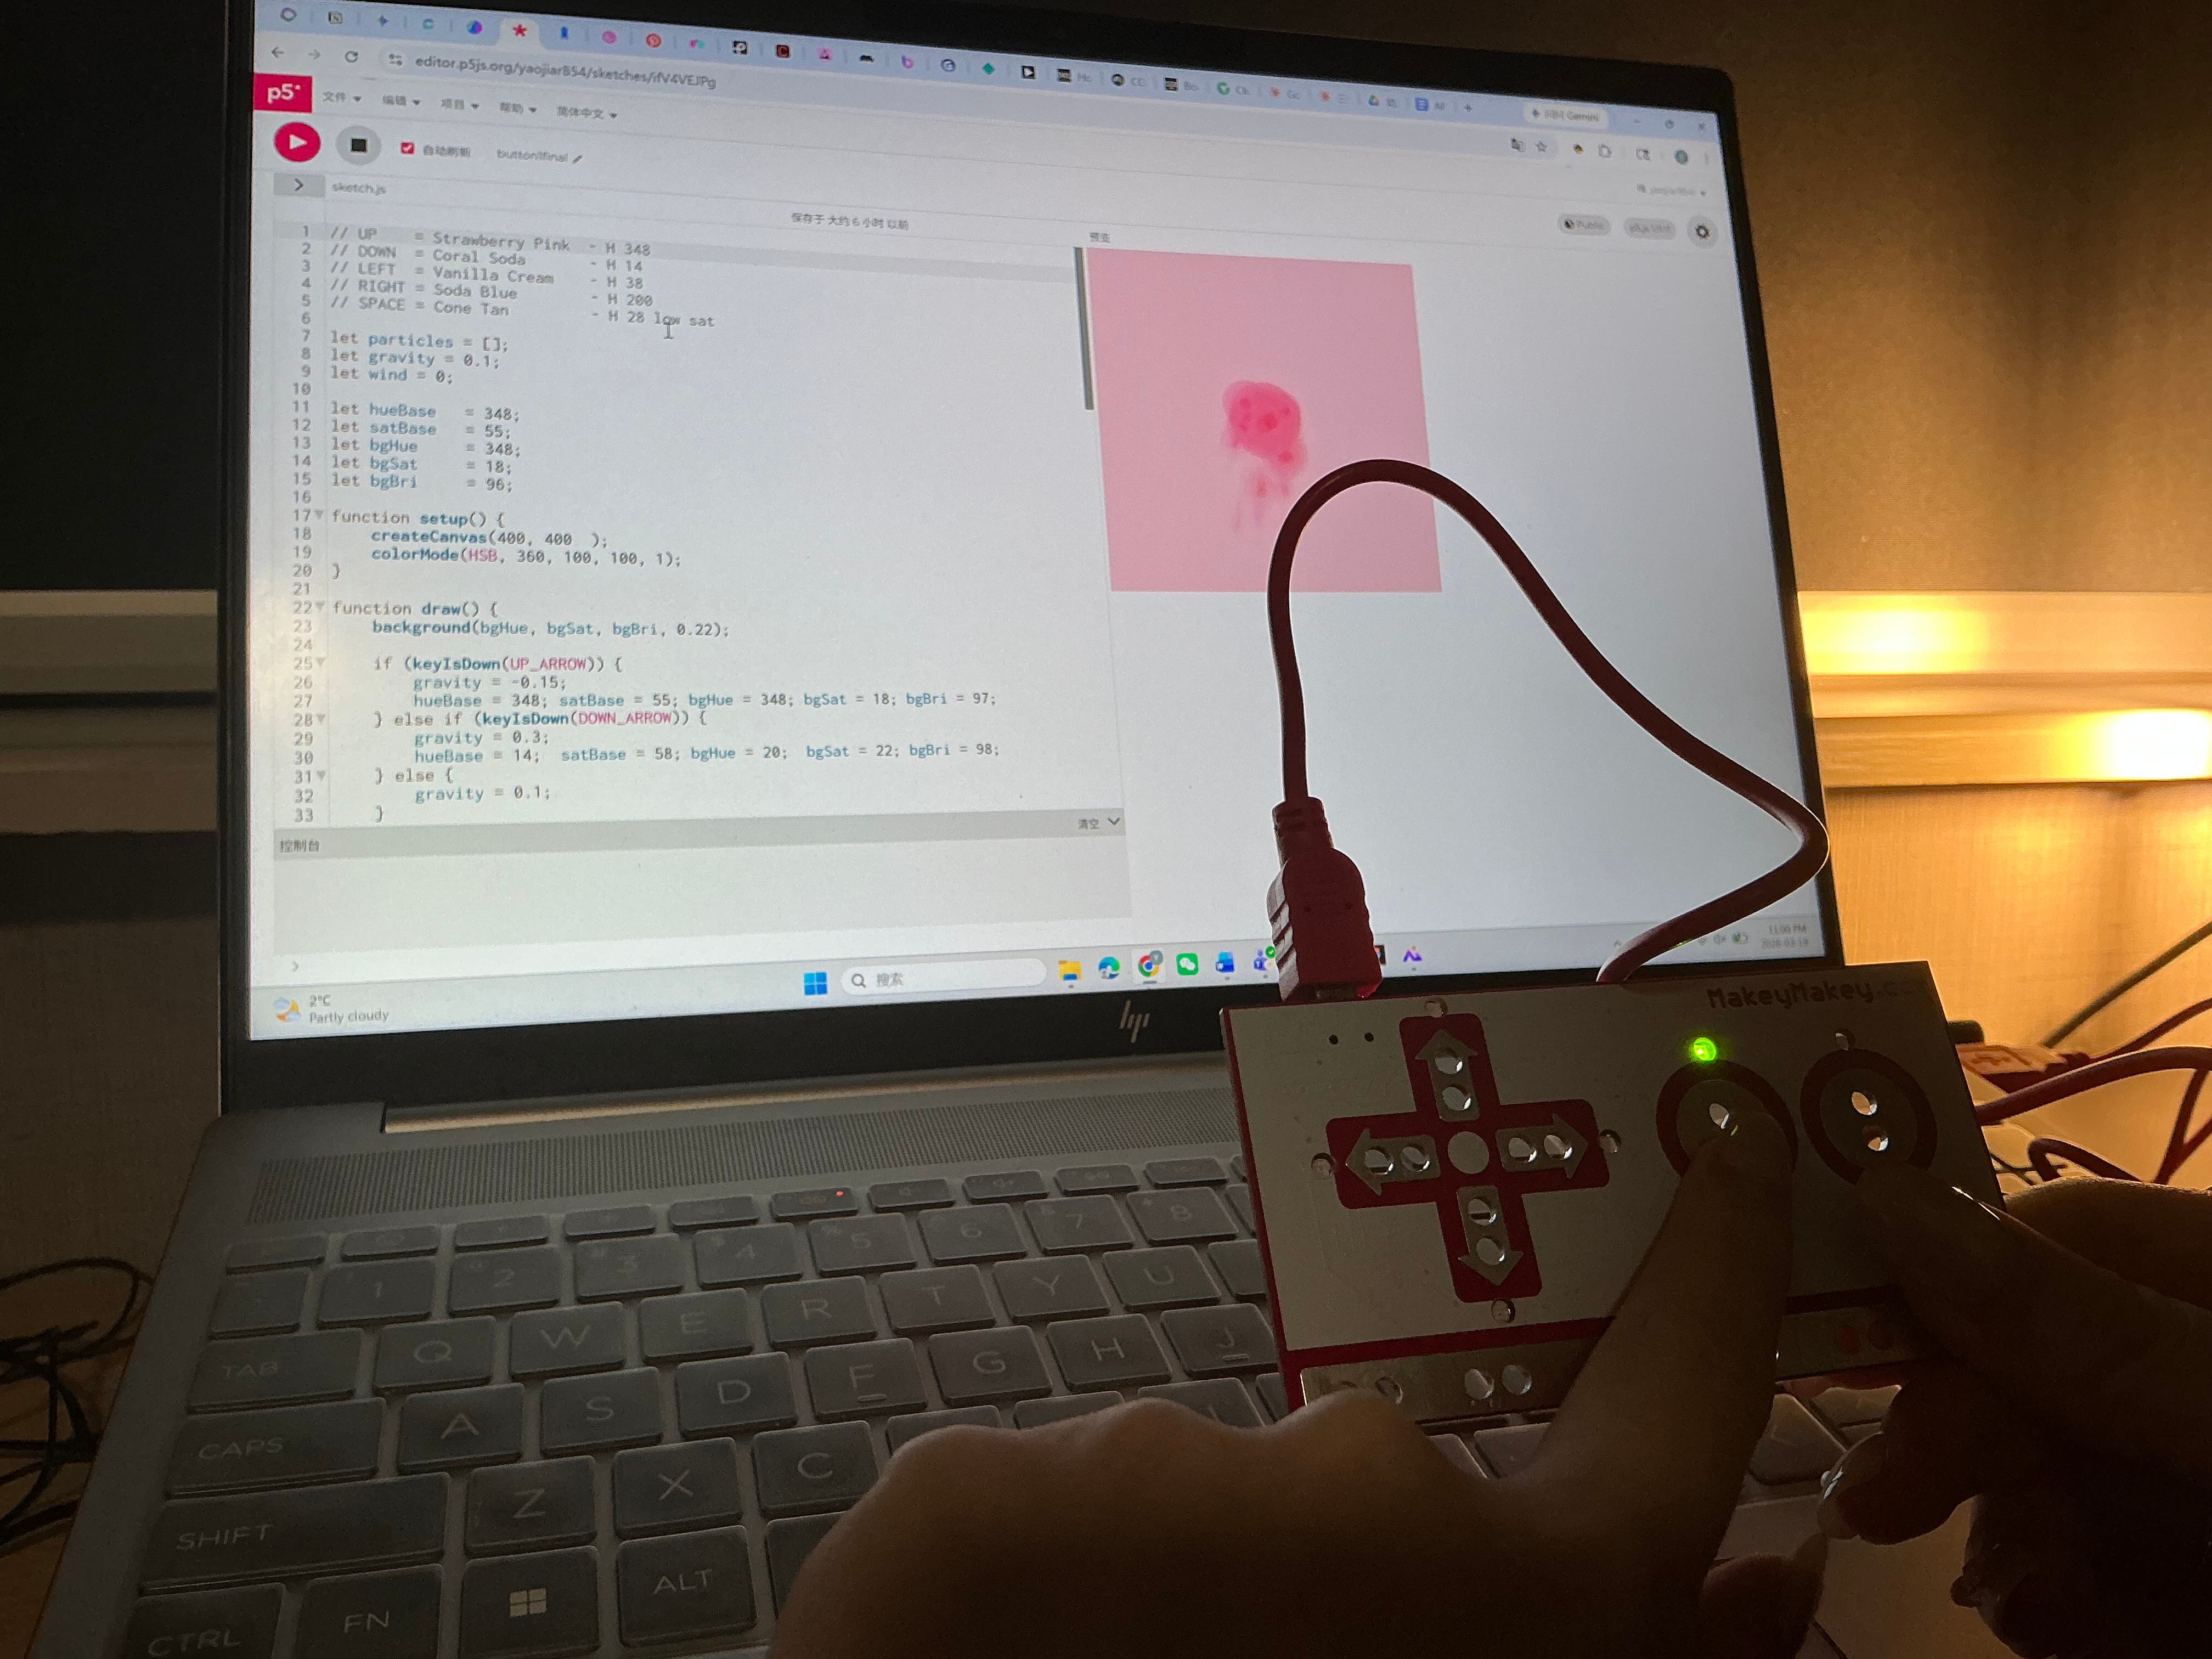
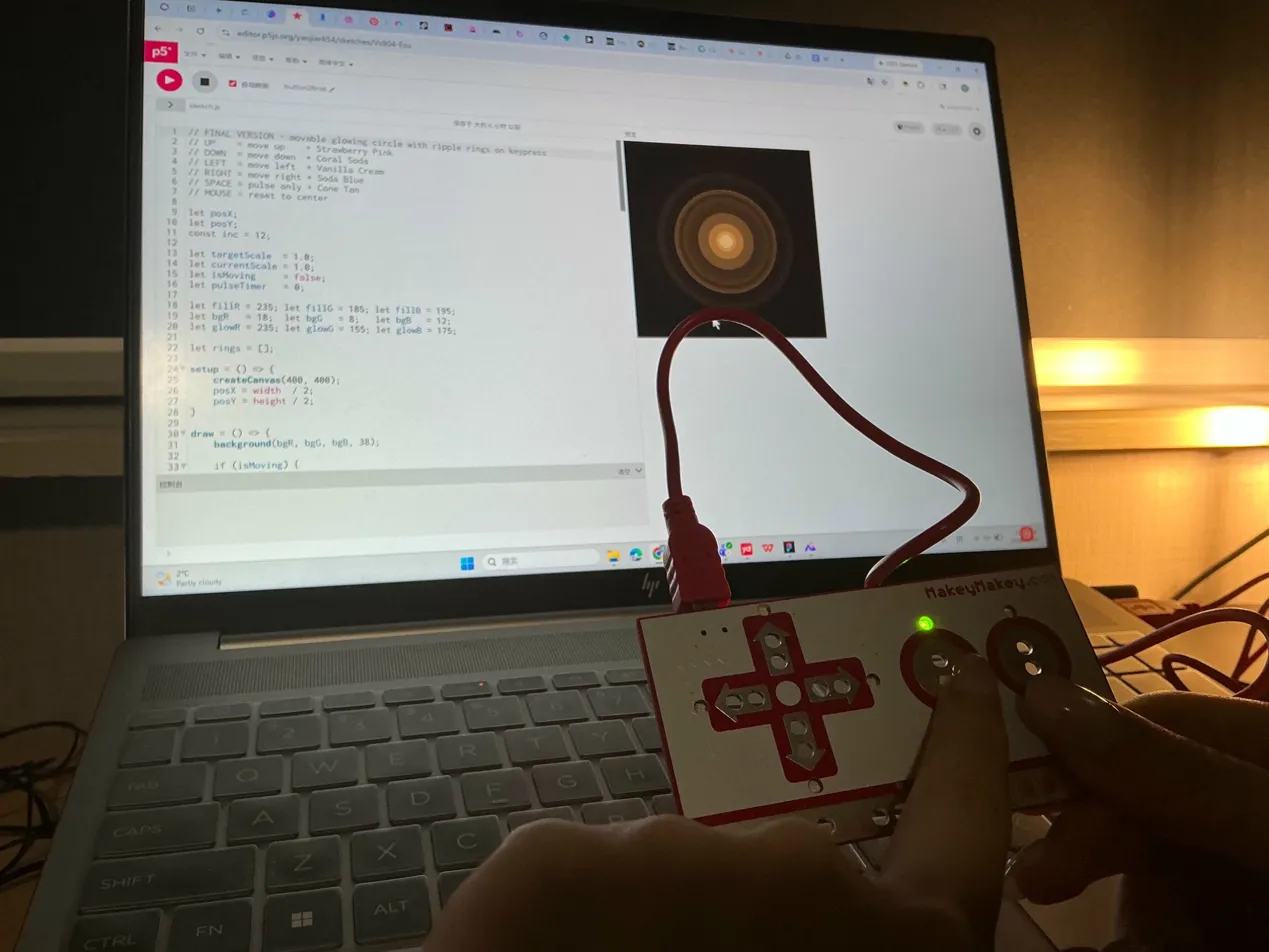
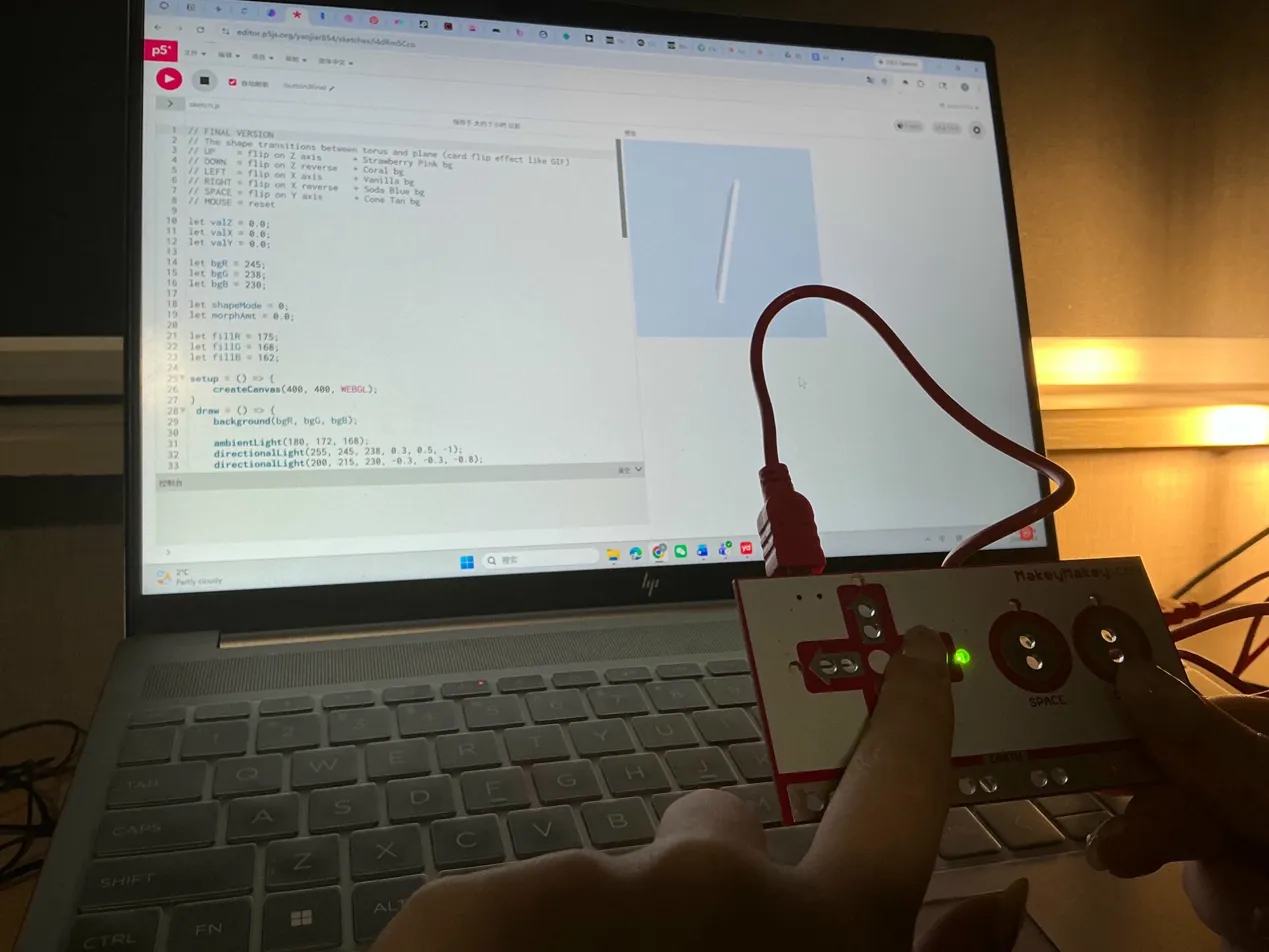
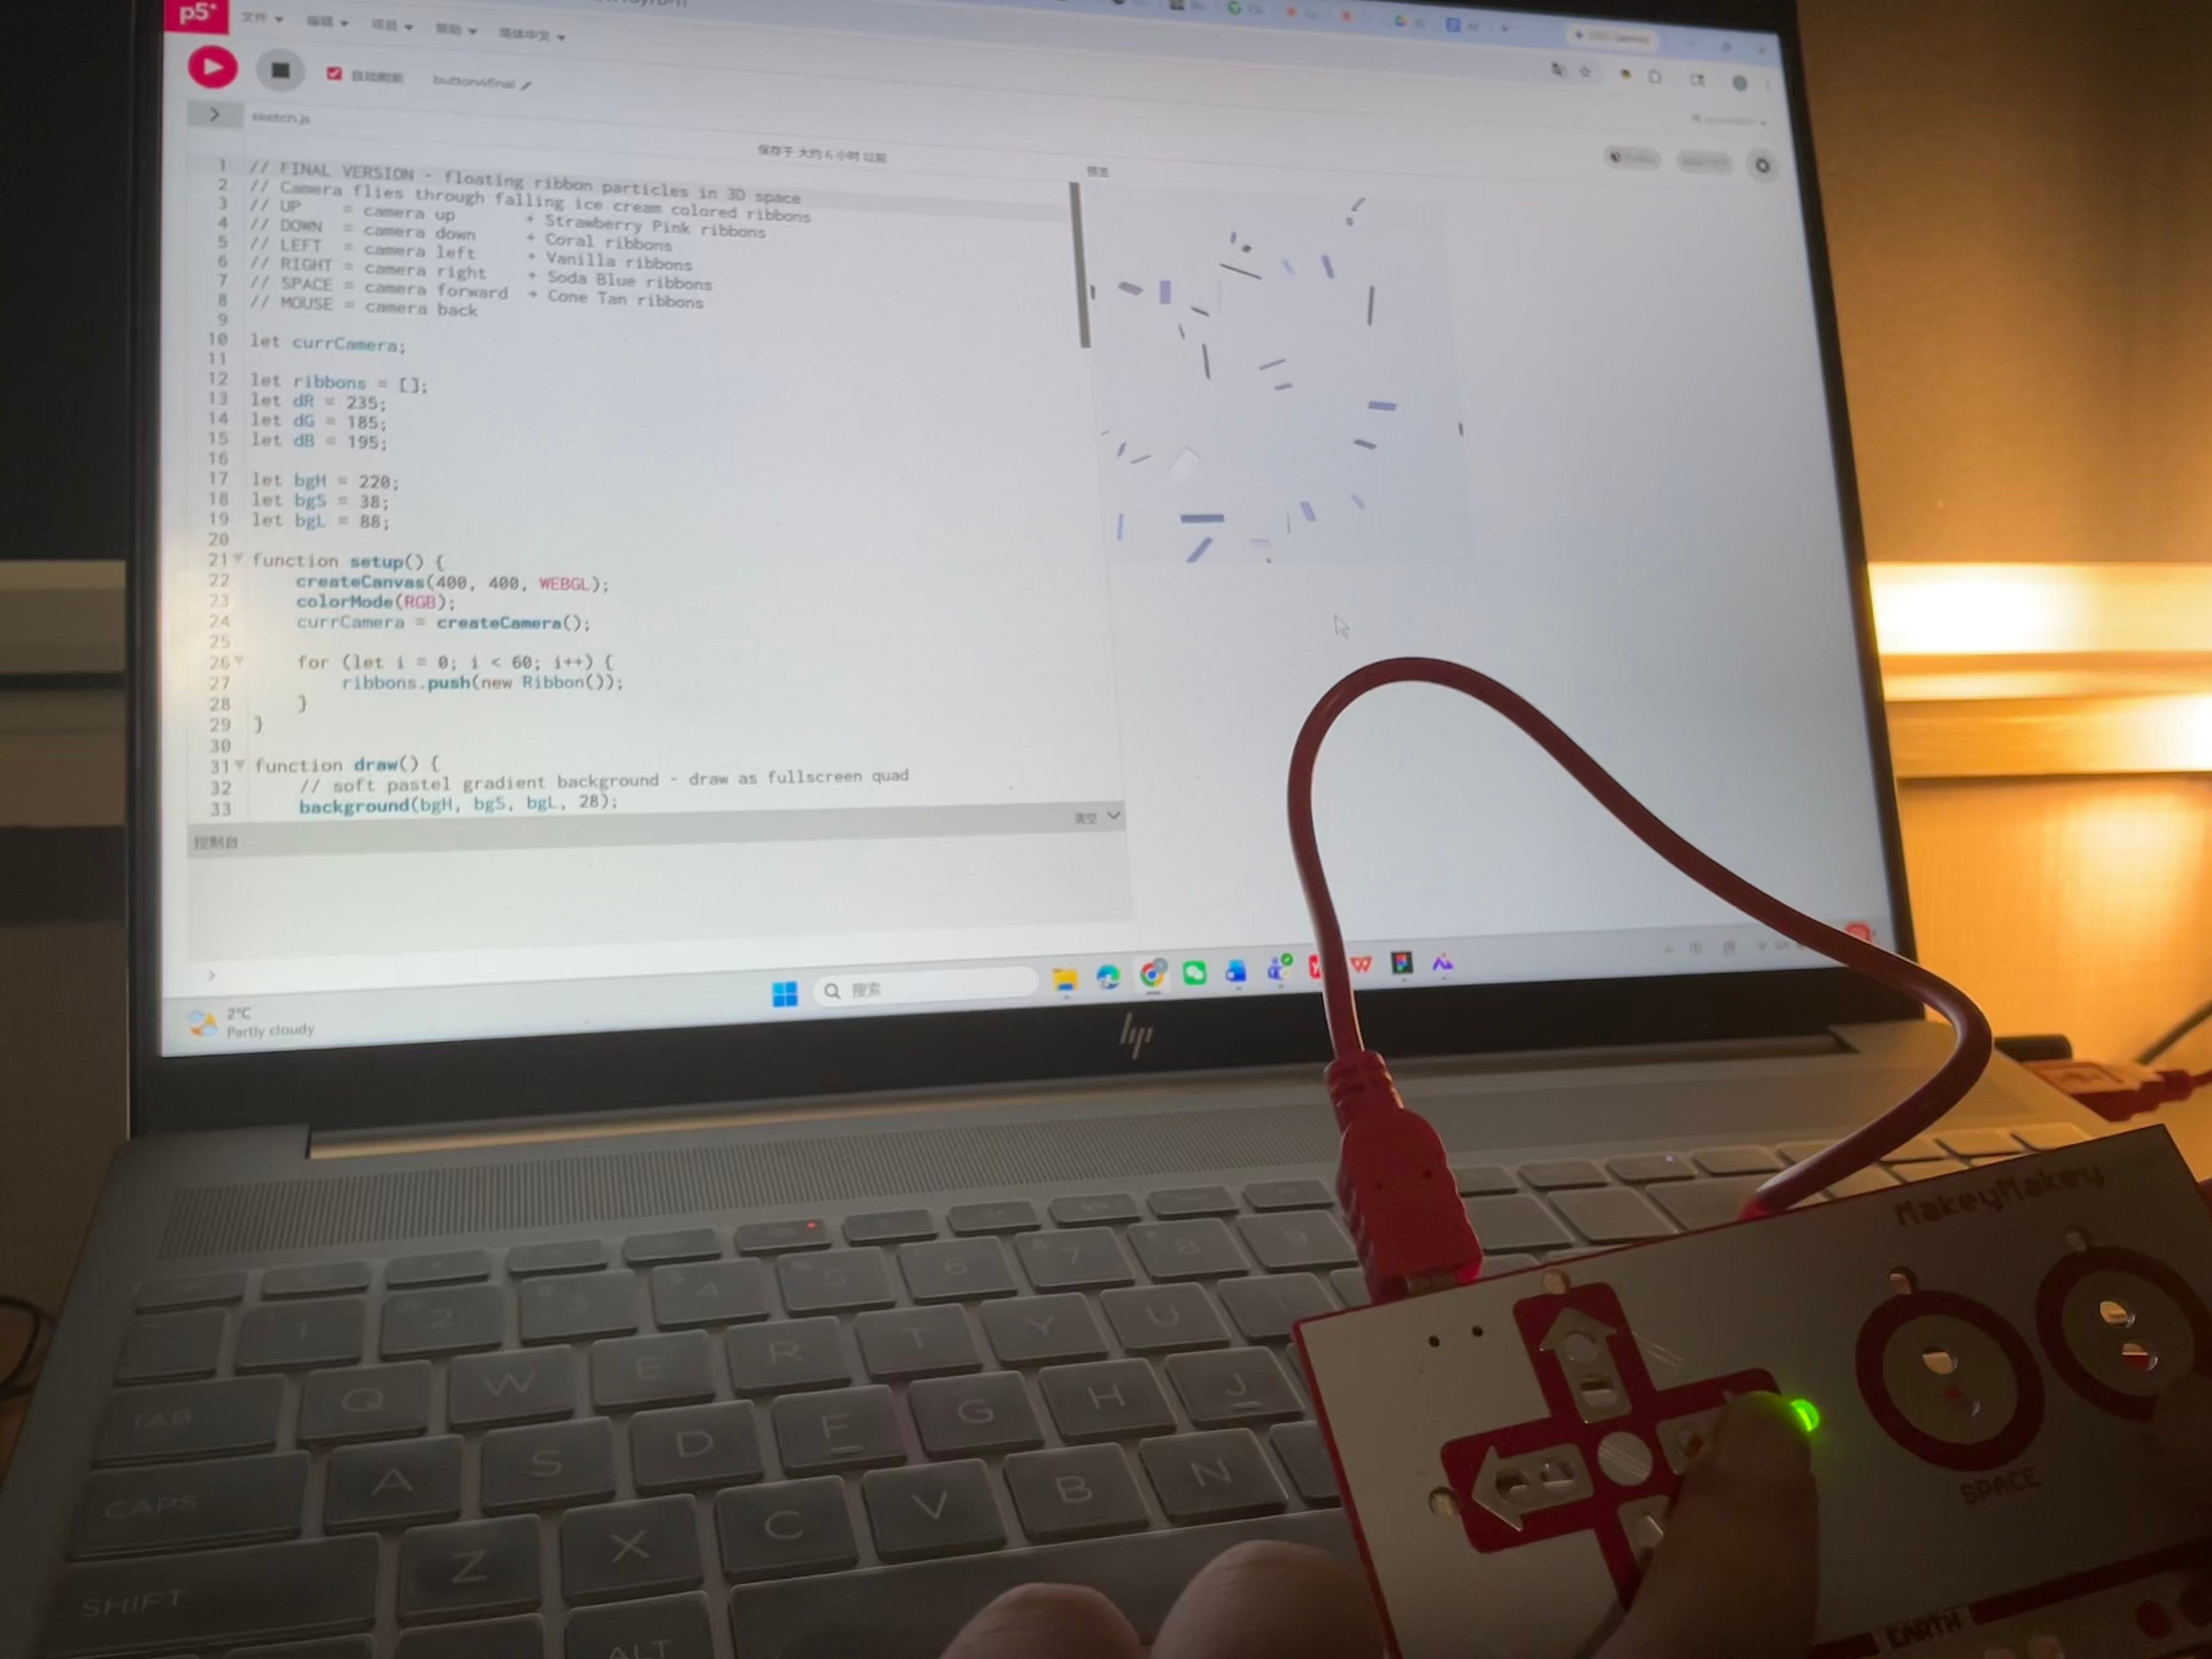
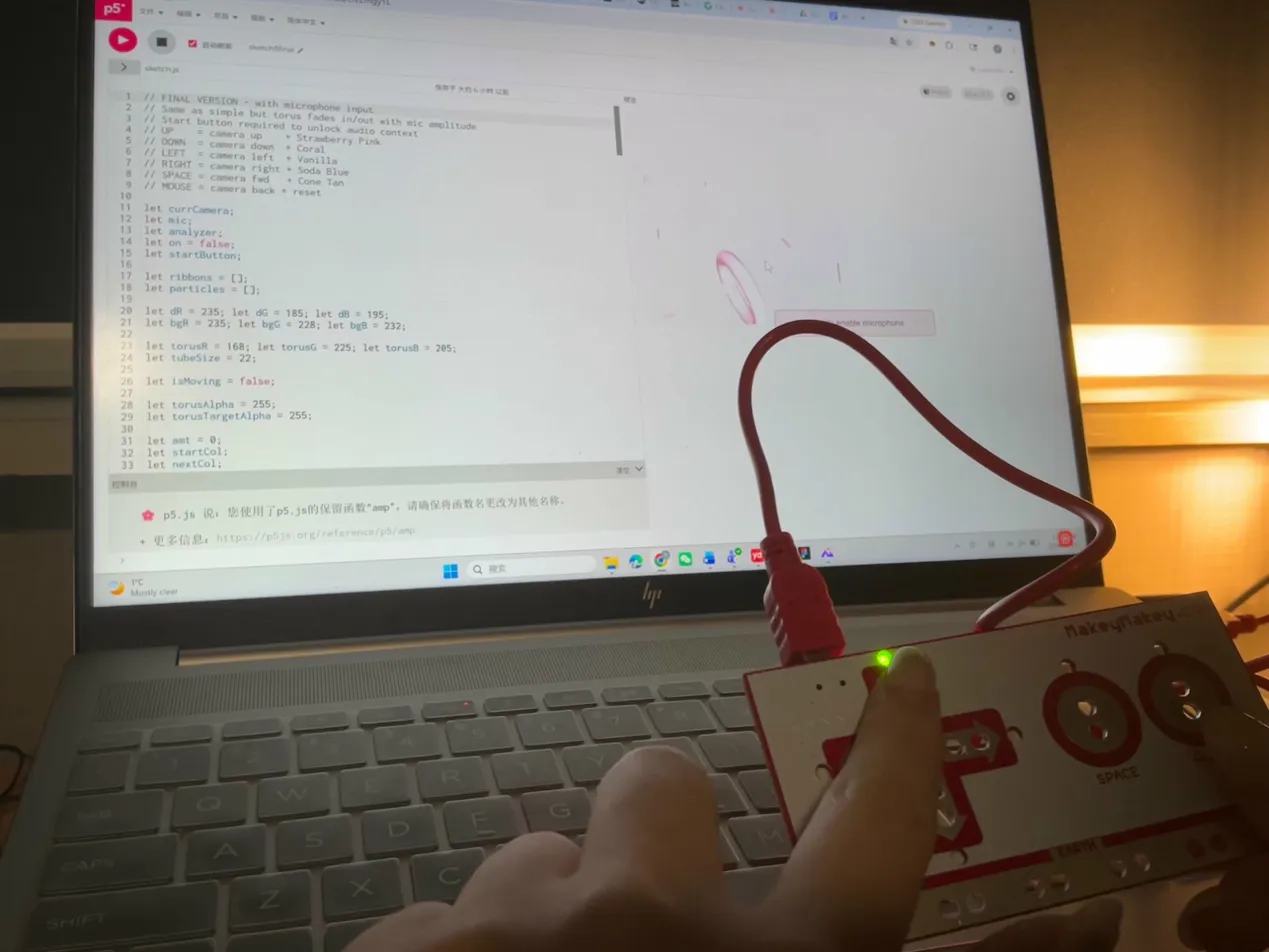
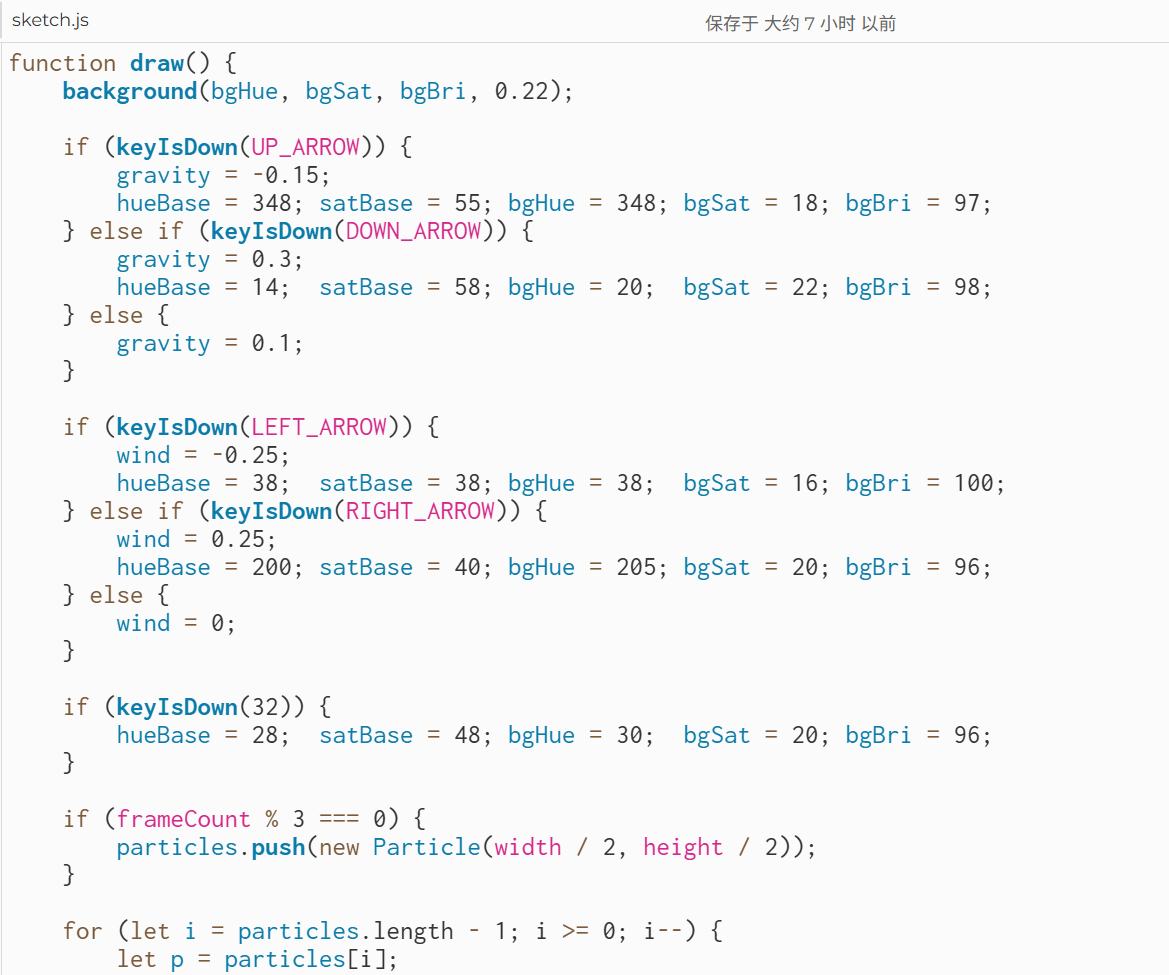
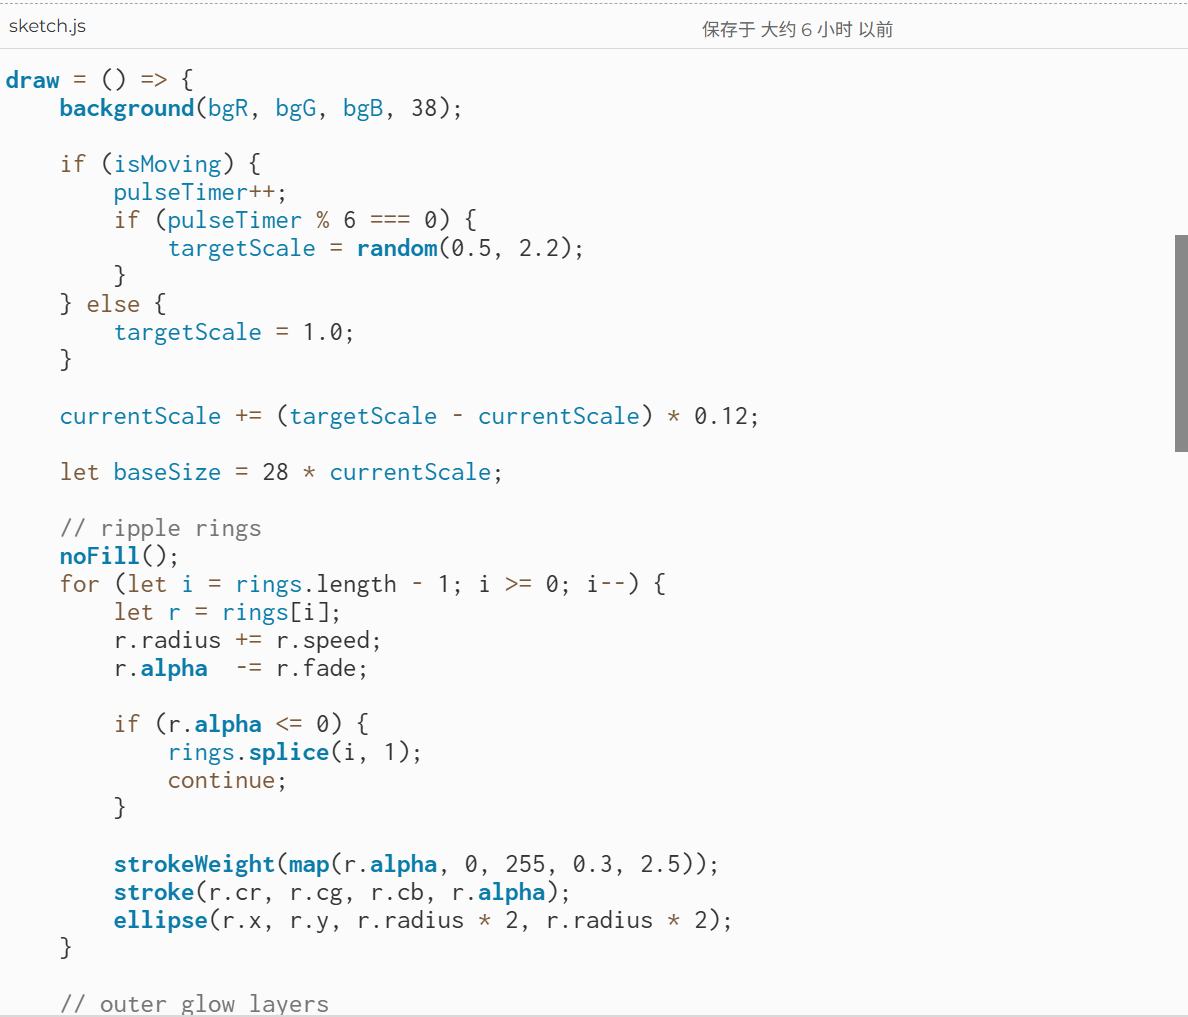
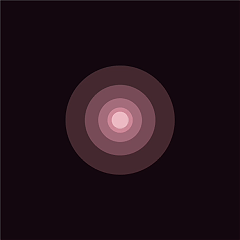
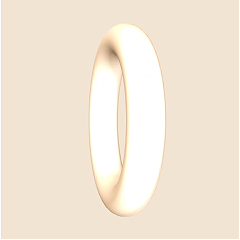
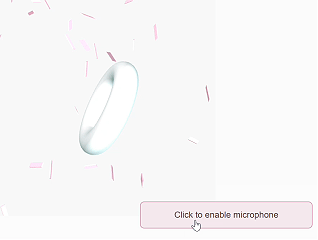
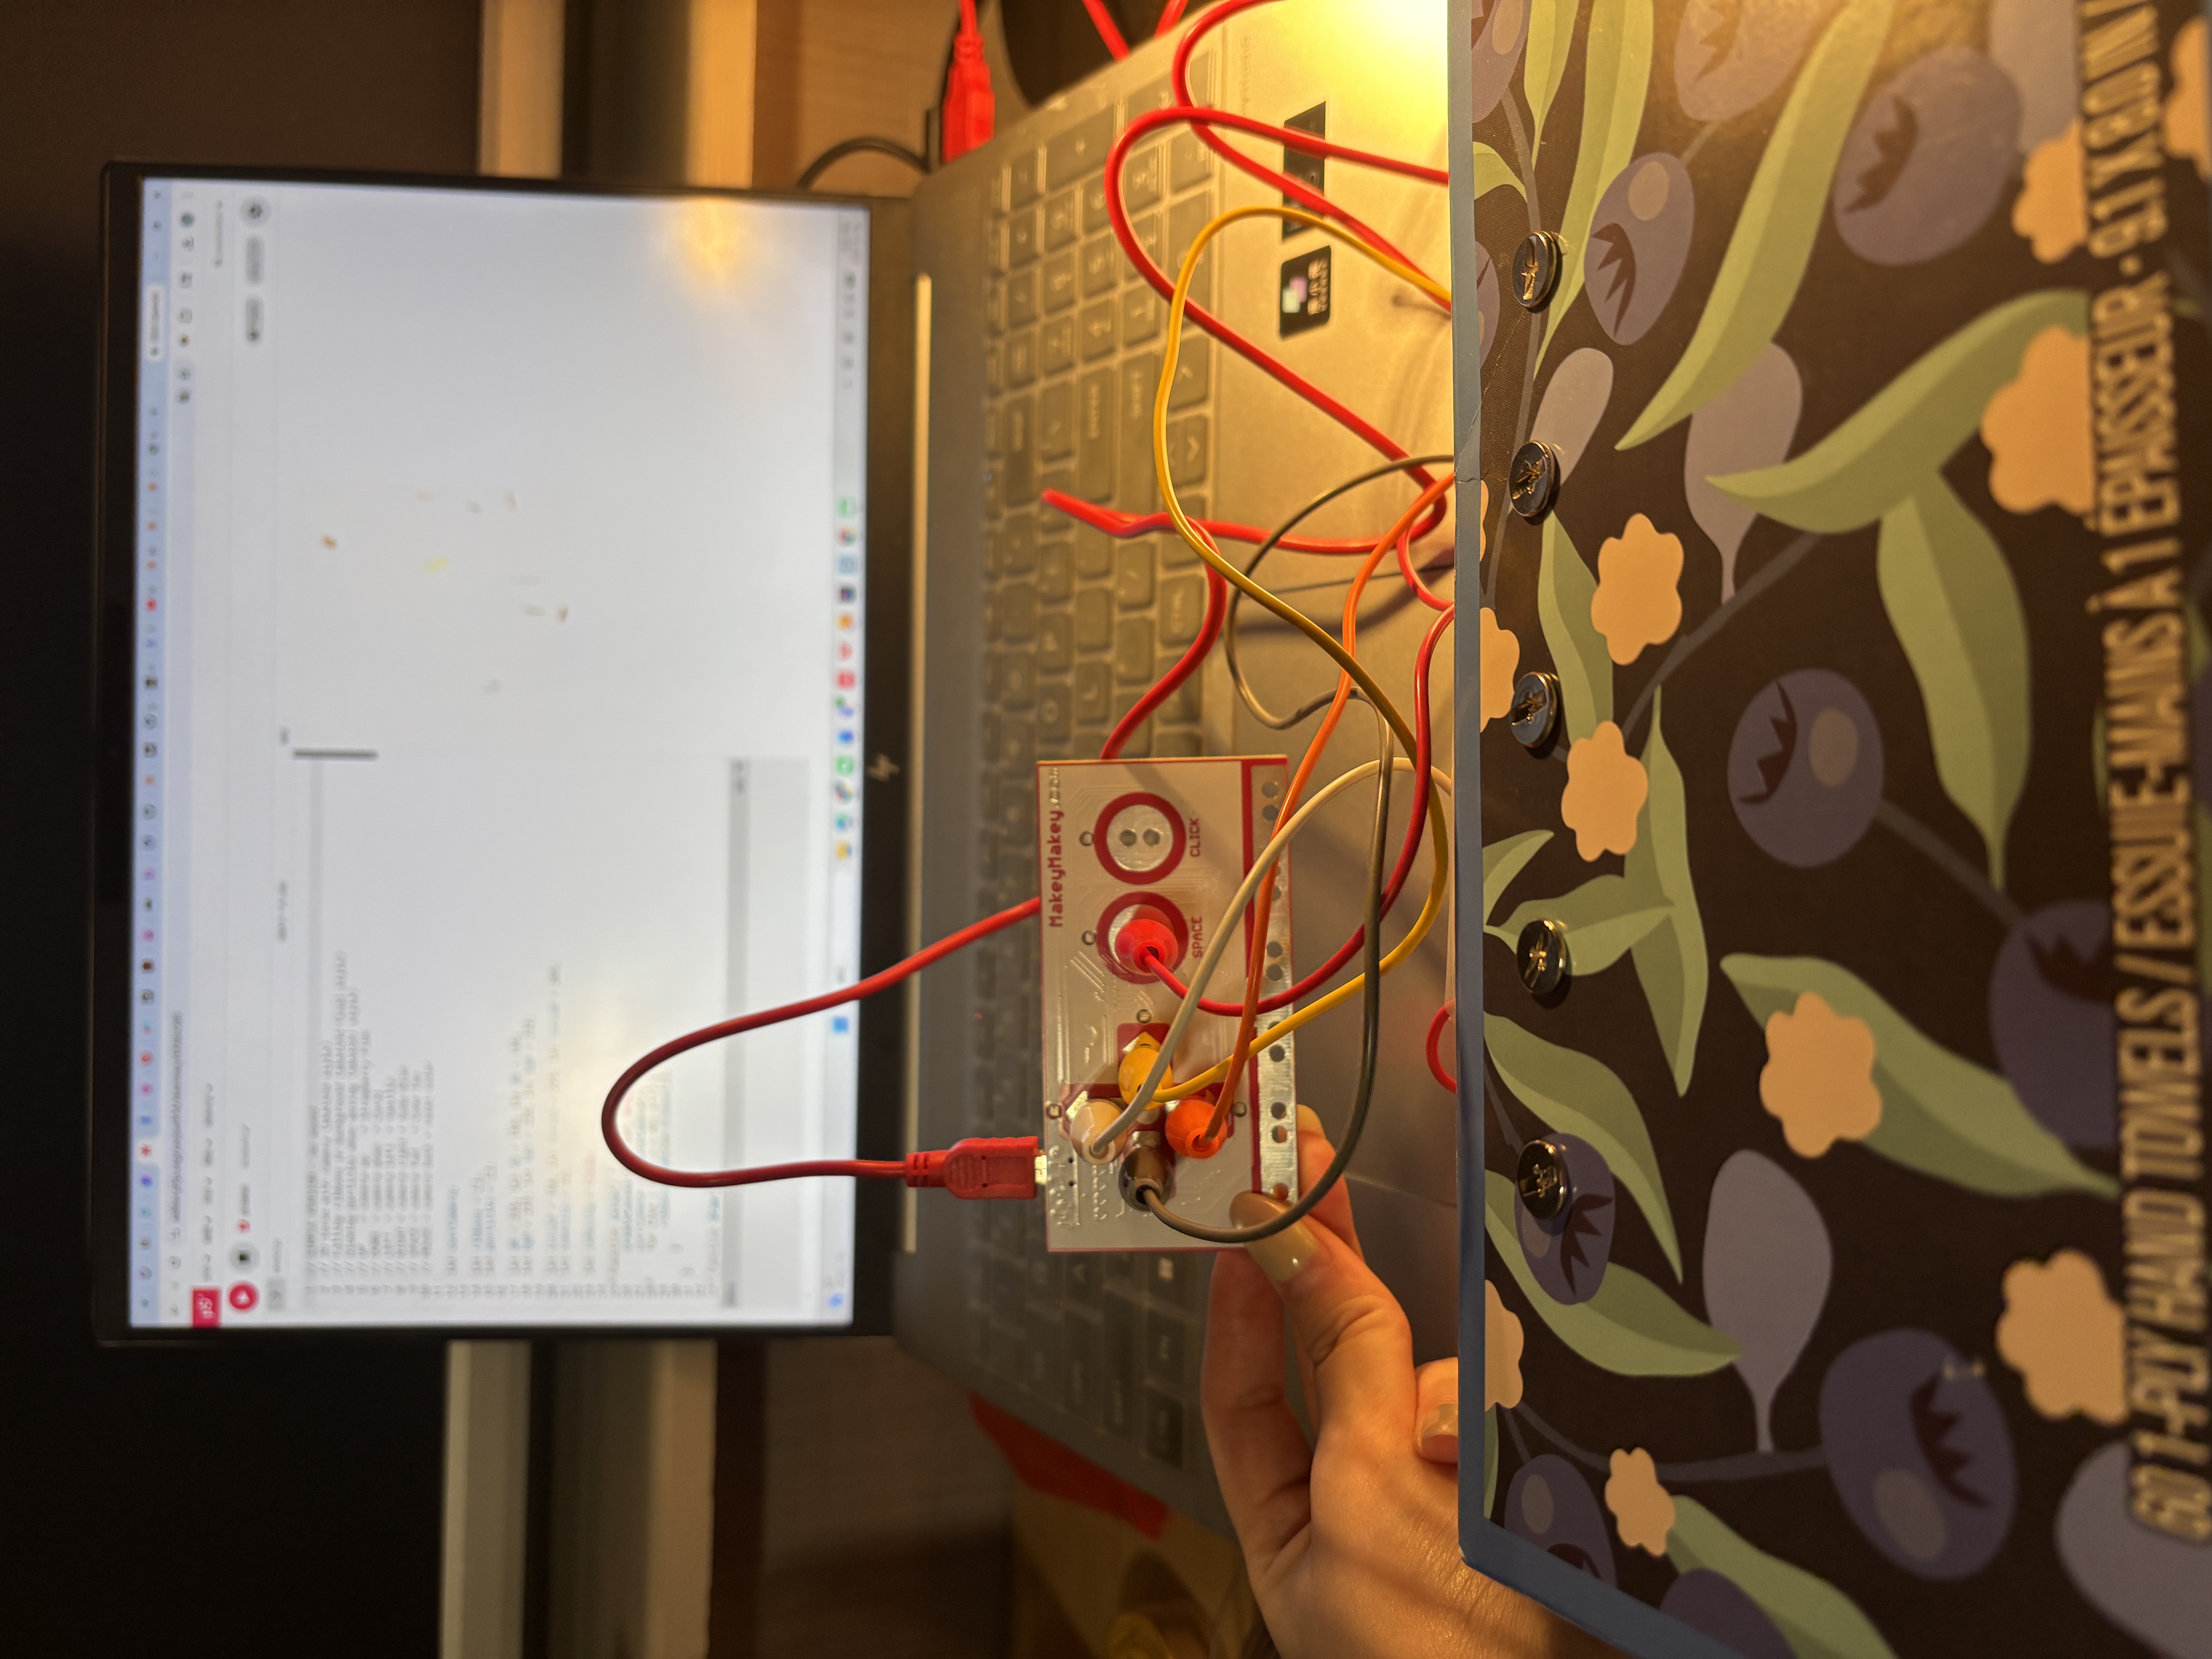
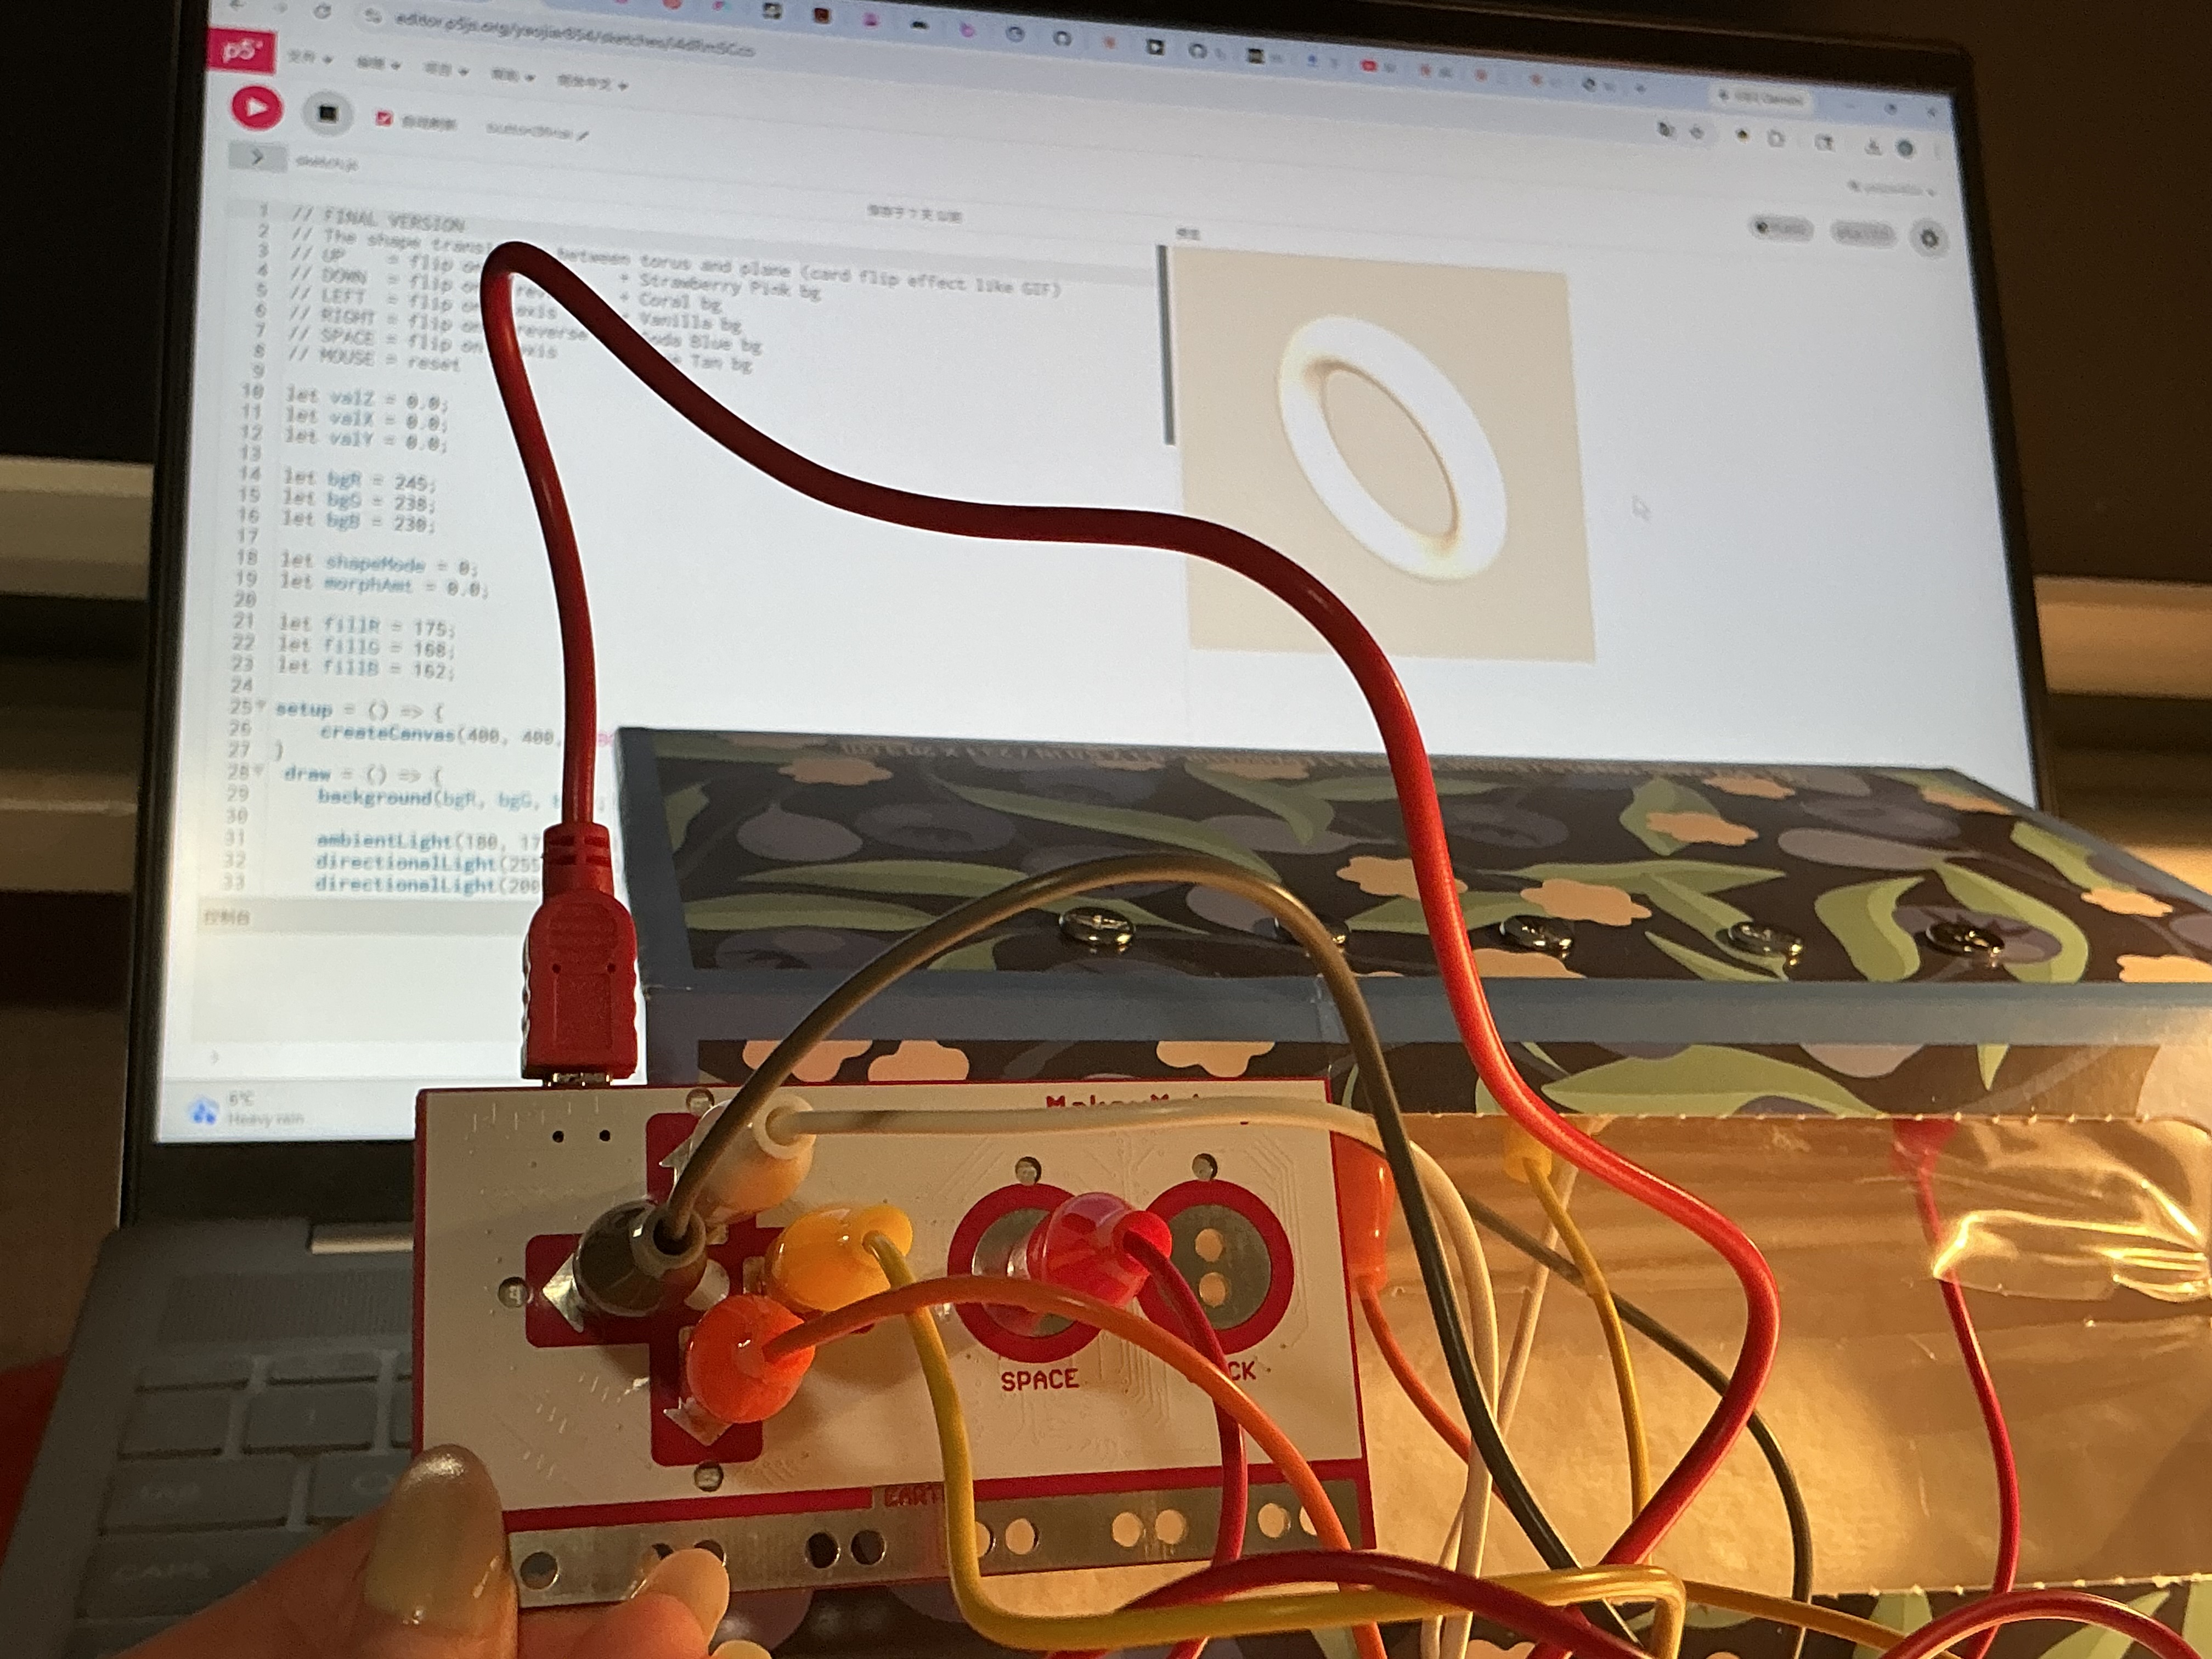
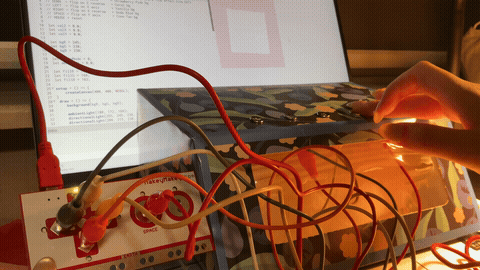
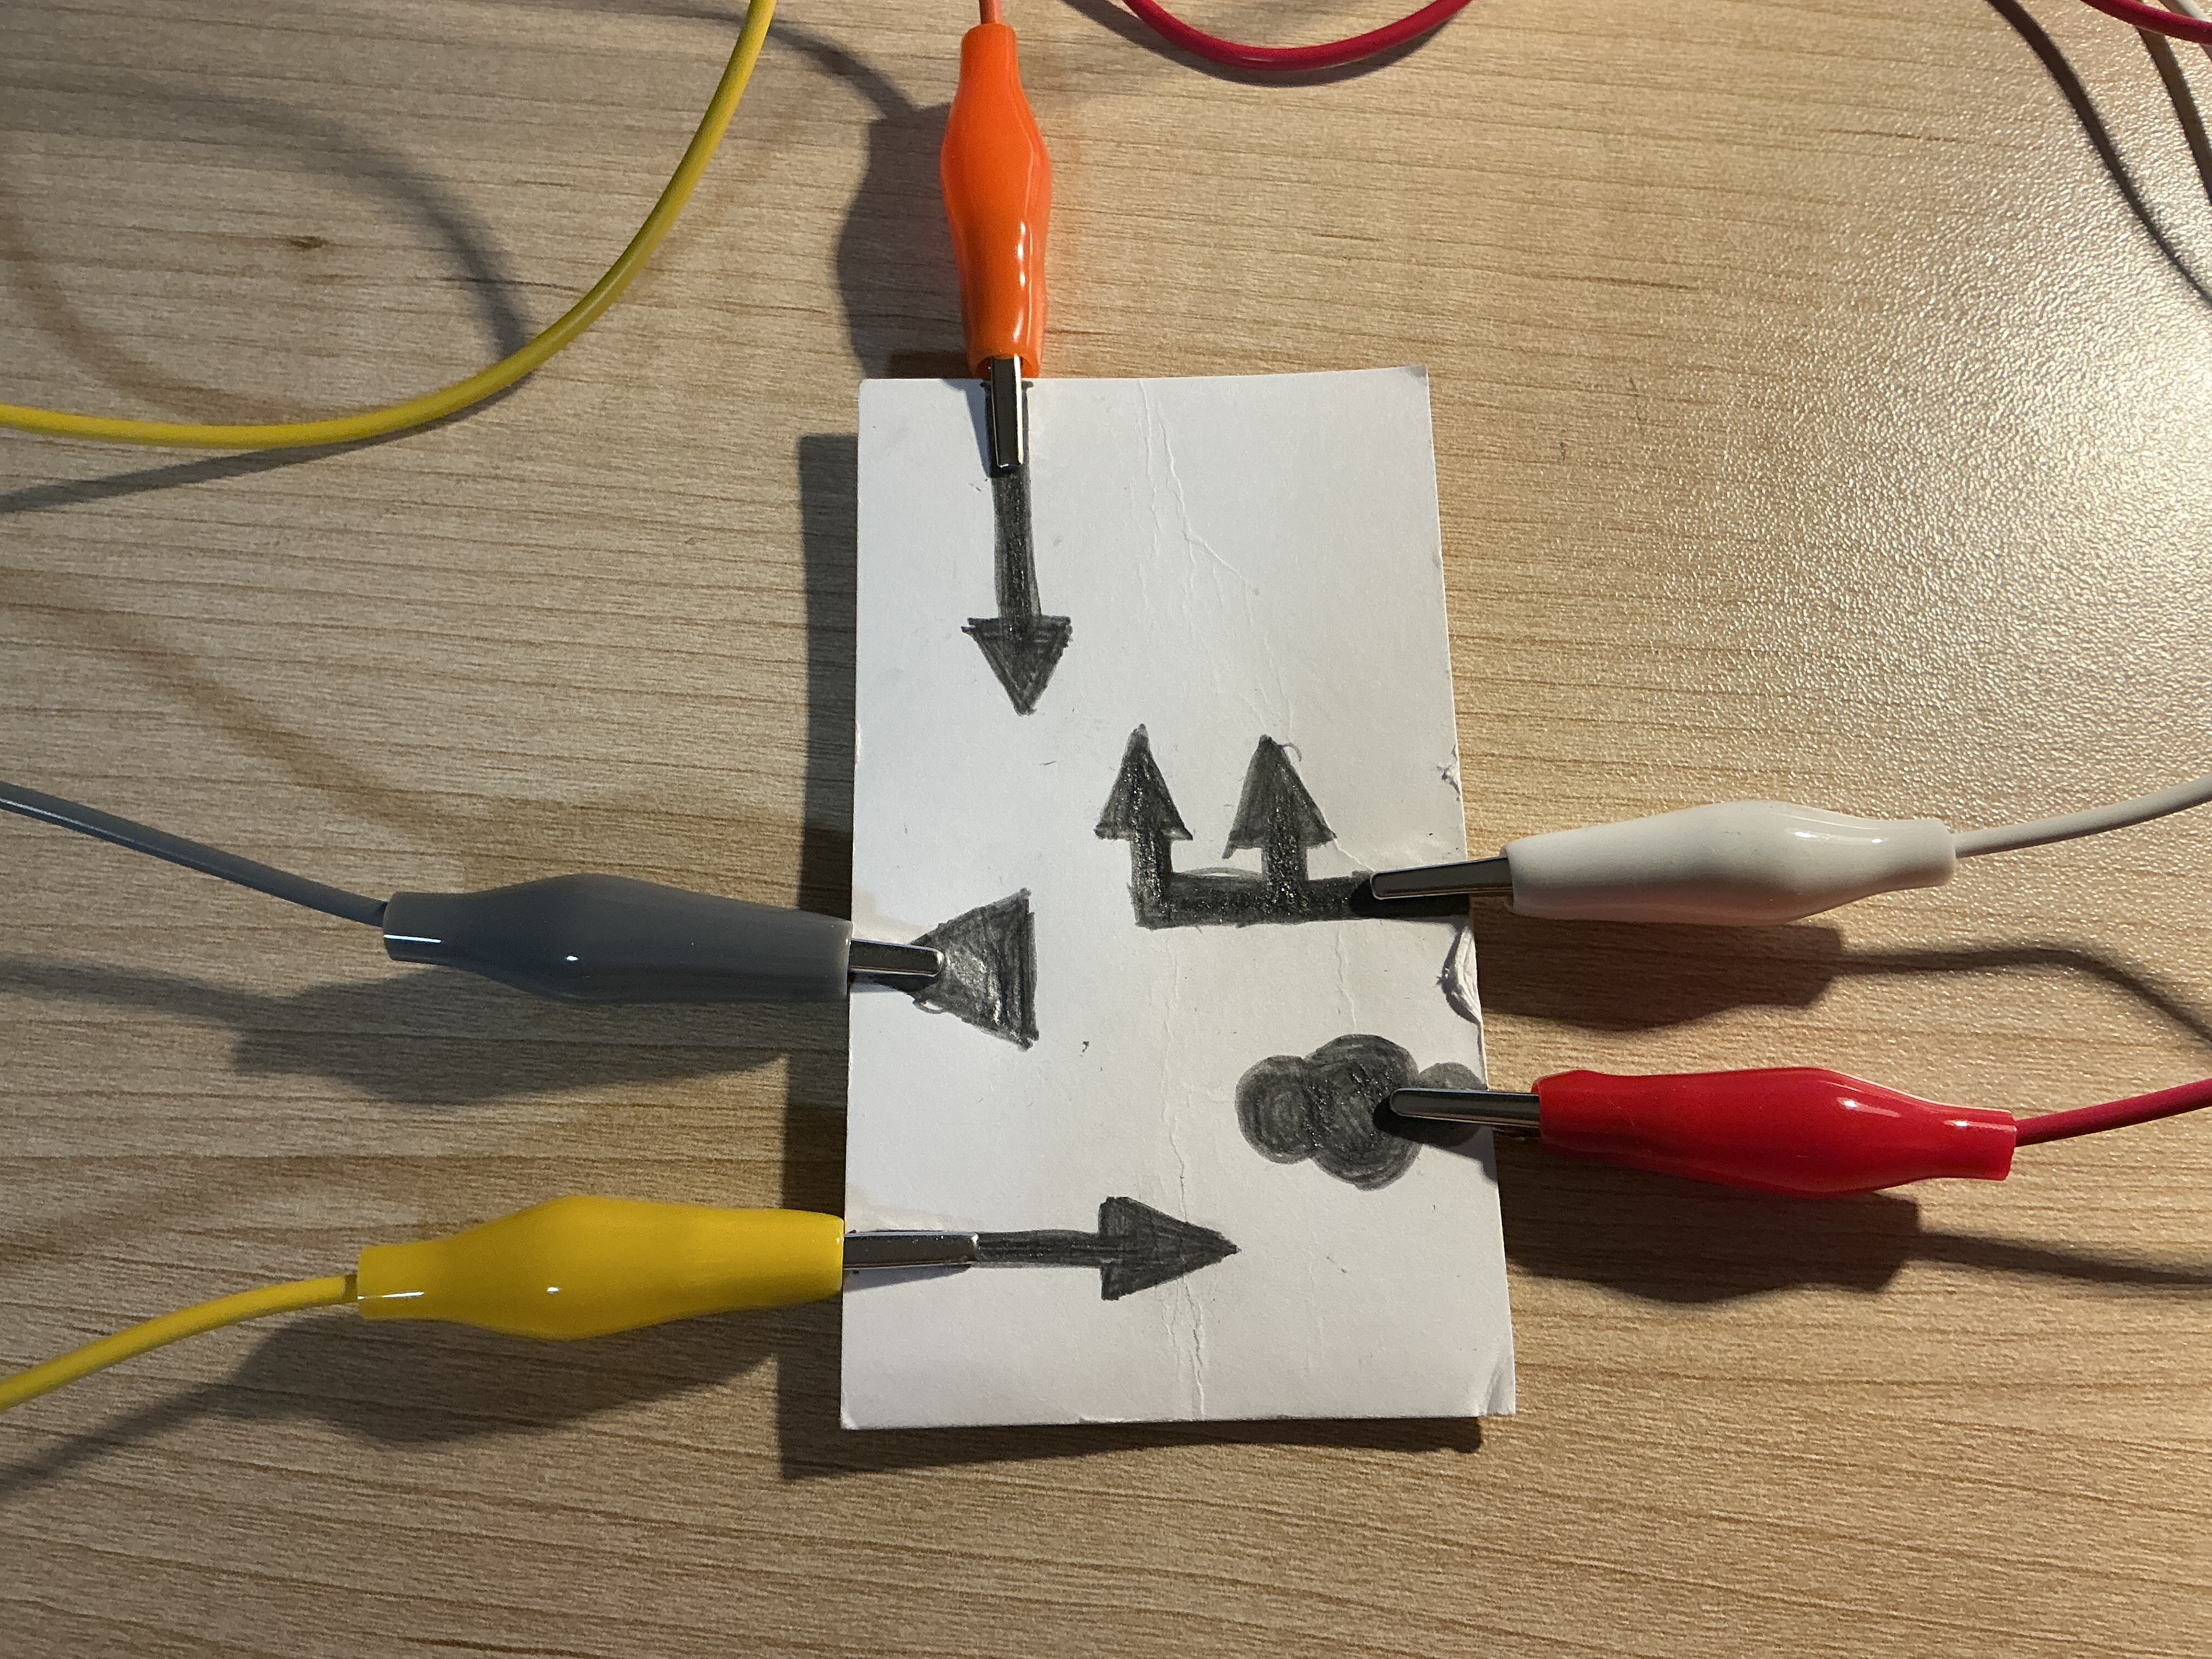
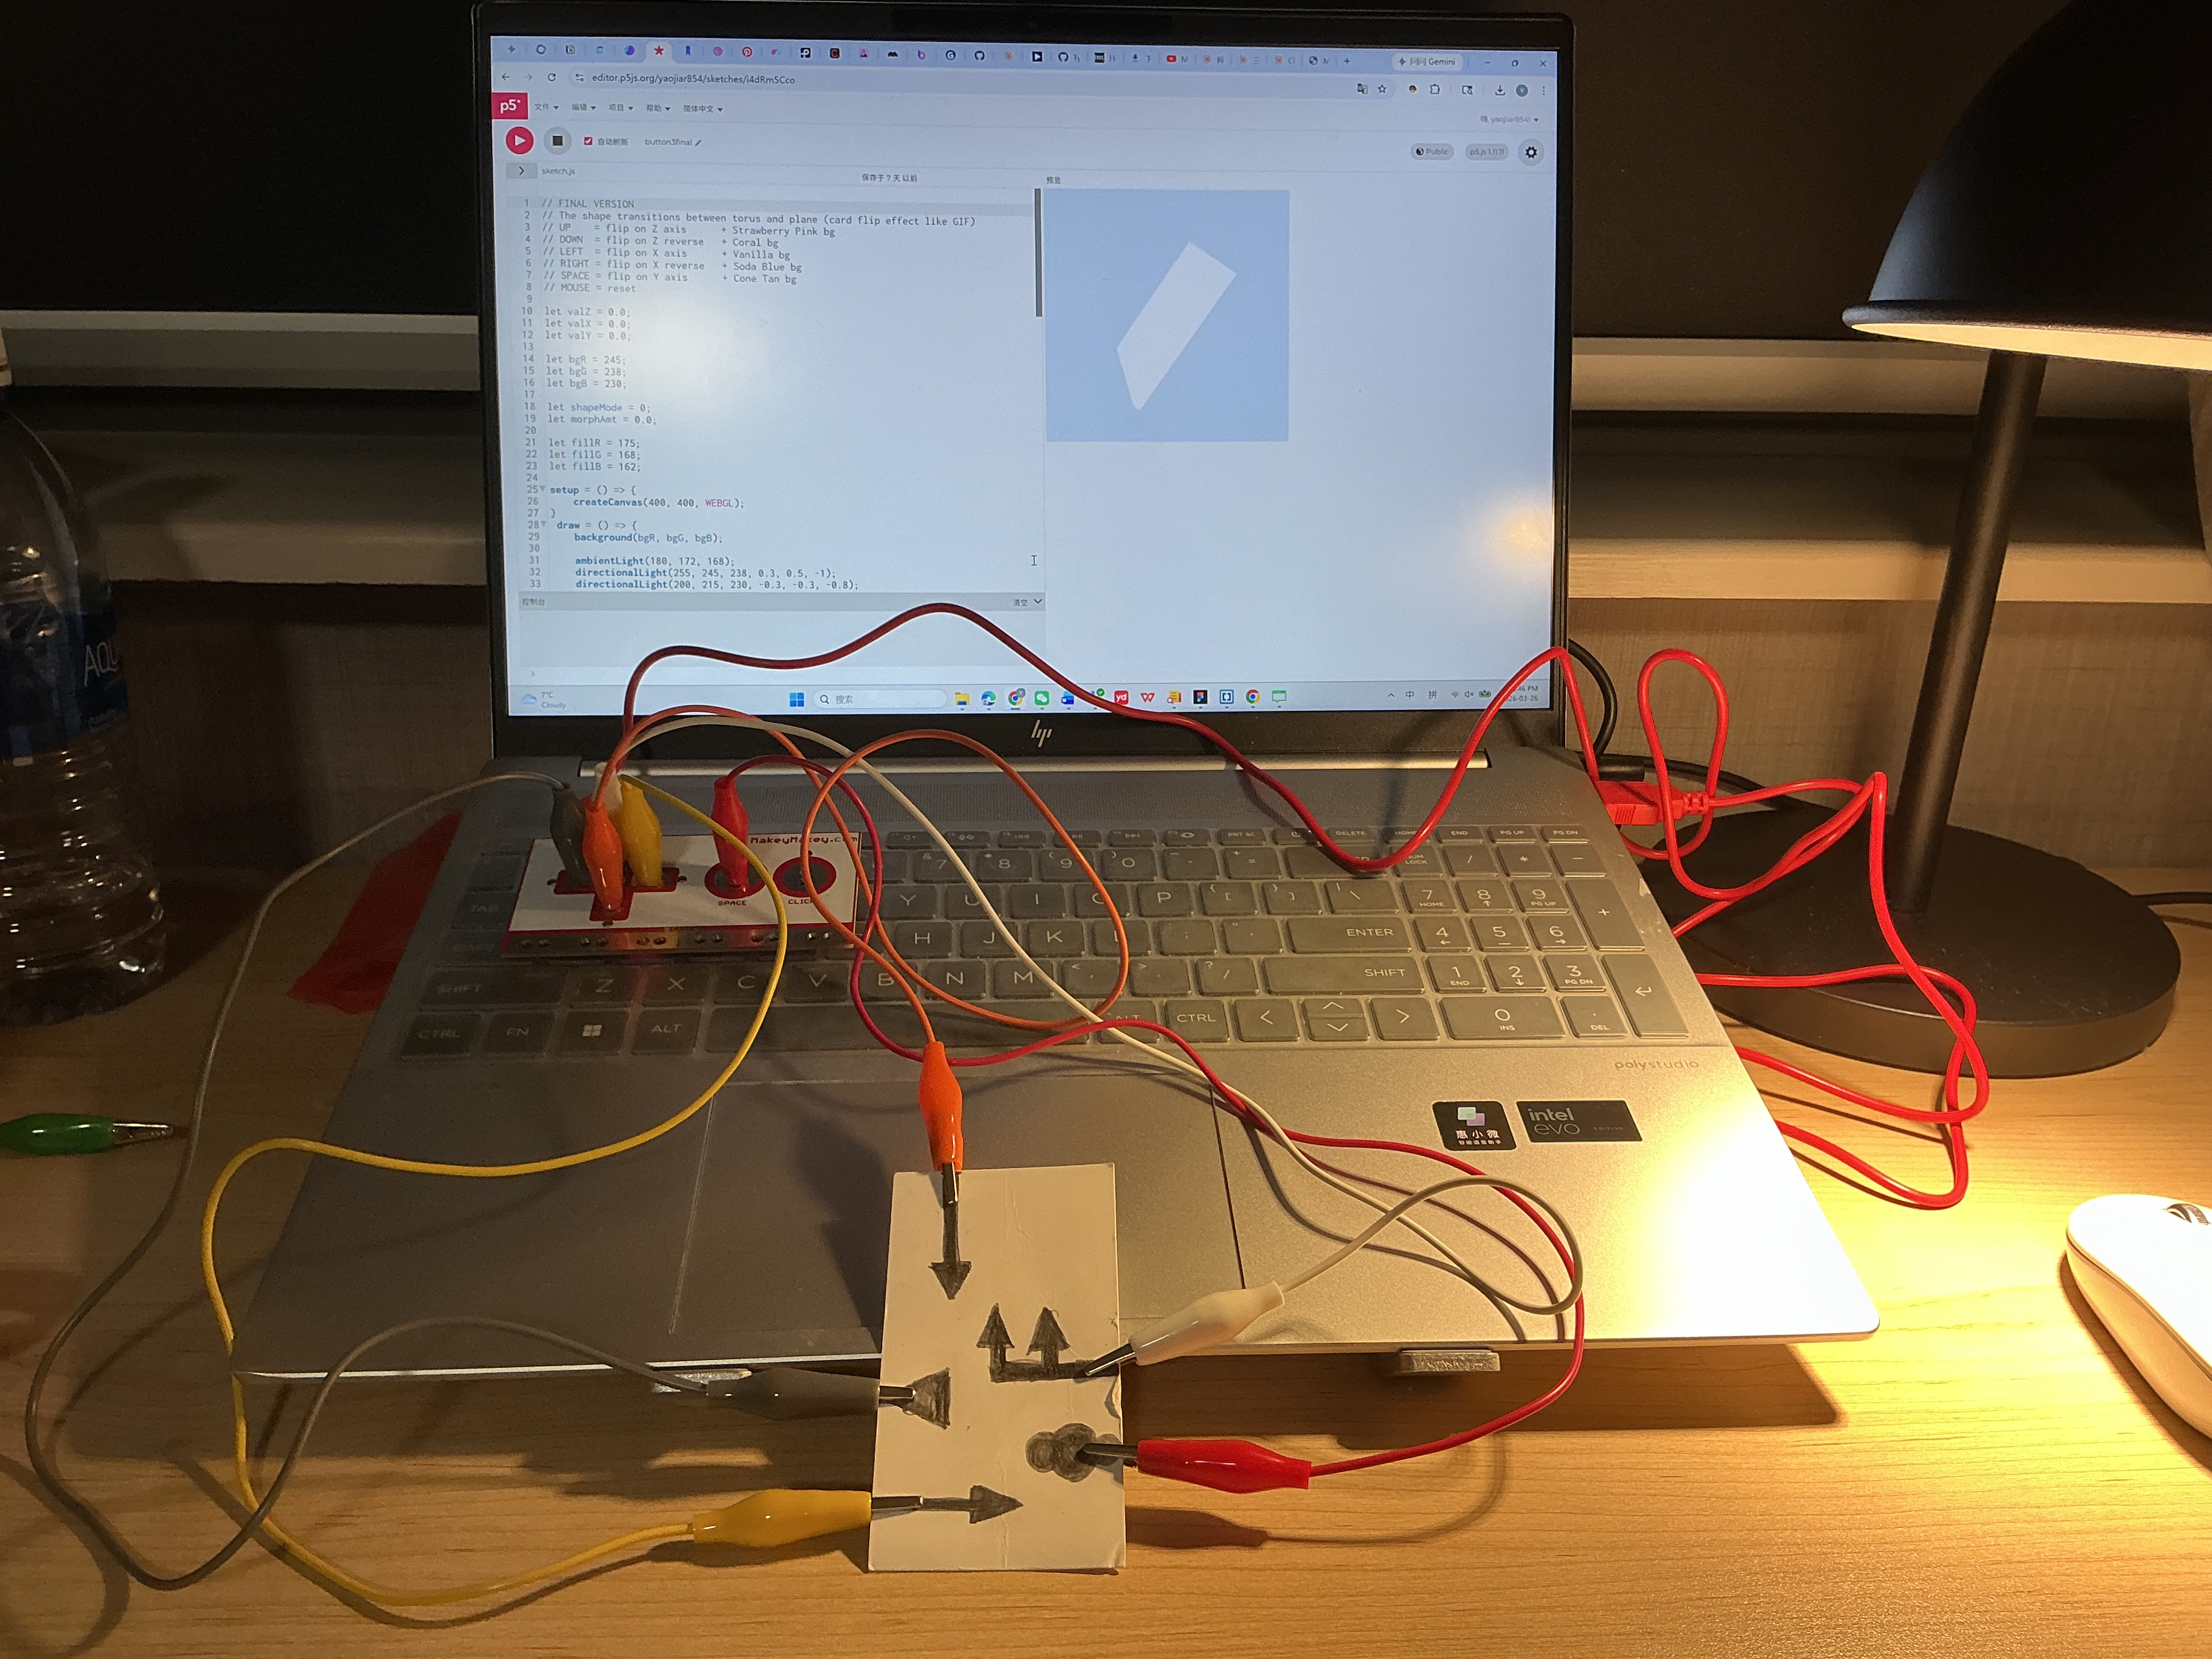
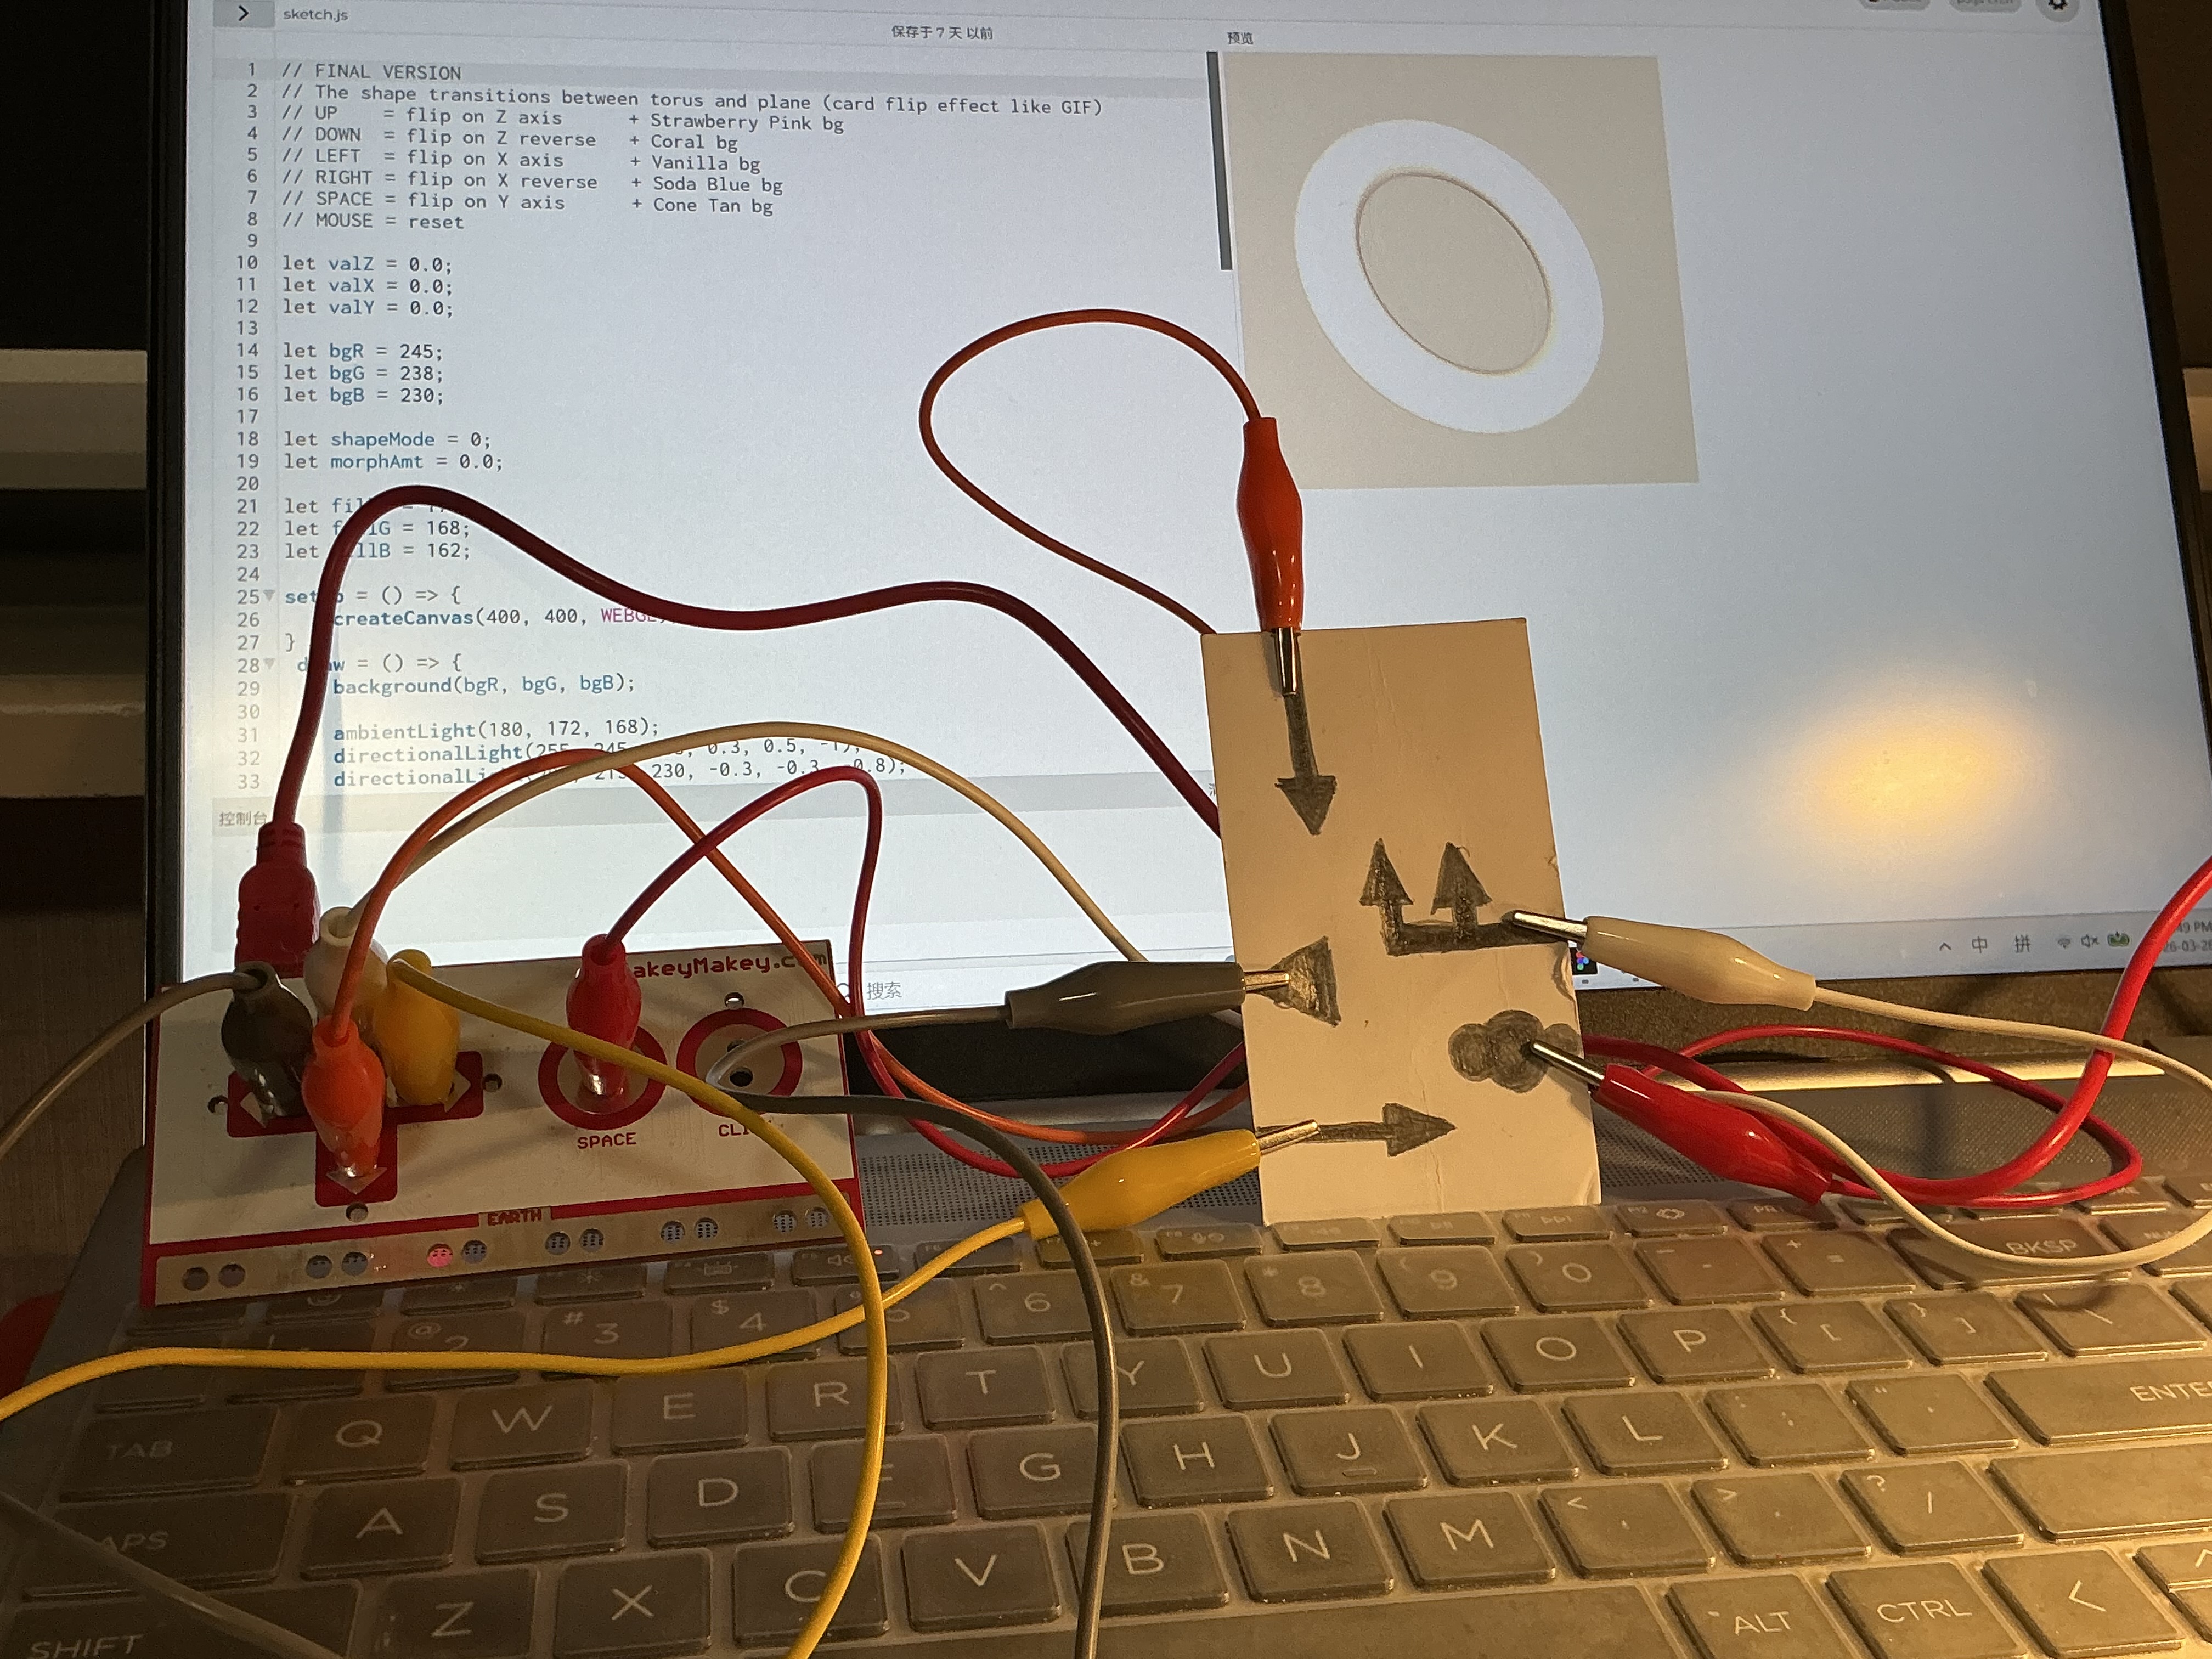
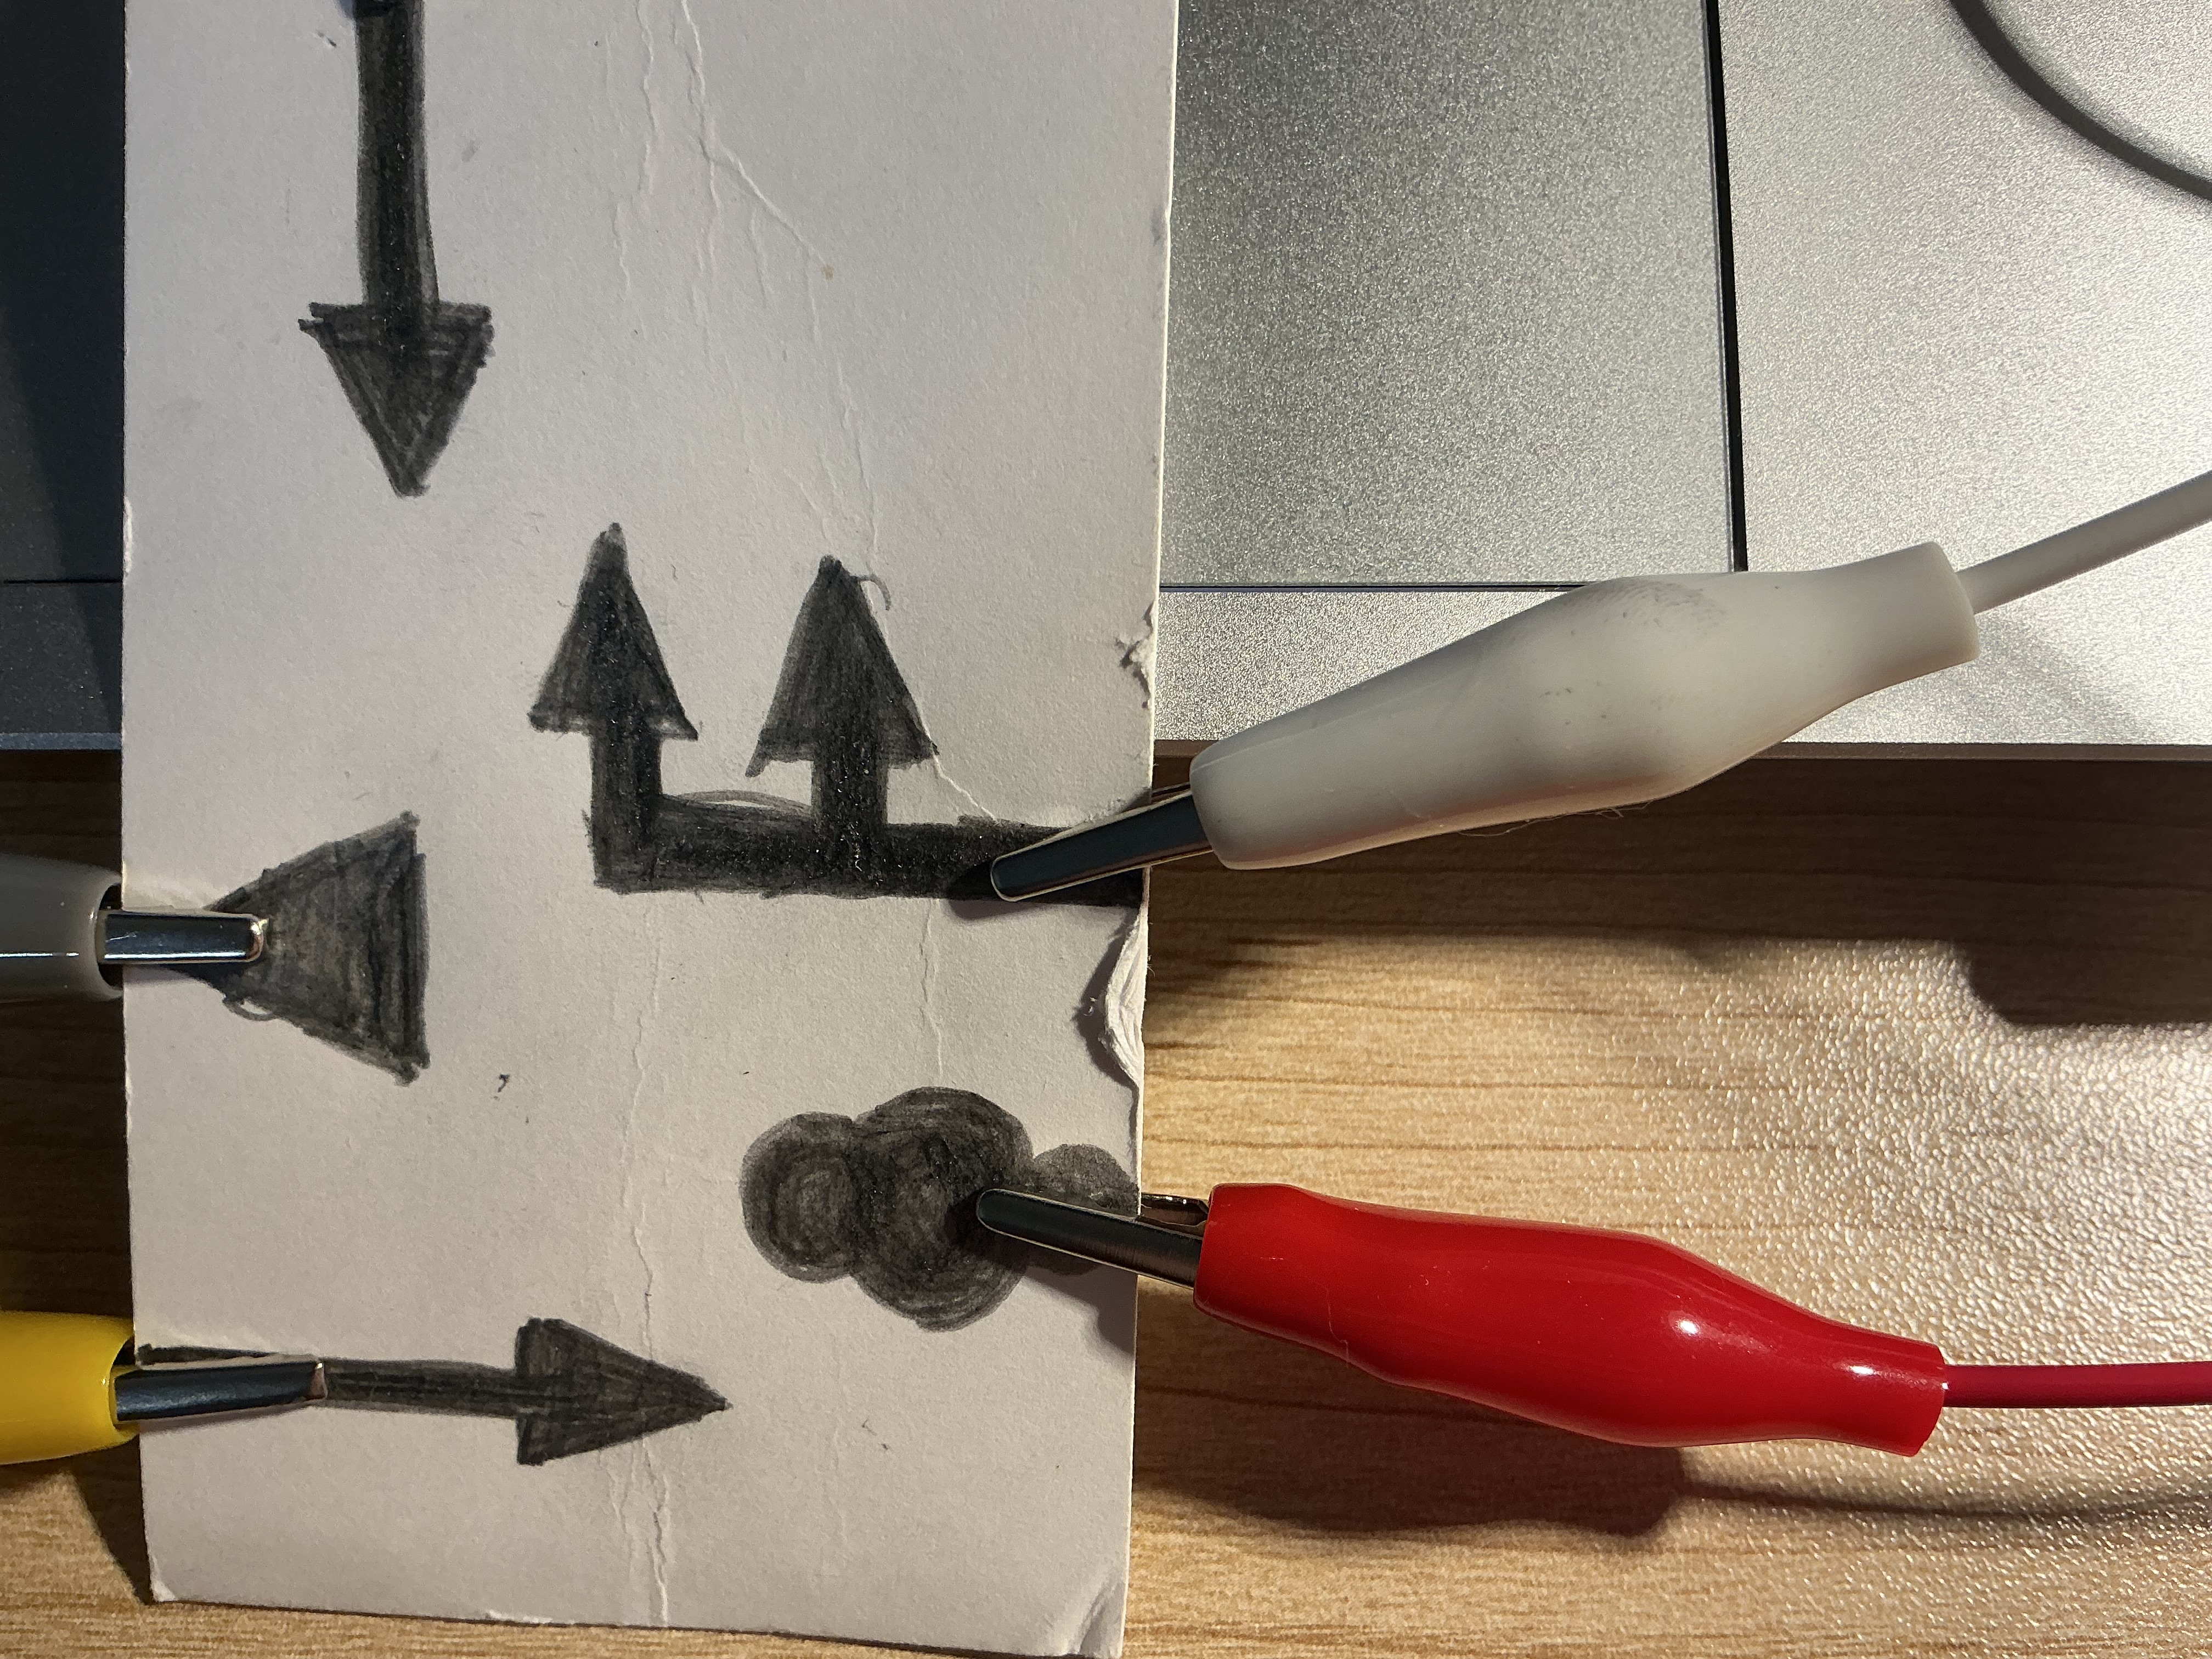
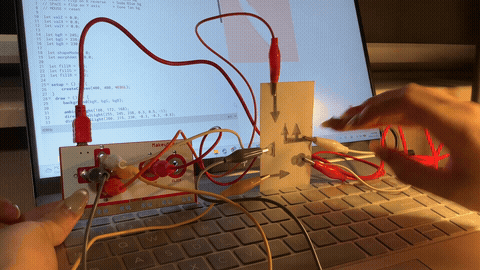
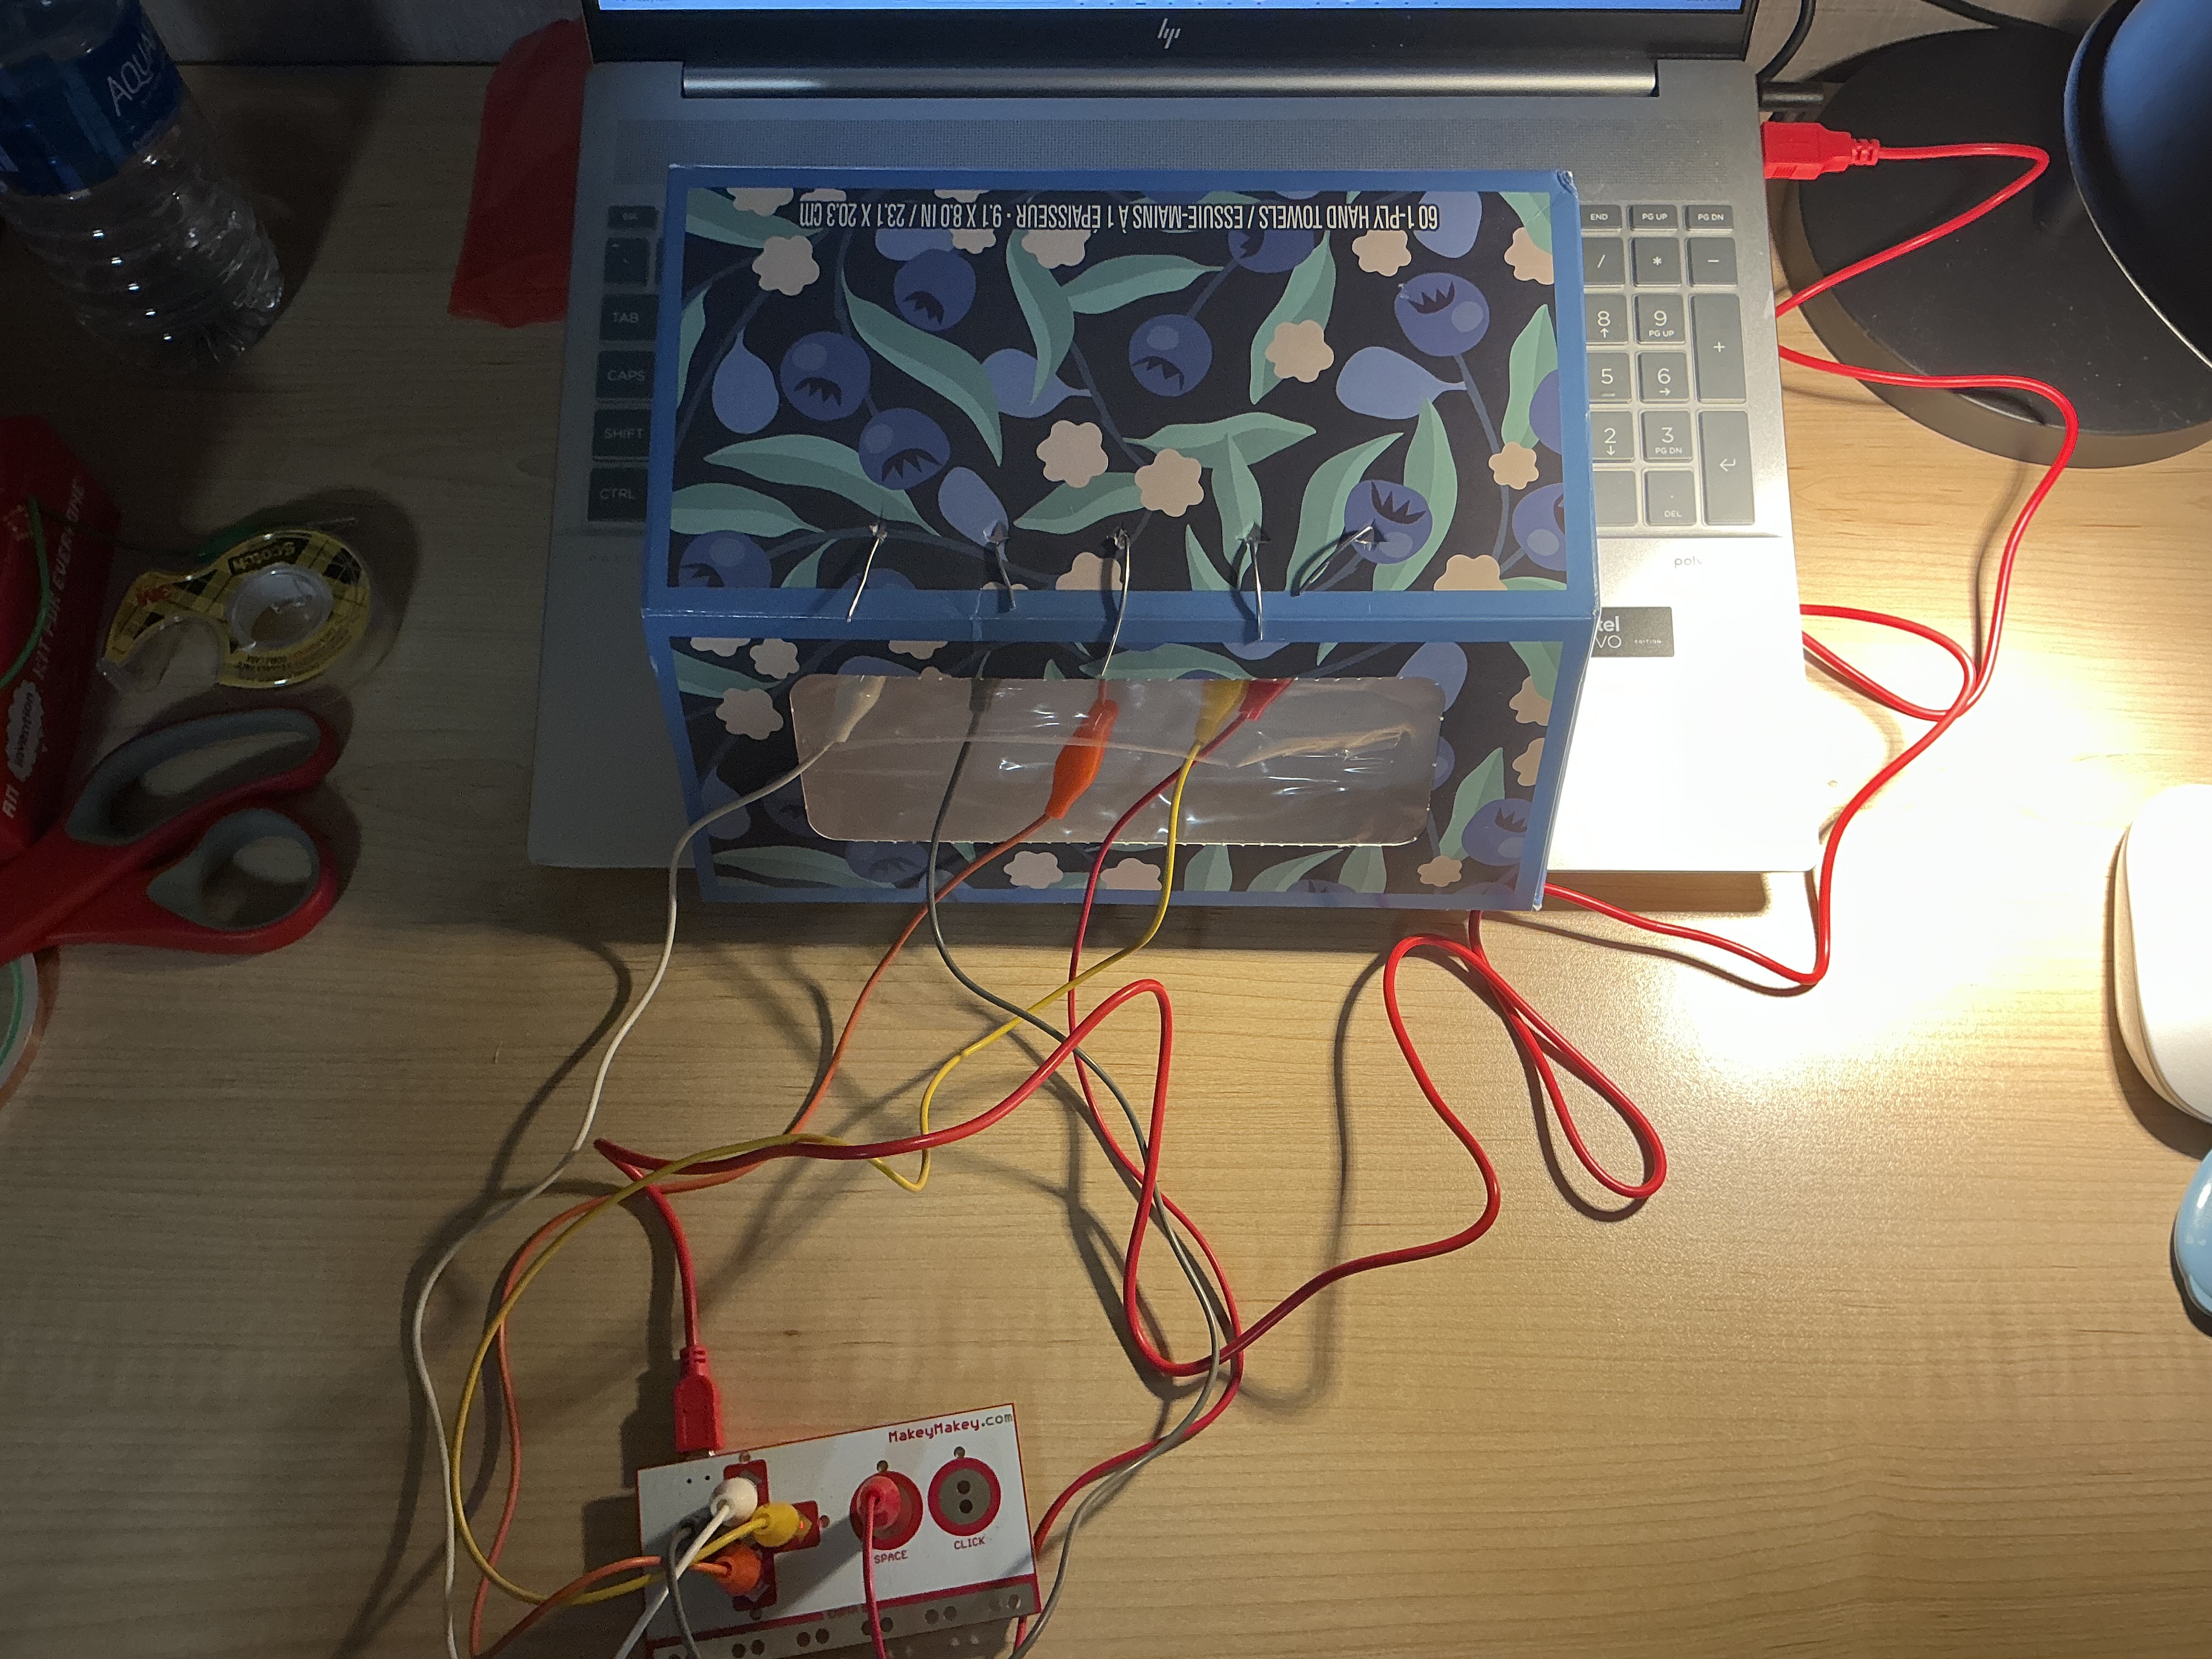
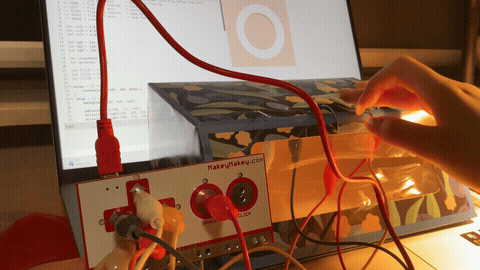
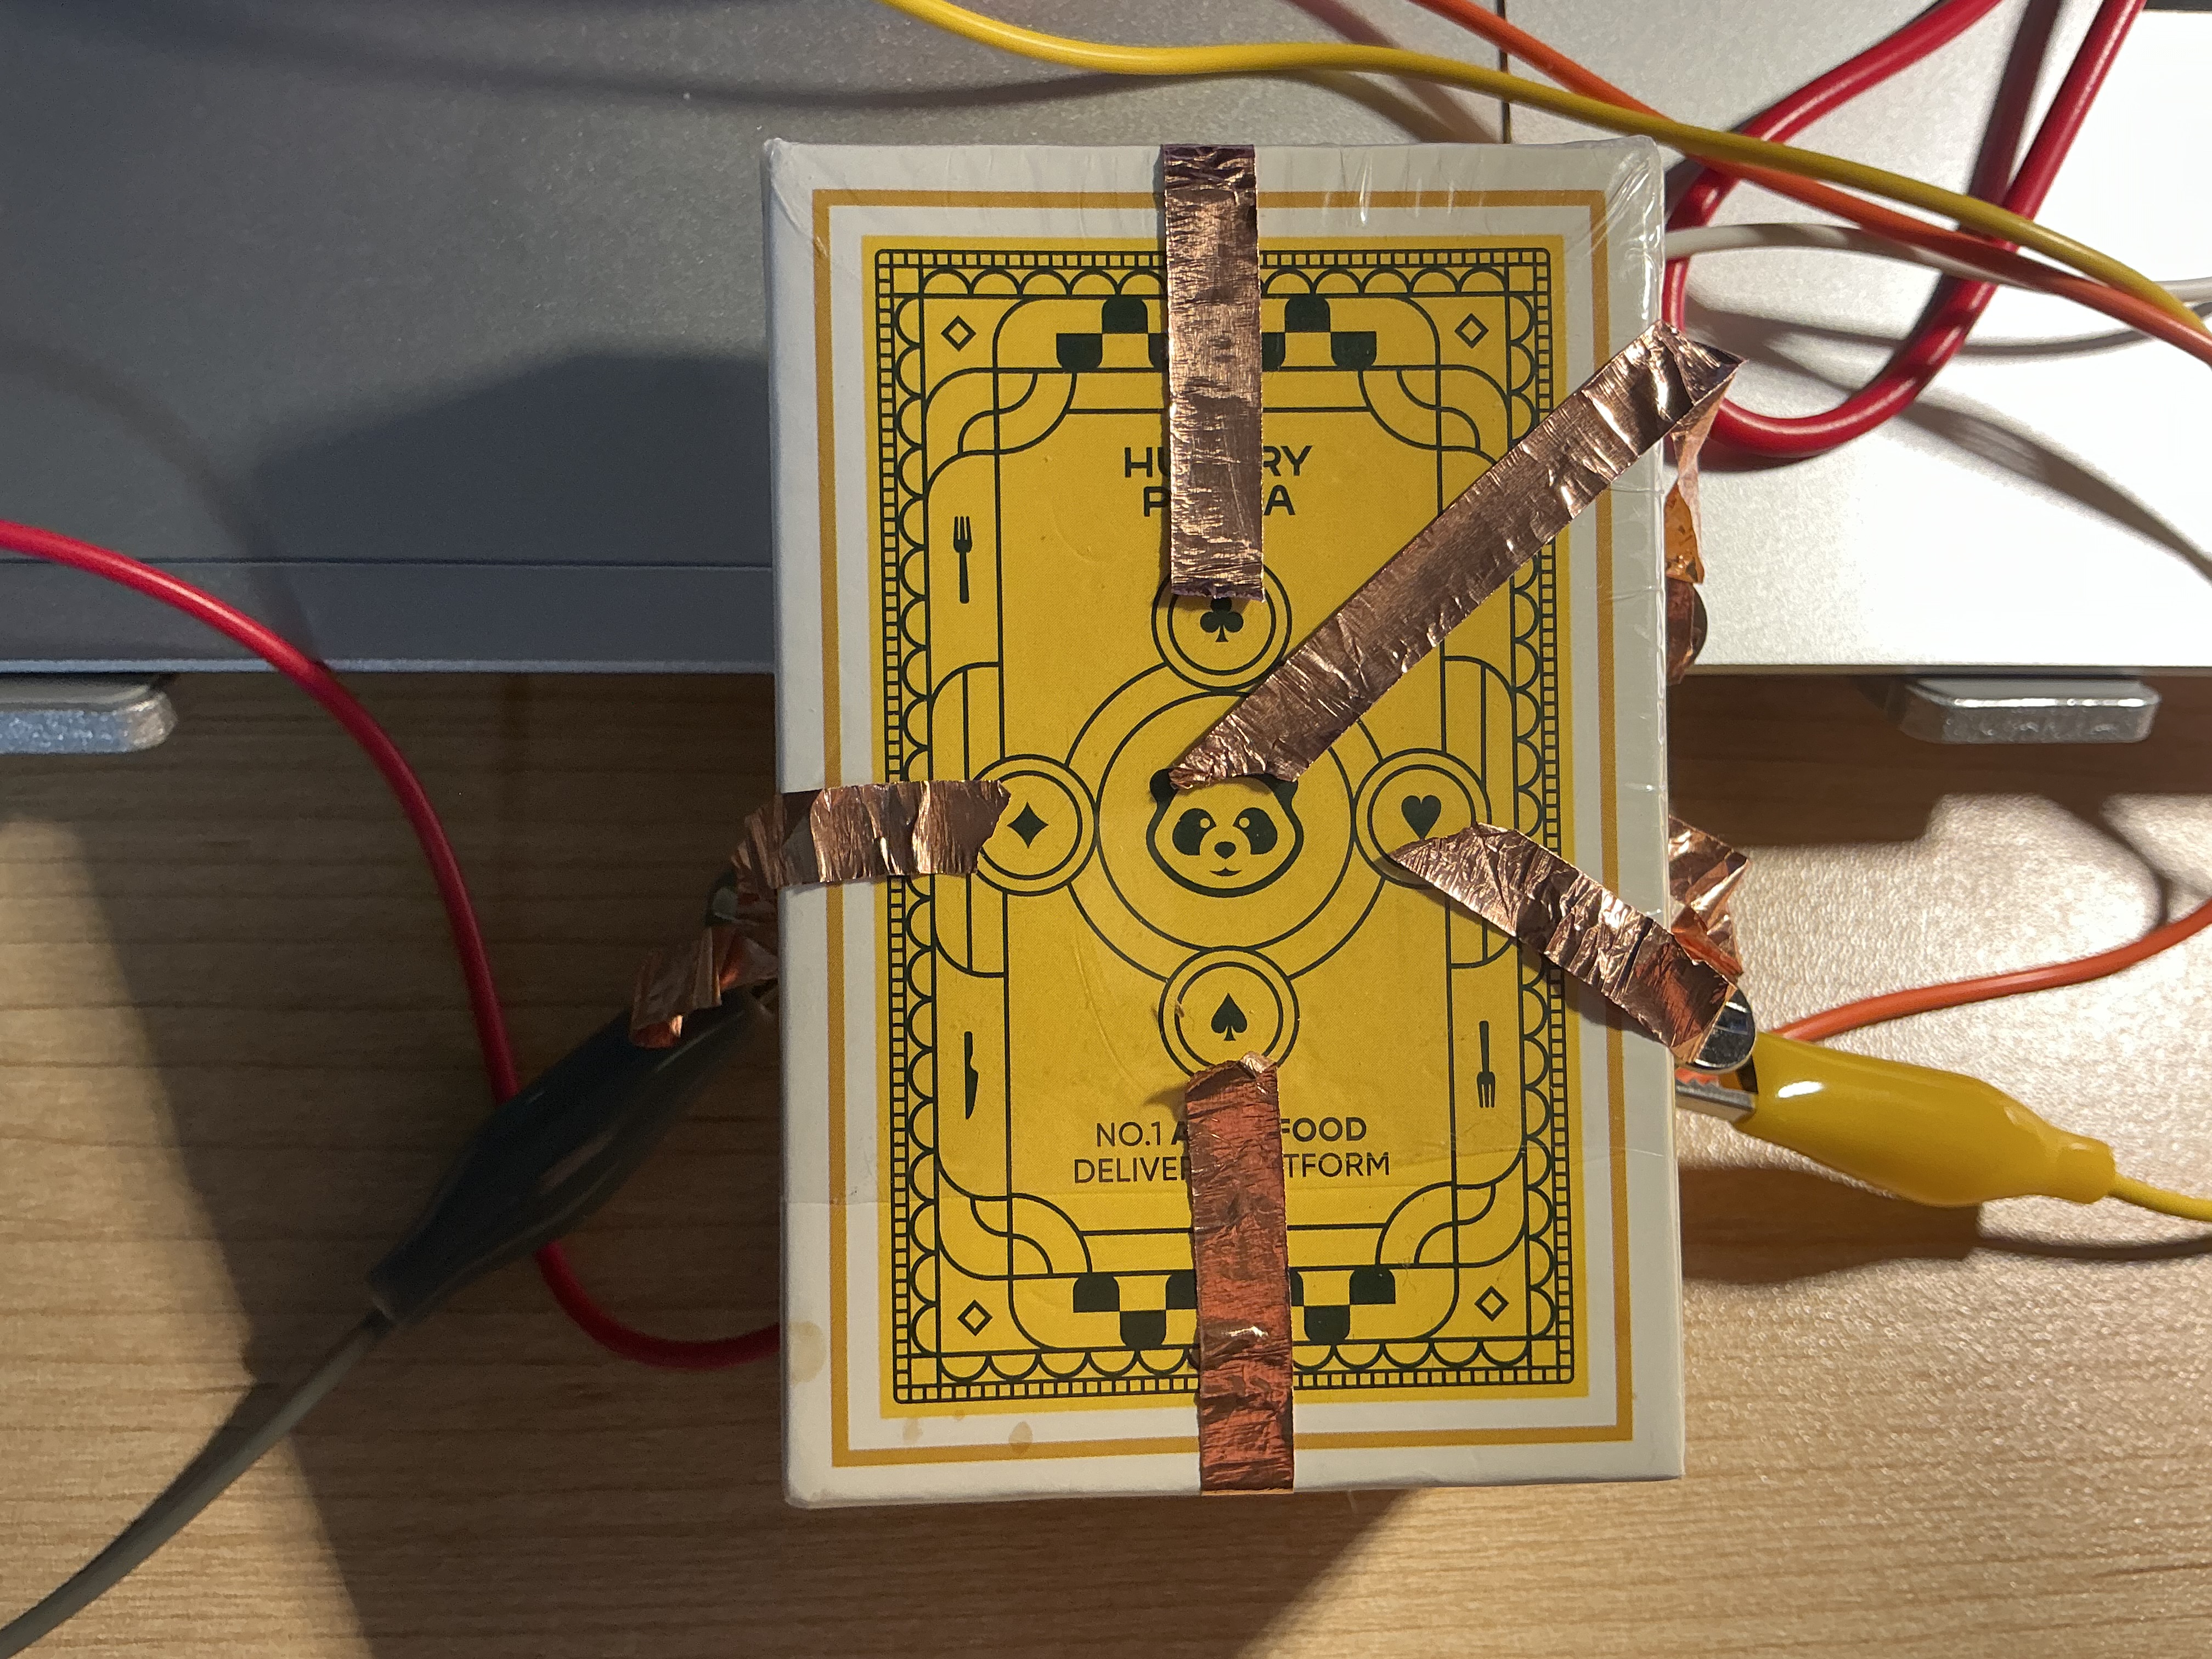
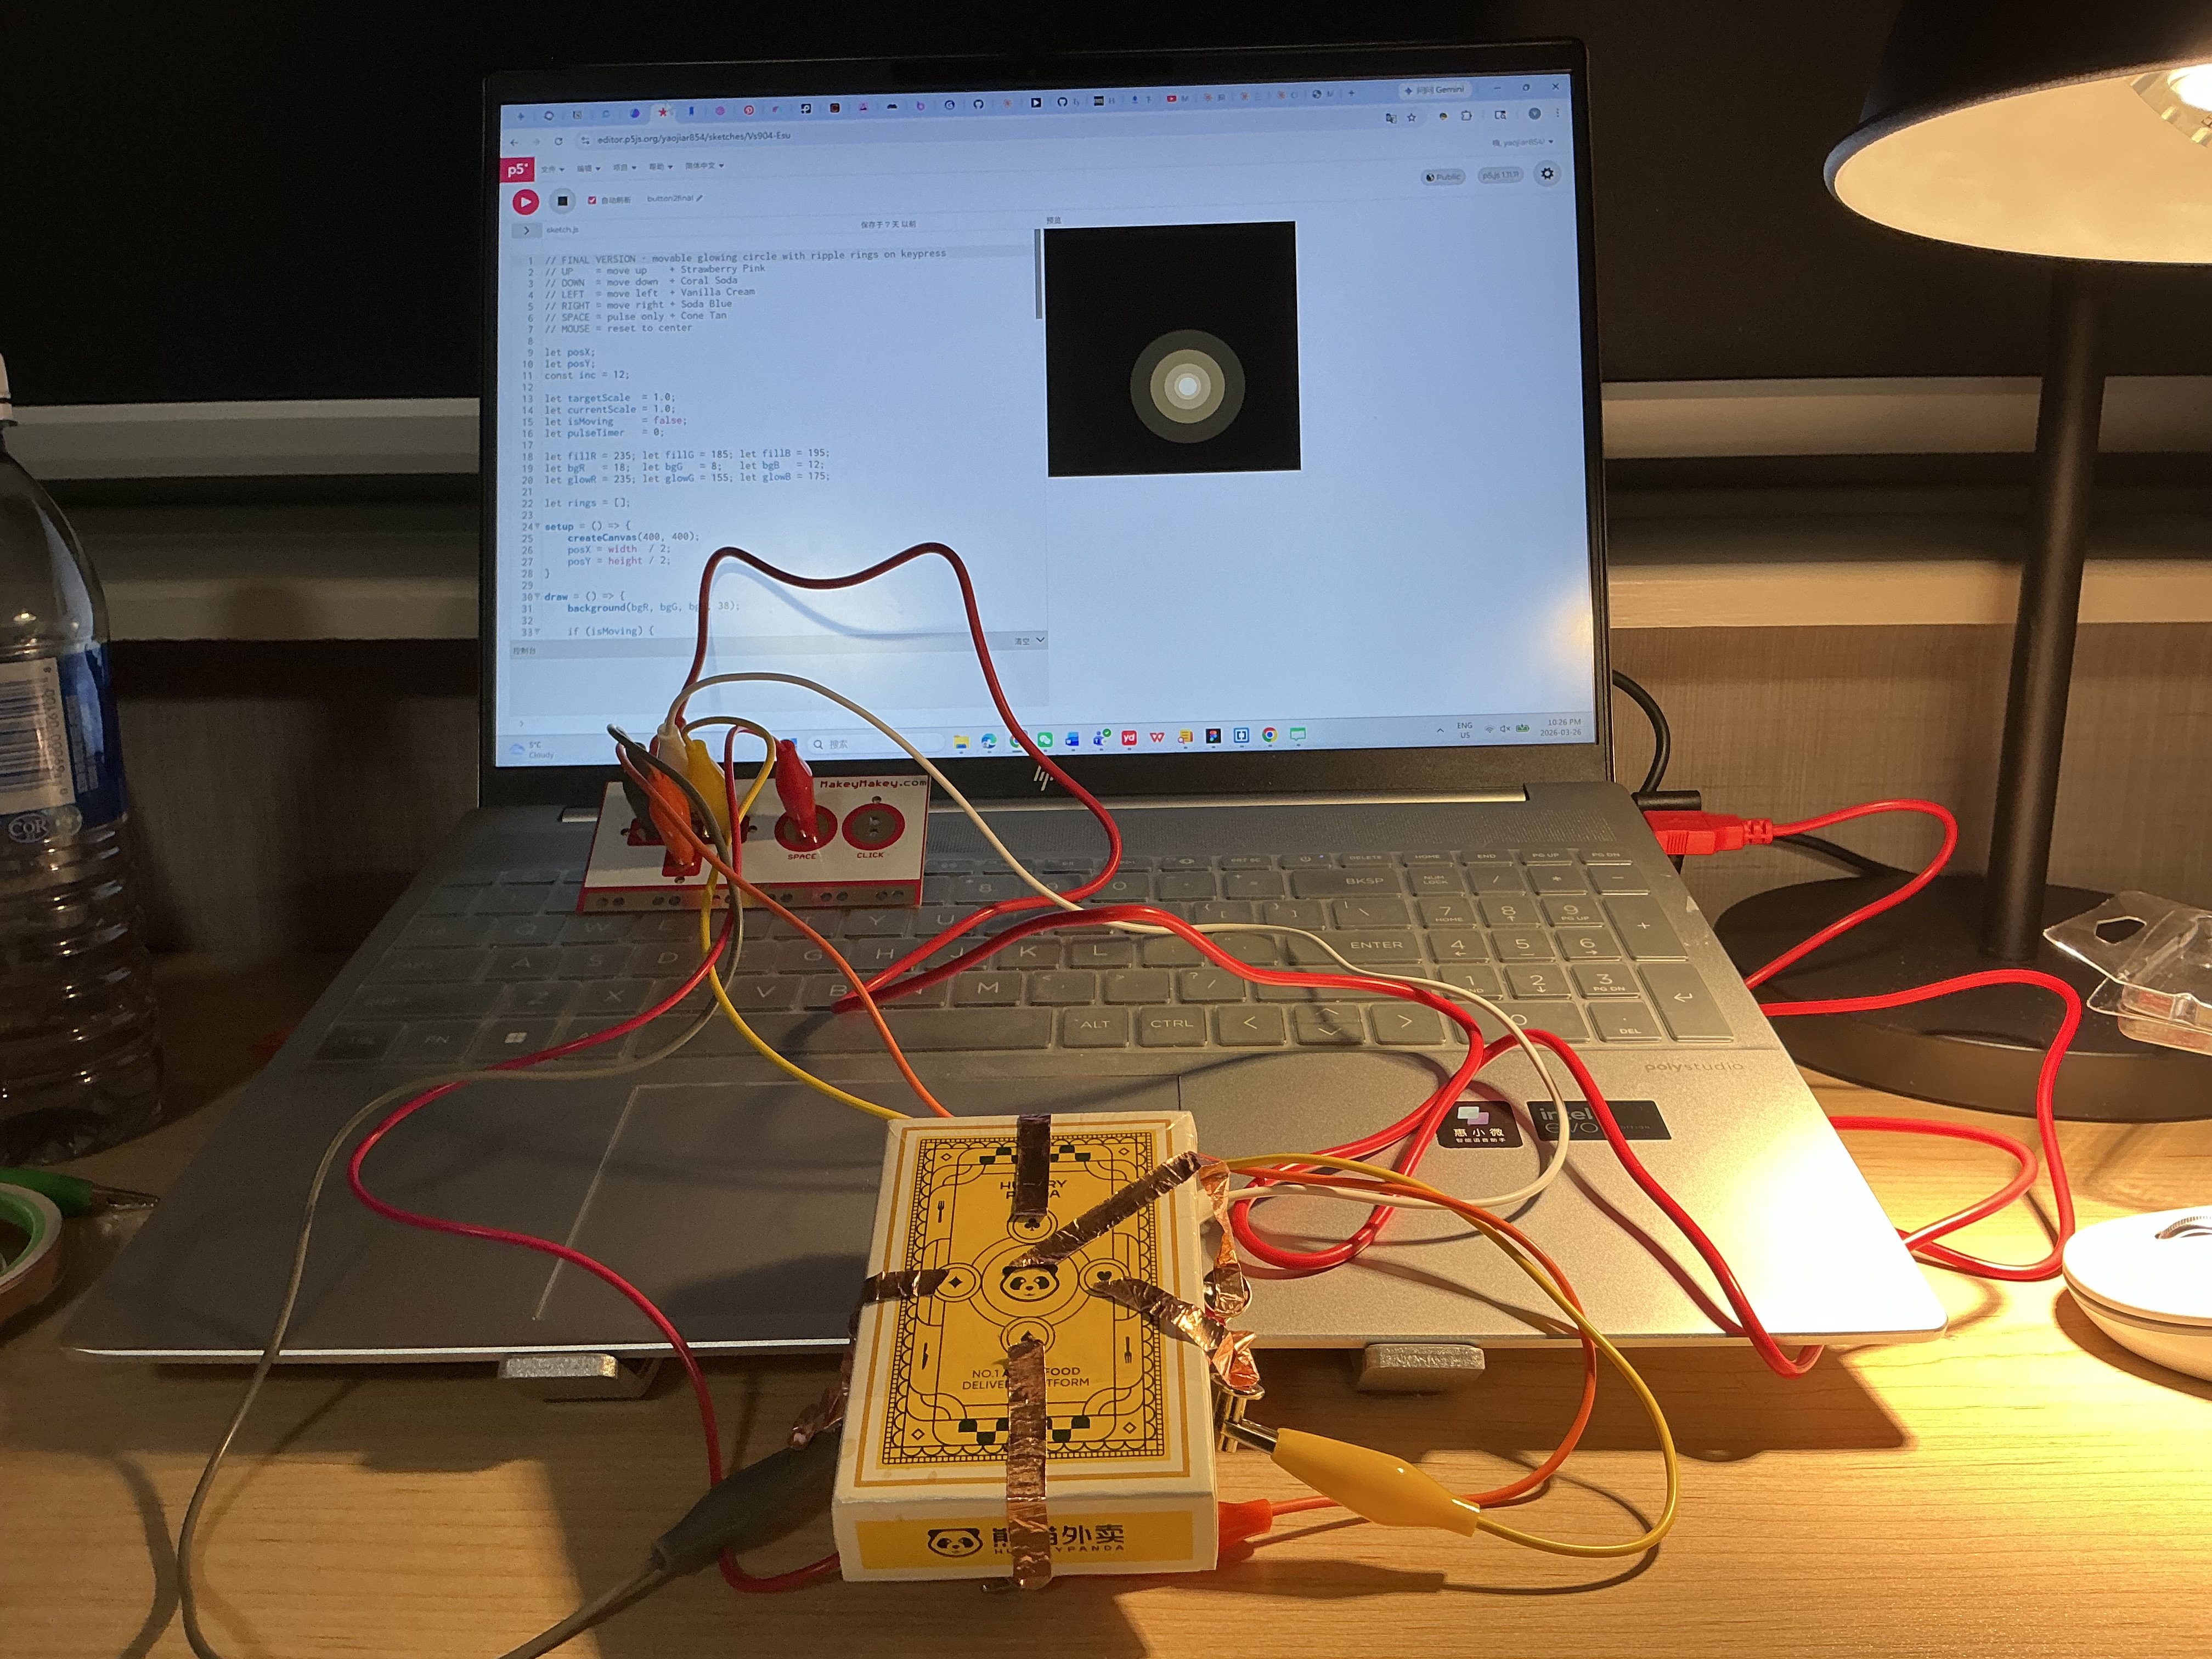
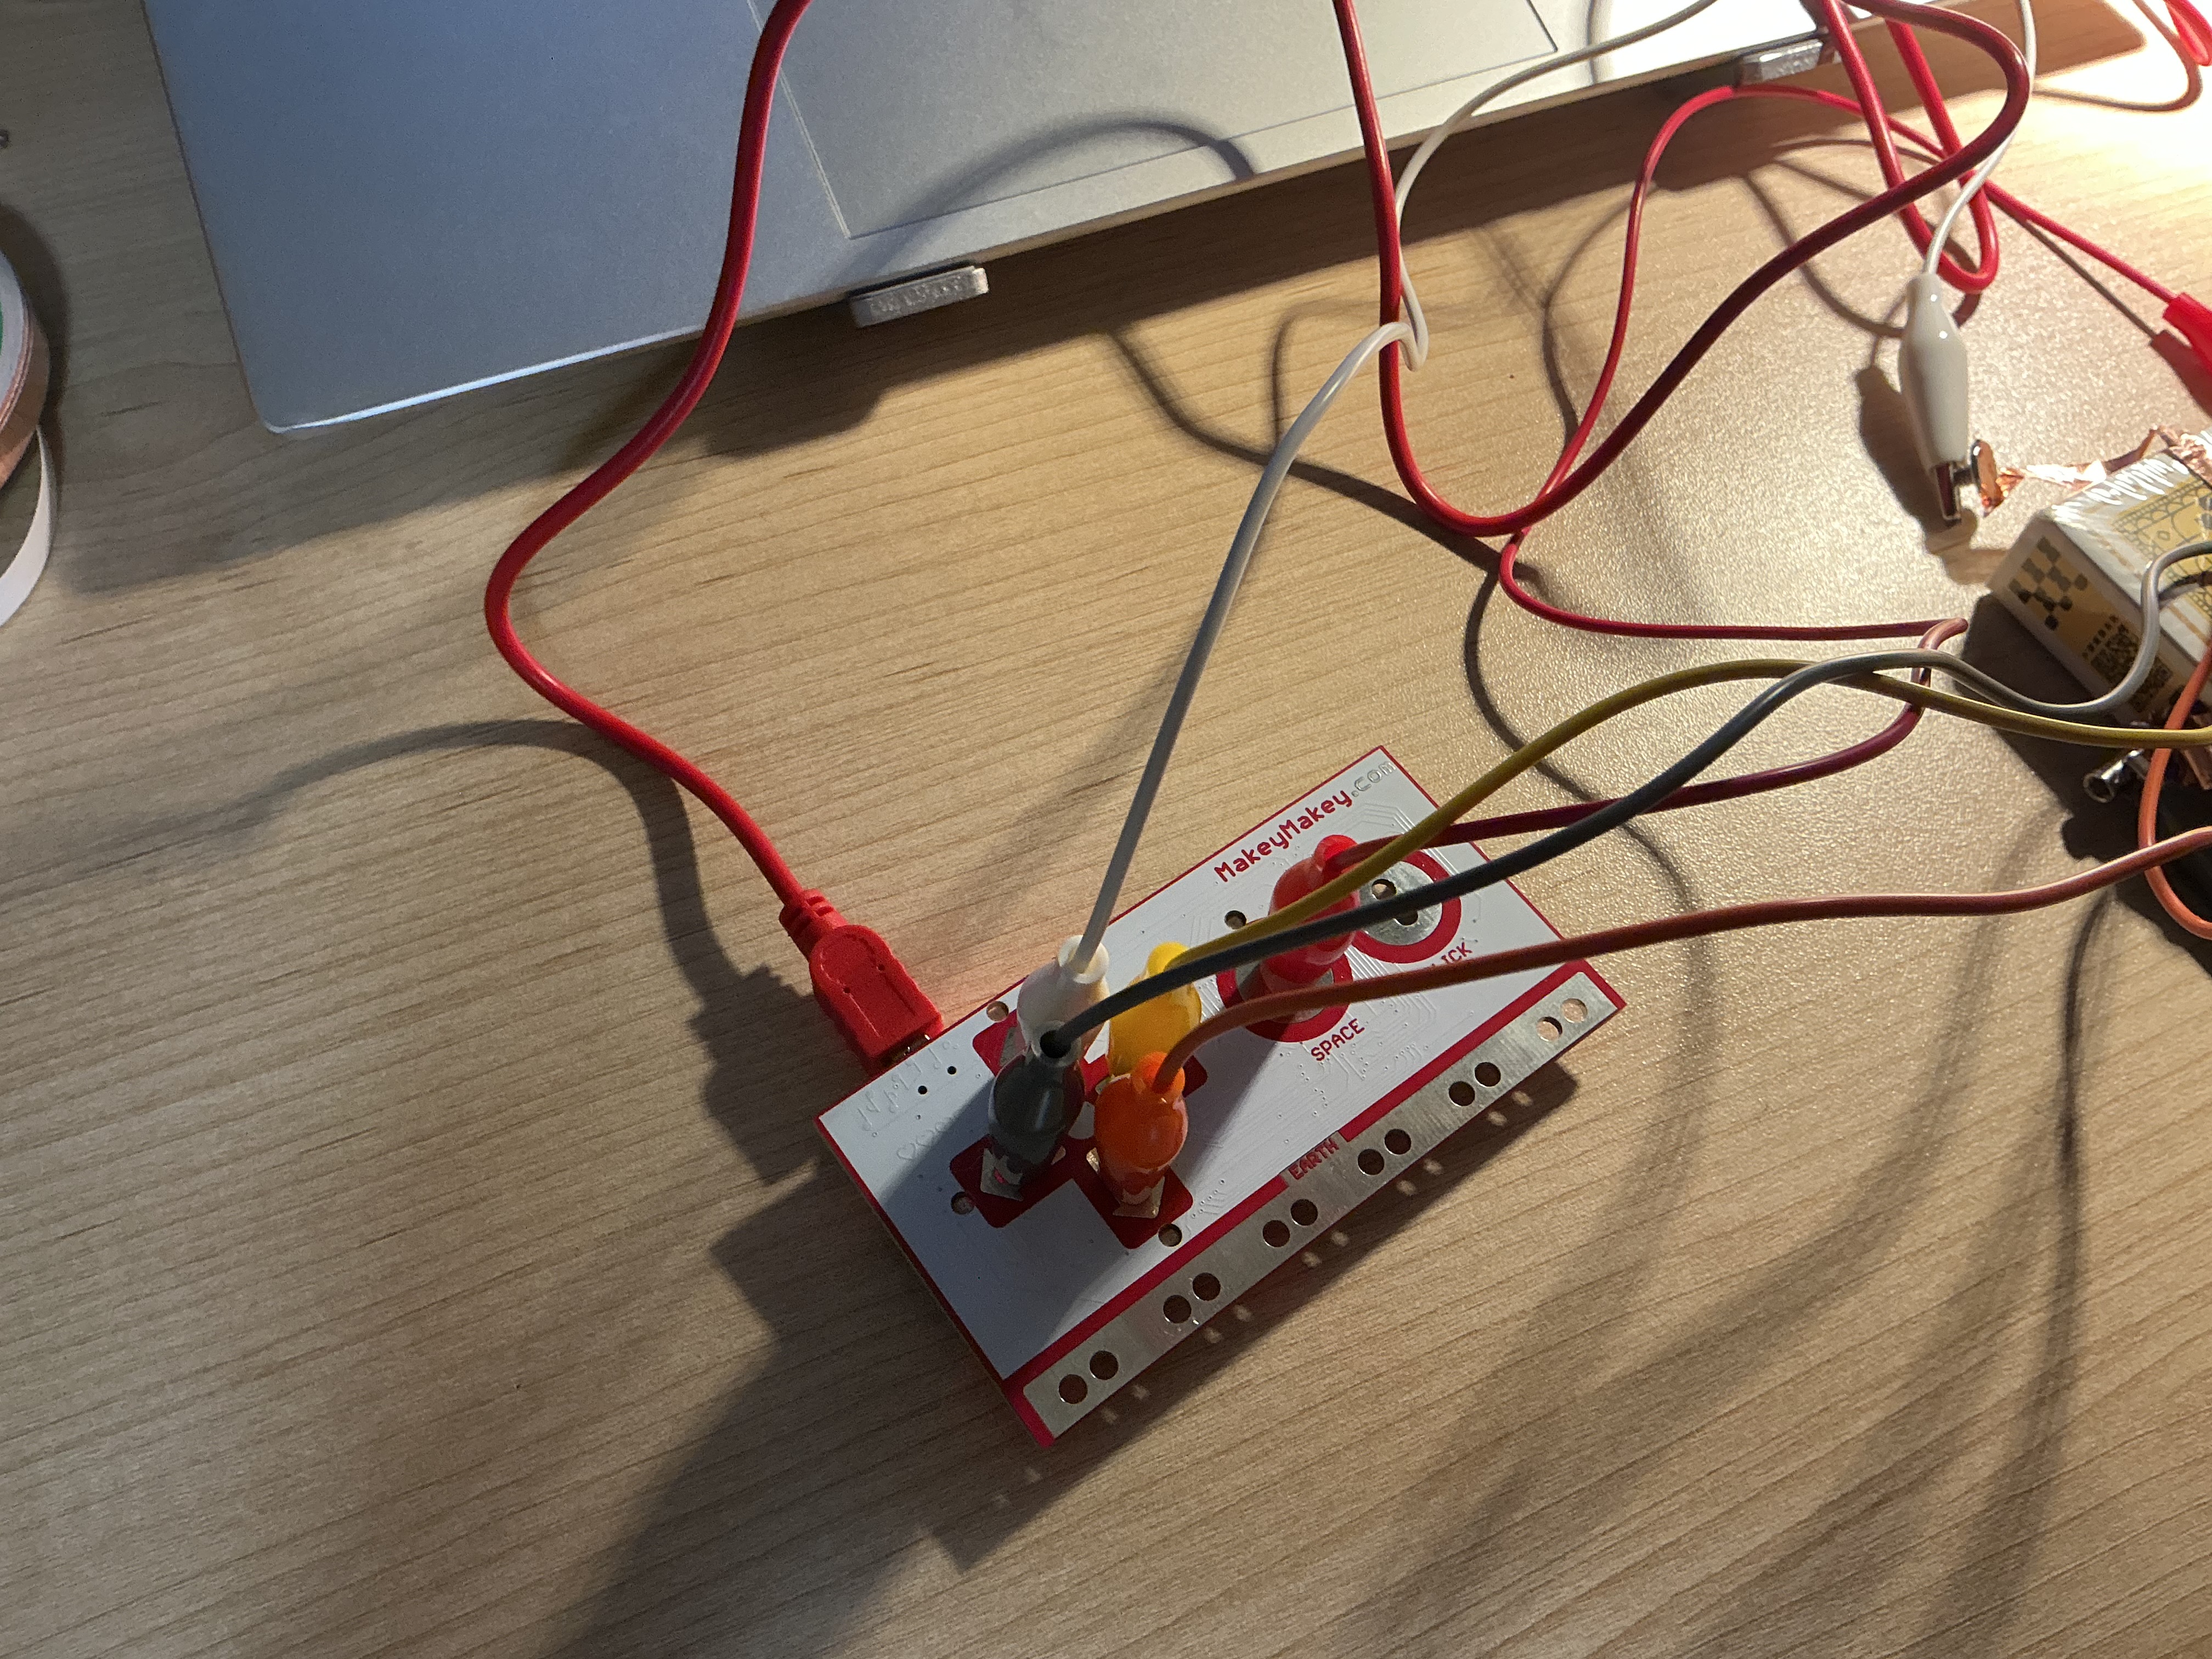
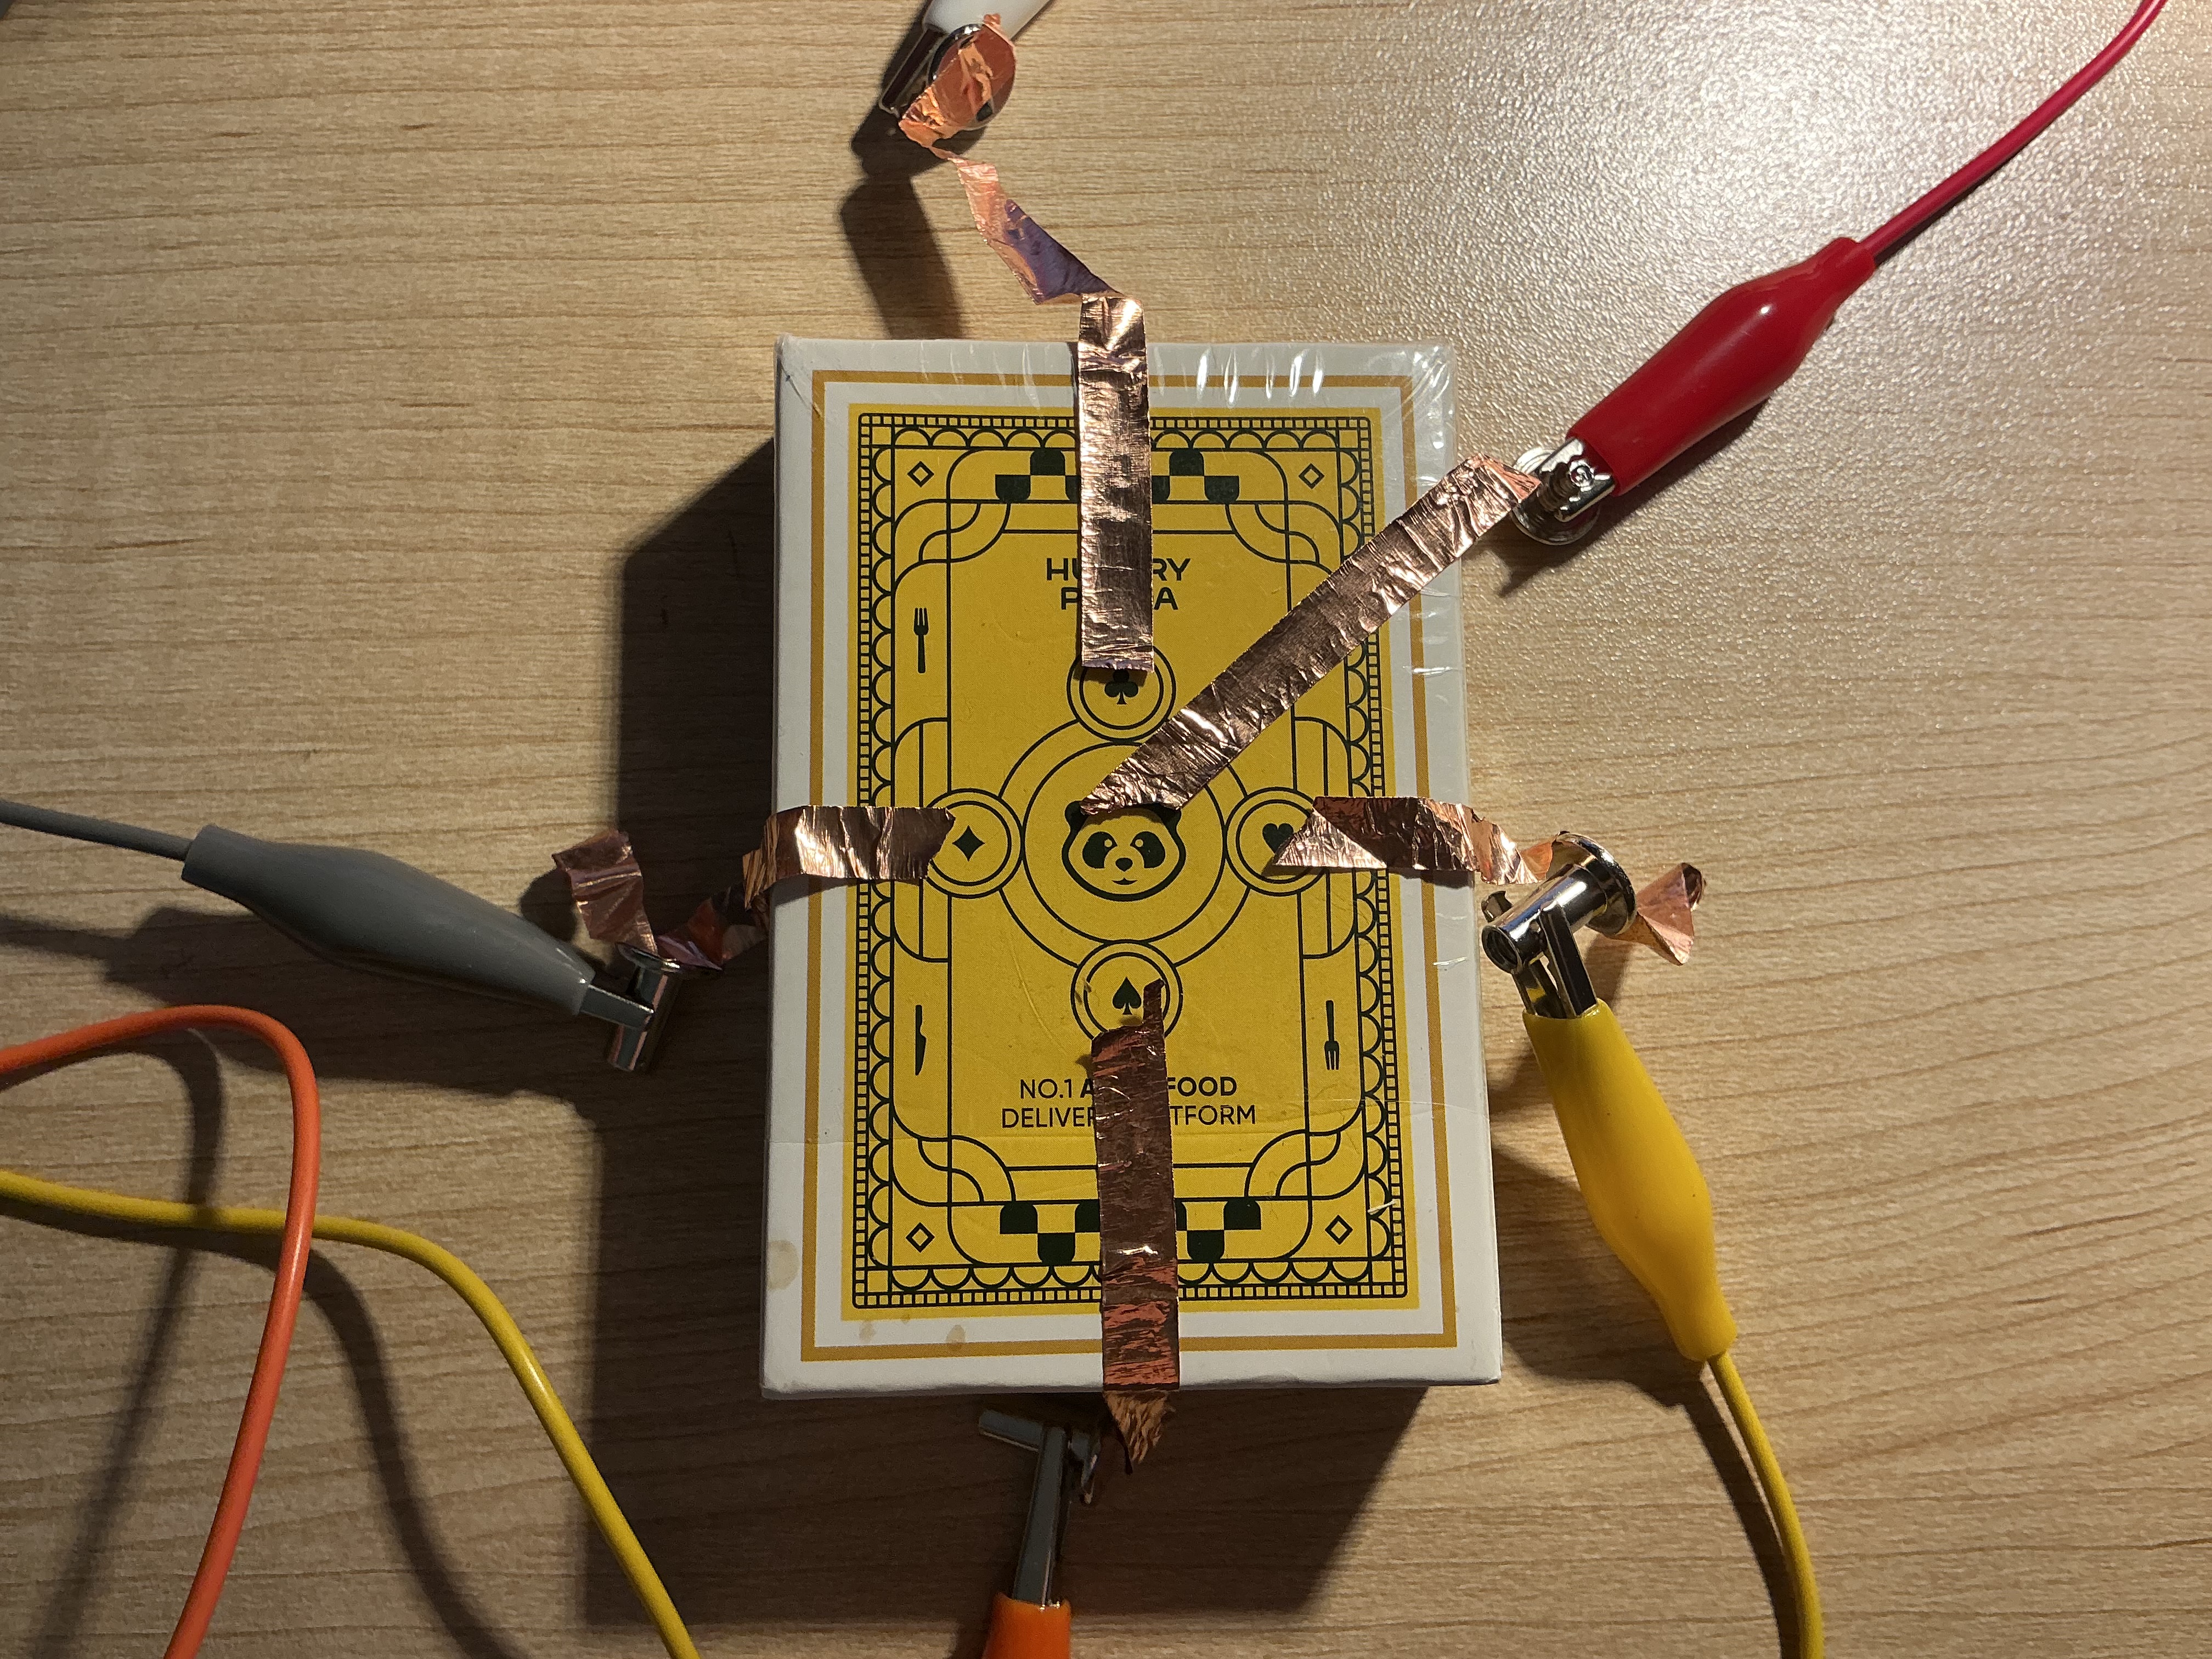
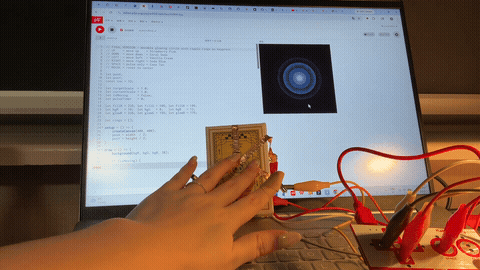
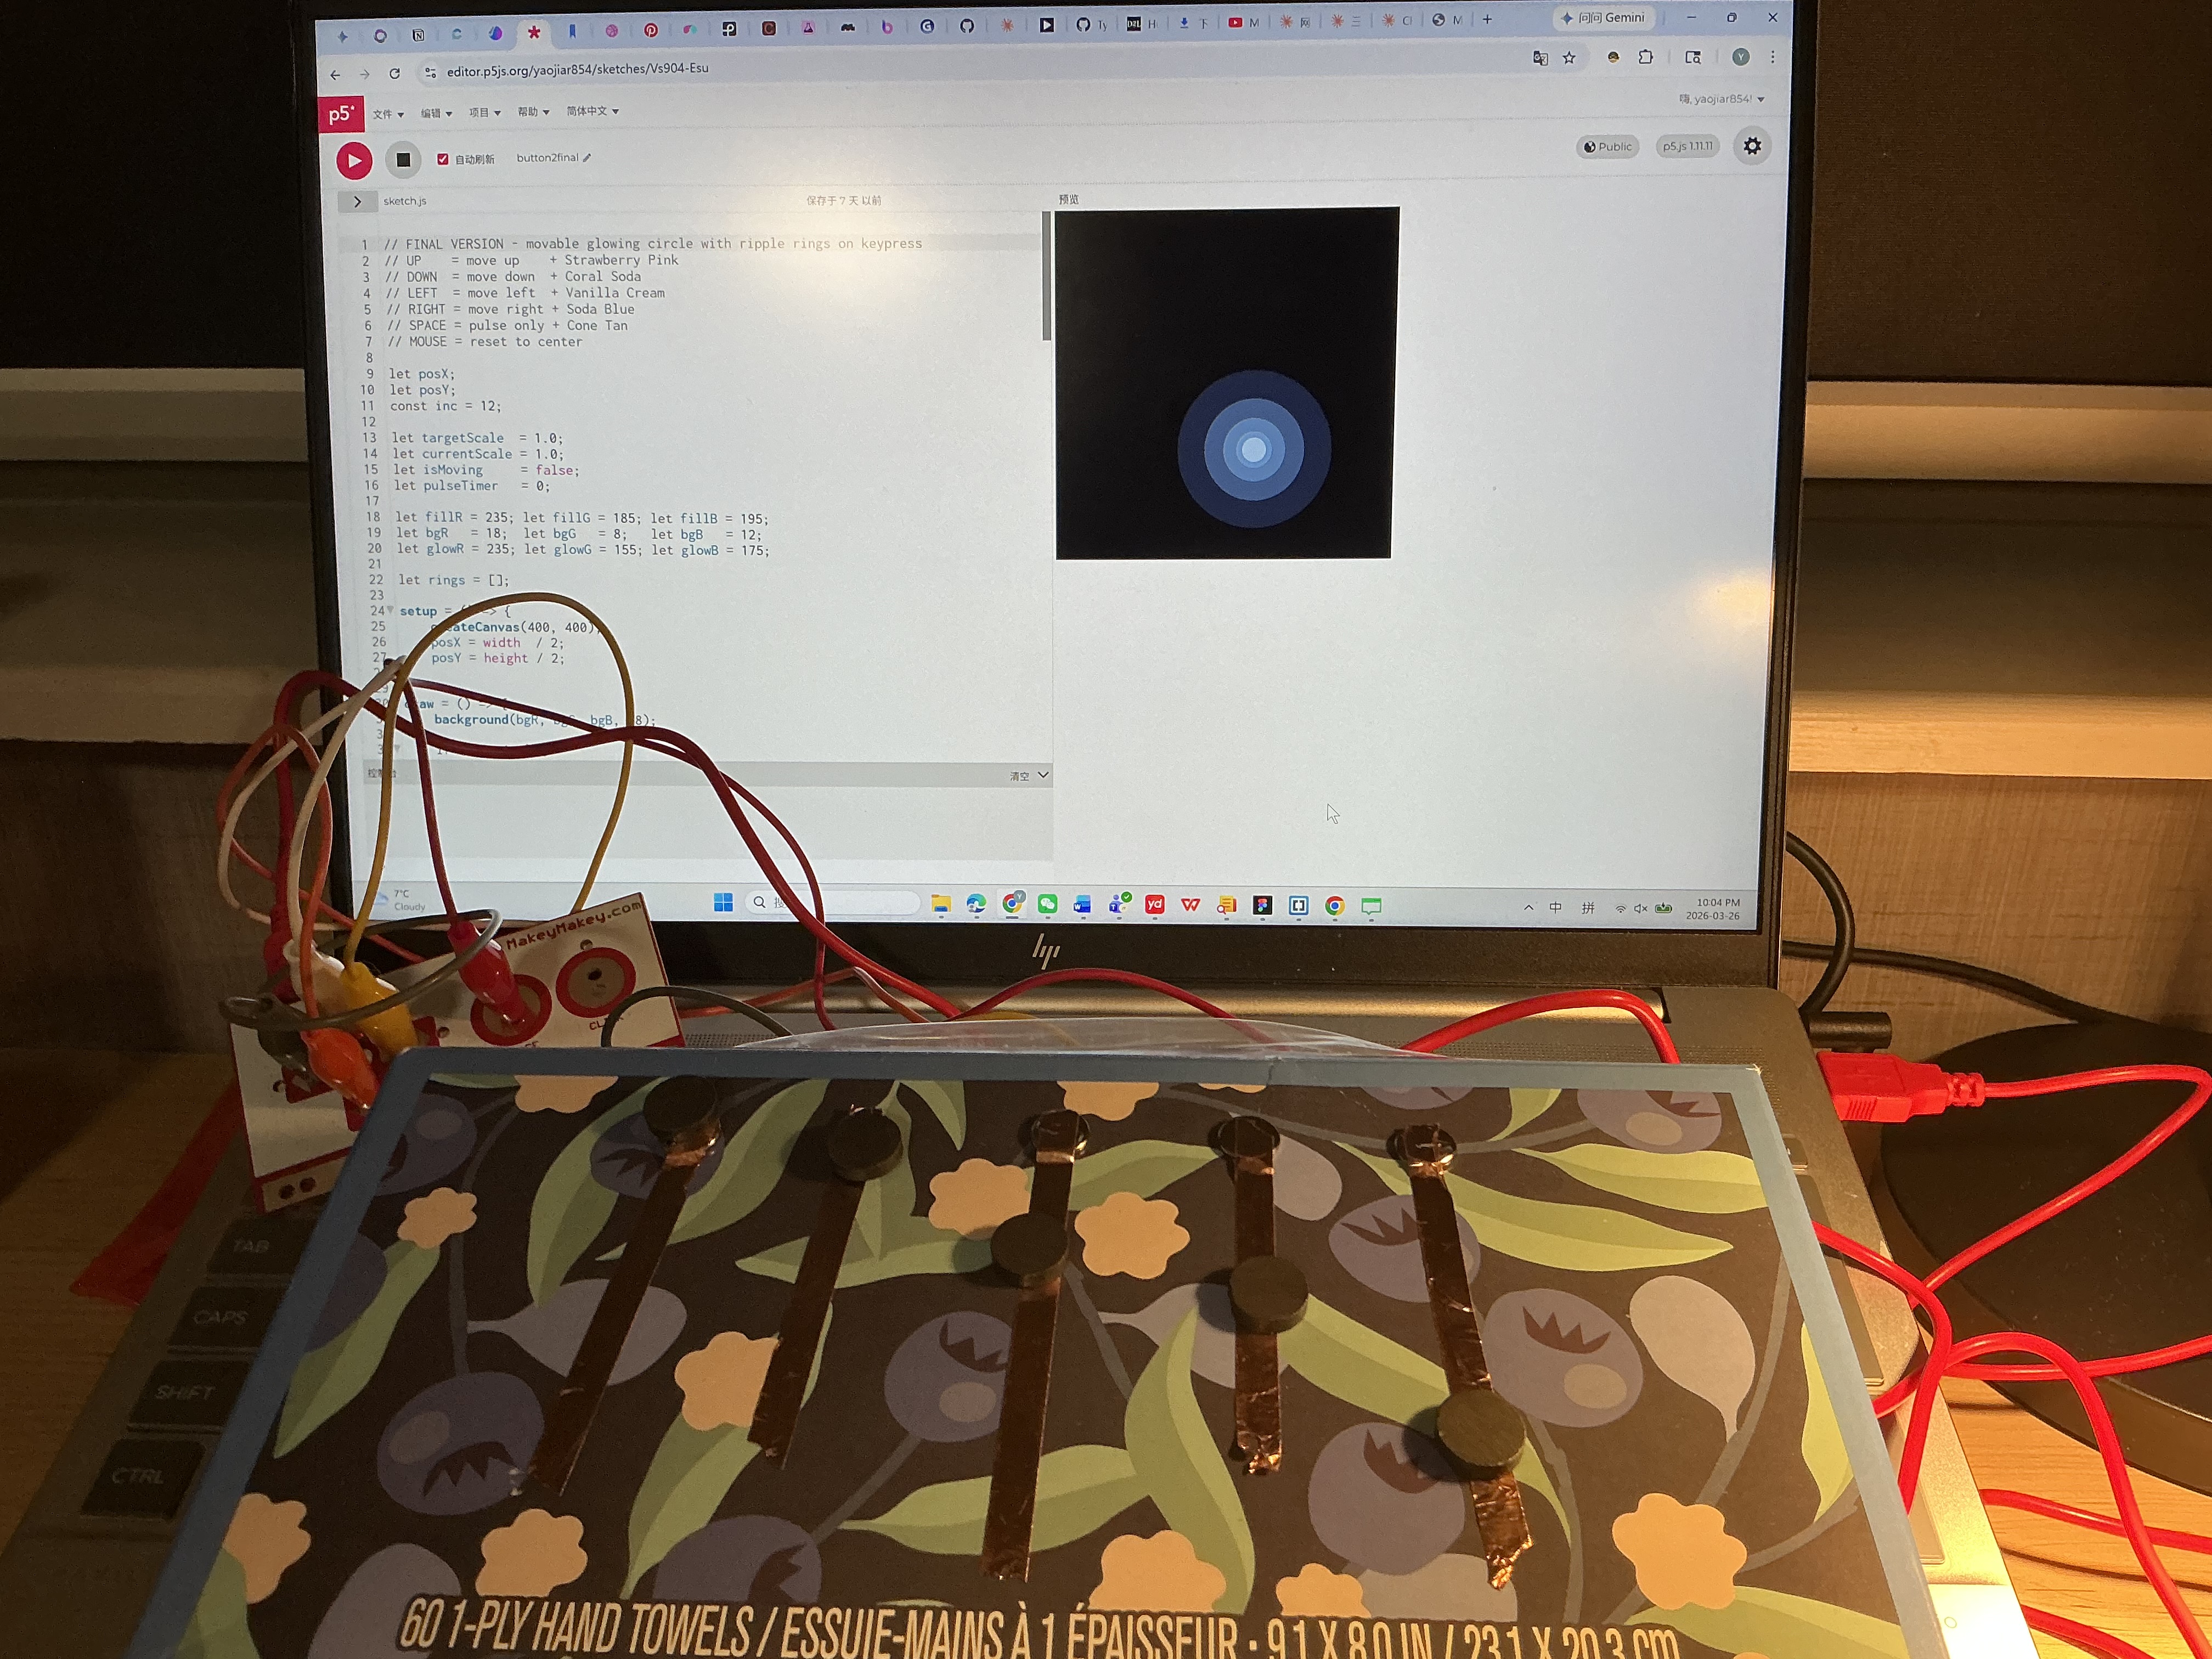
This activity explored what five buttons could generate across ten P5.js sketches, using a consistent ice cream and soda colour palette as a visual thread from start to finish. Each simple version isolated one core idea — colour change, 2D movement, 3D rotation, or camera navigation — while each final version layered multiple behaviours together, such as ripple rings on keypress, morphing 3D shapes, and ribbon confetti filling a navigable space. The greatest leap came in Sketch5 final, where microphone amplitude was added as a sixth invisible input, fading the torus in and out with sound. Throughout, the Makey Makey replaced the keyboard without any code changes, confirming the system was built for physical integration from the start.

PART 02

Activity 1

Hand holds Makey Makey up to a laptop running a pink circle on a blue P5.js canvas. Hand holds Makey Makey while the laptop screen shows a dark canvas with a glowing amber ripple. Hand holds Makey Makey as the laptop displays a white flat card shape rotating in 3D space. Laptop shows a pale torus with ribbon confetti flying outward, Makey Makey resting beside it. Hand holds Makey Makey while a pink torus and falling ribbons play on the screen with a mic button visible.
Sketch1 simple — a single circle shifts through five pastel ice cream colours each time a key is pressed. Sketch2 simple — a soft glow circle moves across a dark background and pulses in scale as each arrow key is held. Sketch3 simple — a mint-coloured 3D torus rotates slowly and changes tube thickness with every key press. Sketch4 simple — a camera orbits a pastel torus in 3D space, changing colour and tube size with each key. Sketch5 simple — a torus spins inside falling ribbons while glowing particles burst outward when the camera moves.
Laptop screen shows code on the left and a pink circle on a blue canvas on the right, Makey Makey arrows pointed up. Laptop shows a dark canvas with warm golden concentric ripple rings expanding outward, Makey Makey in hand. Laptop displays a white diagonal flat plane rotating in WEBGL 3D space, Makey Makey held sideways. Code editor fills the left panel while a partial torus result is visible in the P5.js preview window. Laptop shows a pink torus surrounded by scattered ribbon confetti, Makey Makey connected via red cable.
Code editor shows a particle system sketch with gravity and wind variables declared at the top. Code editor displays a keyDown function with RGB colour-shift logic mapped to each arrow key. Code editor shows a 3D camera sketch using createCamera and currCamera.move calls for arrow key navigation. Code editor shows a class-based Ribbon particle with reset, update, and display methods for the falling ribbon effect. Code editor shows the final sketch integrating p5.Amplitude, p5.AudioIn, and microphone fade logic for the torus.
Sketch1 final — glowing HSB particles stream from the centre, drifting with gravity and wind on each key press. Sketch2 final — ripple rings radiate outward from the circle's position each time a directional key is pressed. Sketch3 final — the 3D shape morphs between a flat box, a full torus, and a thin ring as keys are pressed. Sketch4 final — the camera flies through a rain of tumbling ice cream coloured ribbon confetti in 3D space. Sketch5 final — the torus breathes in and out with microphone amplitude while ribbons fall and particles trail on movement.
PART 03

Activity 2

The image displays a floral-patterned box connected to the Makey Makey via colored wires resting on a laptop keyboard, using iron wire loops as the five conductive input buttons. The image displays a laptop showing a blank white canvas while the Makey Makey sits beside it with wires spread across the keyboard, testing the initial circuit connection before interaction. The image displays a close-up side view of the floral box top edge showing five iron wire loops pushed vertically through the surface, using bent iron wire as the raised conductive buttons. The image displays a laptop screen showing a white 3D torus ring shape with the Makey Makey and wired interface beside it, confirming the iron wire loops are triggering the sketch correctly. The image displays a hand pressing the iron wire loop buttons on the floral box while a visual response appears on the laptop screen, using iron wire and copper tape as the conductive trigger system. The image displays a flat white paper card with five pencil-drawn directional arrow symbols and alligator clips clamped onto the heavily shaded graphite areas. The image displays a laptop showing a white tilted flat plane rotating in 3D space with the pencil-drawn arrow card placed below. The image displays the pencil arrow card lying flat beside the Makey Makey board with a 3D torus visible on the laptop screen. The image displays a close-up of the pencil-drawn card showing five directional arrow shapes with alligator clips biting into the thickest graphite-filled areas. The image displays a hand touching the pencil-drawn graphite arrow buttons triggering a shifting visual on the laptop screen. The image displays the floral box viewed from a low angle showing iron wire loops along the top and colored wires exiting the front face. The image displays a laptop showing a blank canvas with the floral box interface placed in front of it, testing the wire loop connections before any interaction begins. The image displays the Makey Makey board placed on the desk with five colored alligator clip wires fanning outward. The image displays a top-down view of the blue floral box sitting on the laptop with the Makey Makey positioned below it. The image displays a hand interacting with the floral box interface under warm lamp light, pressing the wire loop buttons. The image displays the yellow Hungry Panda takeout box with copper tape strips arranged in a directional cross pattern and alligator clips attached at each end. The image displays a laptop screen showing a dark canvas with a small glowing amber dot while the yellow copper tape box sits connected below. The image displays a top-down view of the Makey Makey board with multiple colored alligator clip wires spreading outward toward the yellow box interface. The image displays the yellow box viewed from above with the copper tape cross pattern visible and alligator clips attached at the edges. The image displays a hand pressing the copper tape strips on the yellow box and triggering a glowing dot that shifts color on the dark laptop screen. The image displays the blue floral box lying flat showing five copper tape strips each topped with a circular magnet aligned in a row. The image displays a laptop showing a dark canvas with a blue glowing circle while the blue floral box with magnet-topped copper tape buttons sits connected below. The image displays a laptop with tangled colored wires leading to the blue floral box, showing the wiring in progress. The image displays a close side-angle view of the blue floral box showing copper tape strips with circular magnets mounted on top. The image displays a hand pressing the magnet-topped copper tape buttons on a camouflage-patterned box while a warm orange glow pulses on the laptop screen.
PART 04

Project 3

Final Design  ✦

Hypercortisolism

touch is diagnosis  ·  Makey Makey + p5.js Installation

Question 01  ·  Engagement

How did you engage with the project theme?

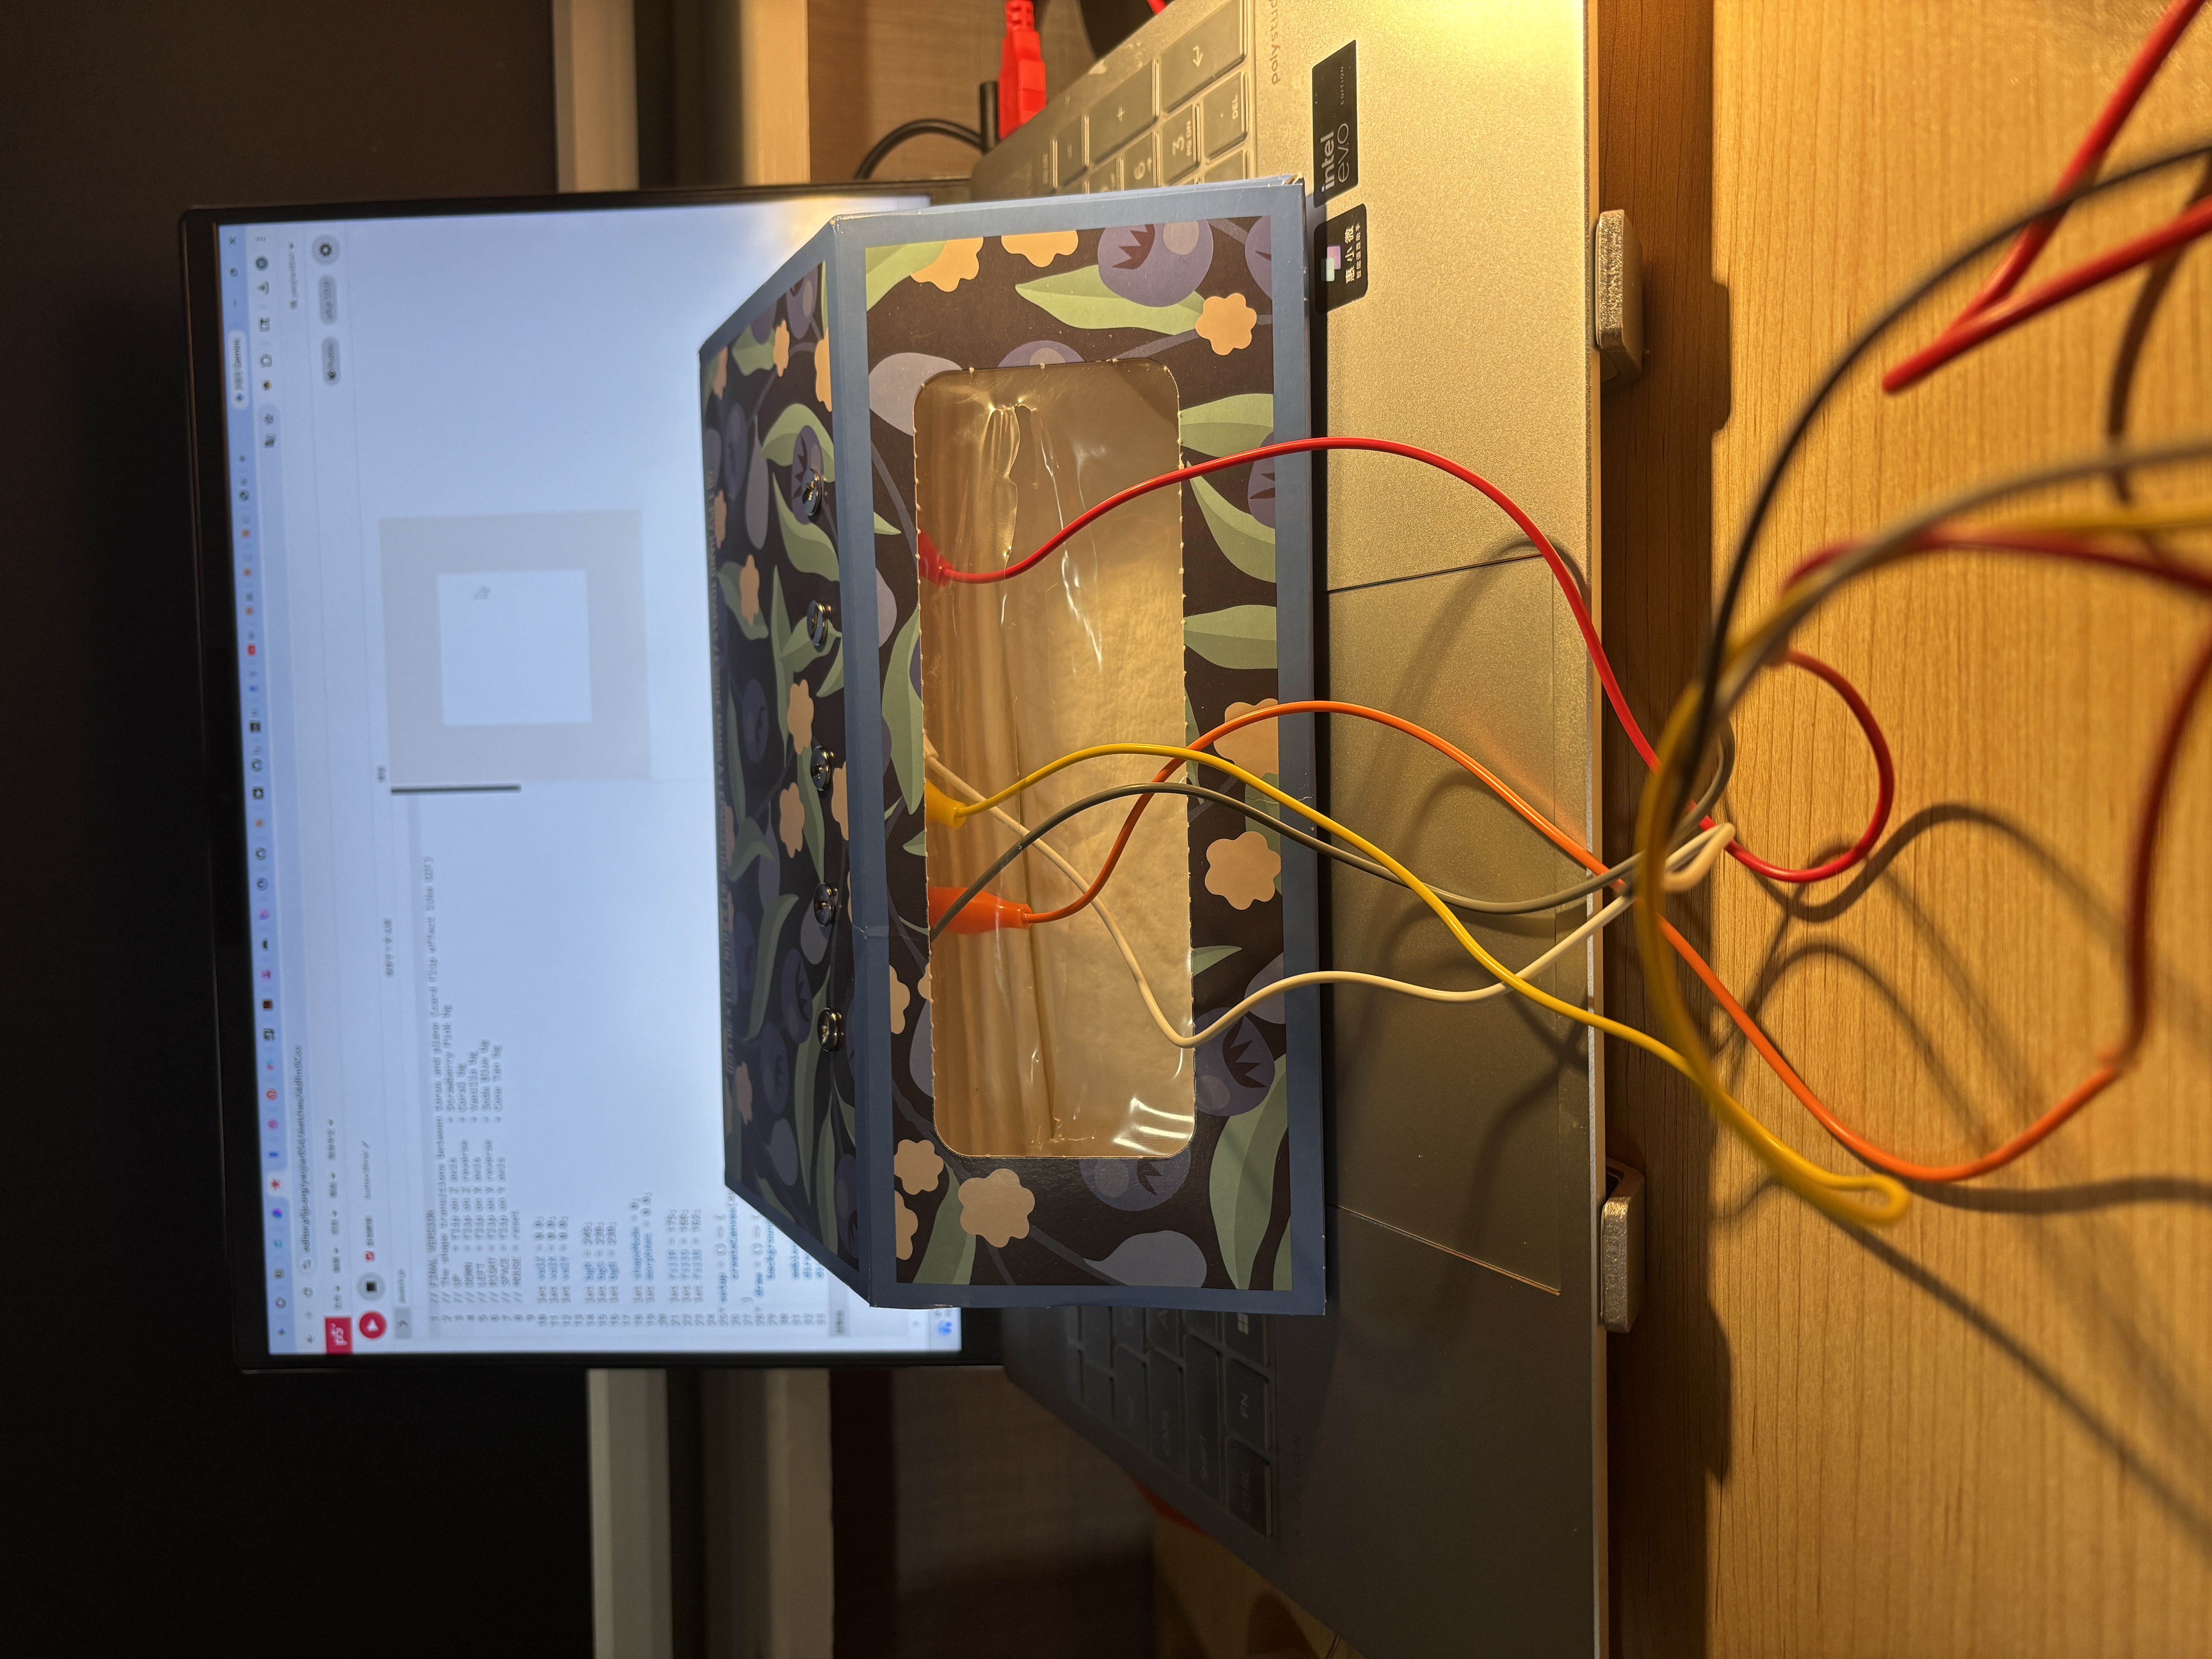
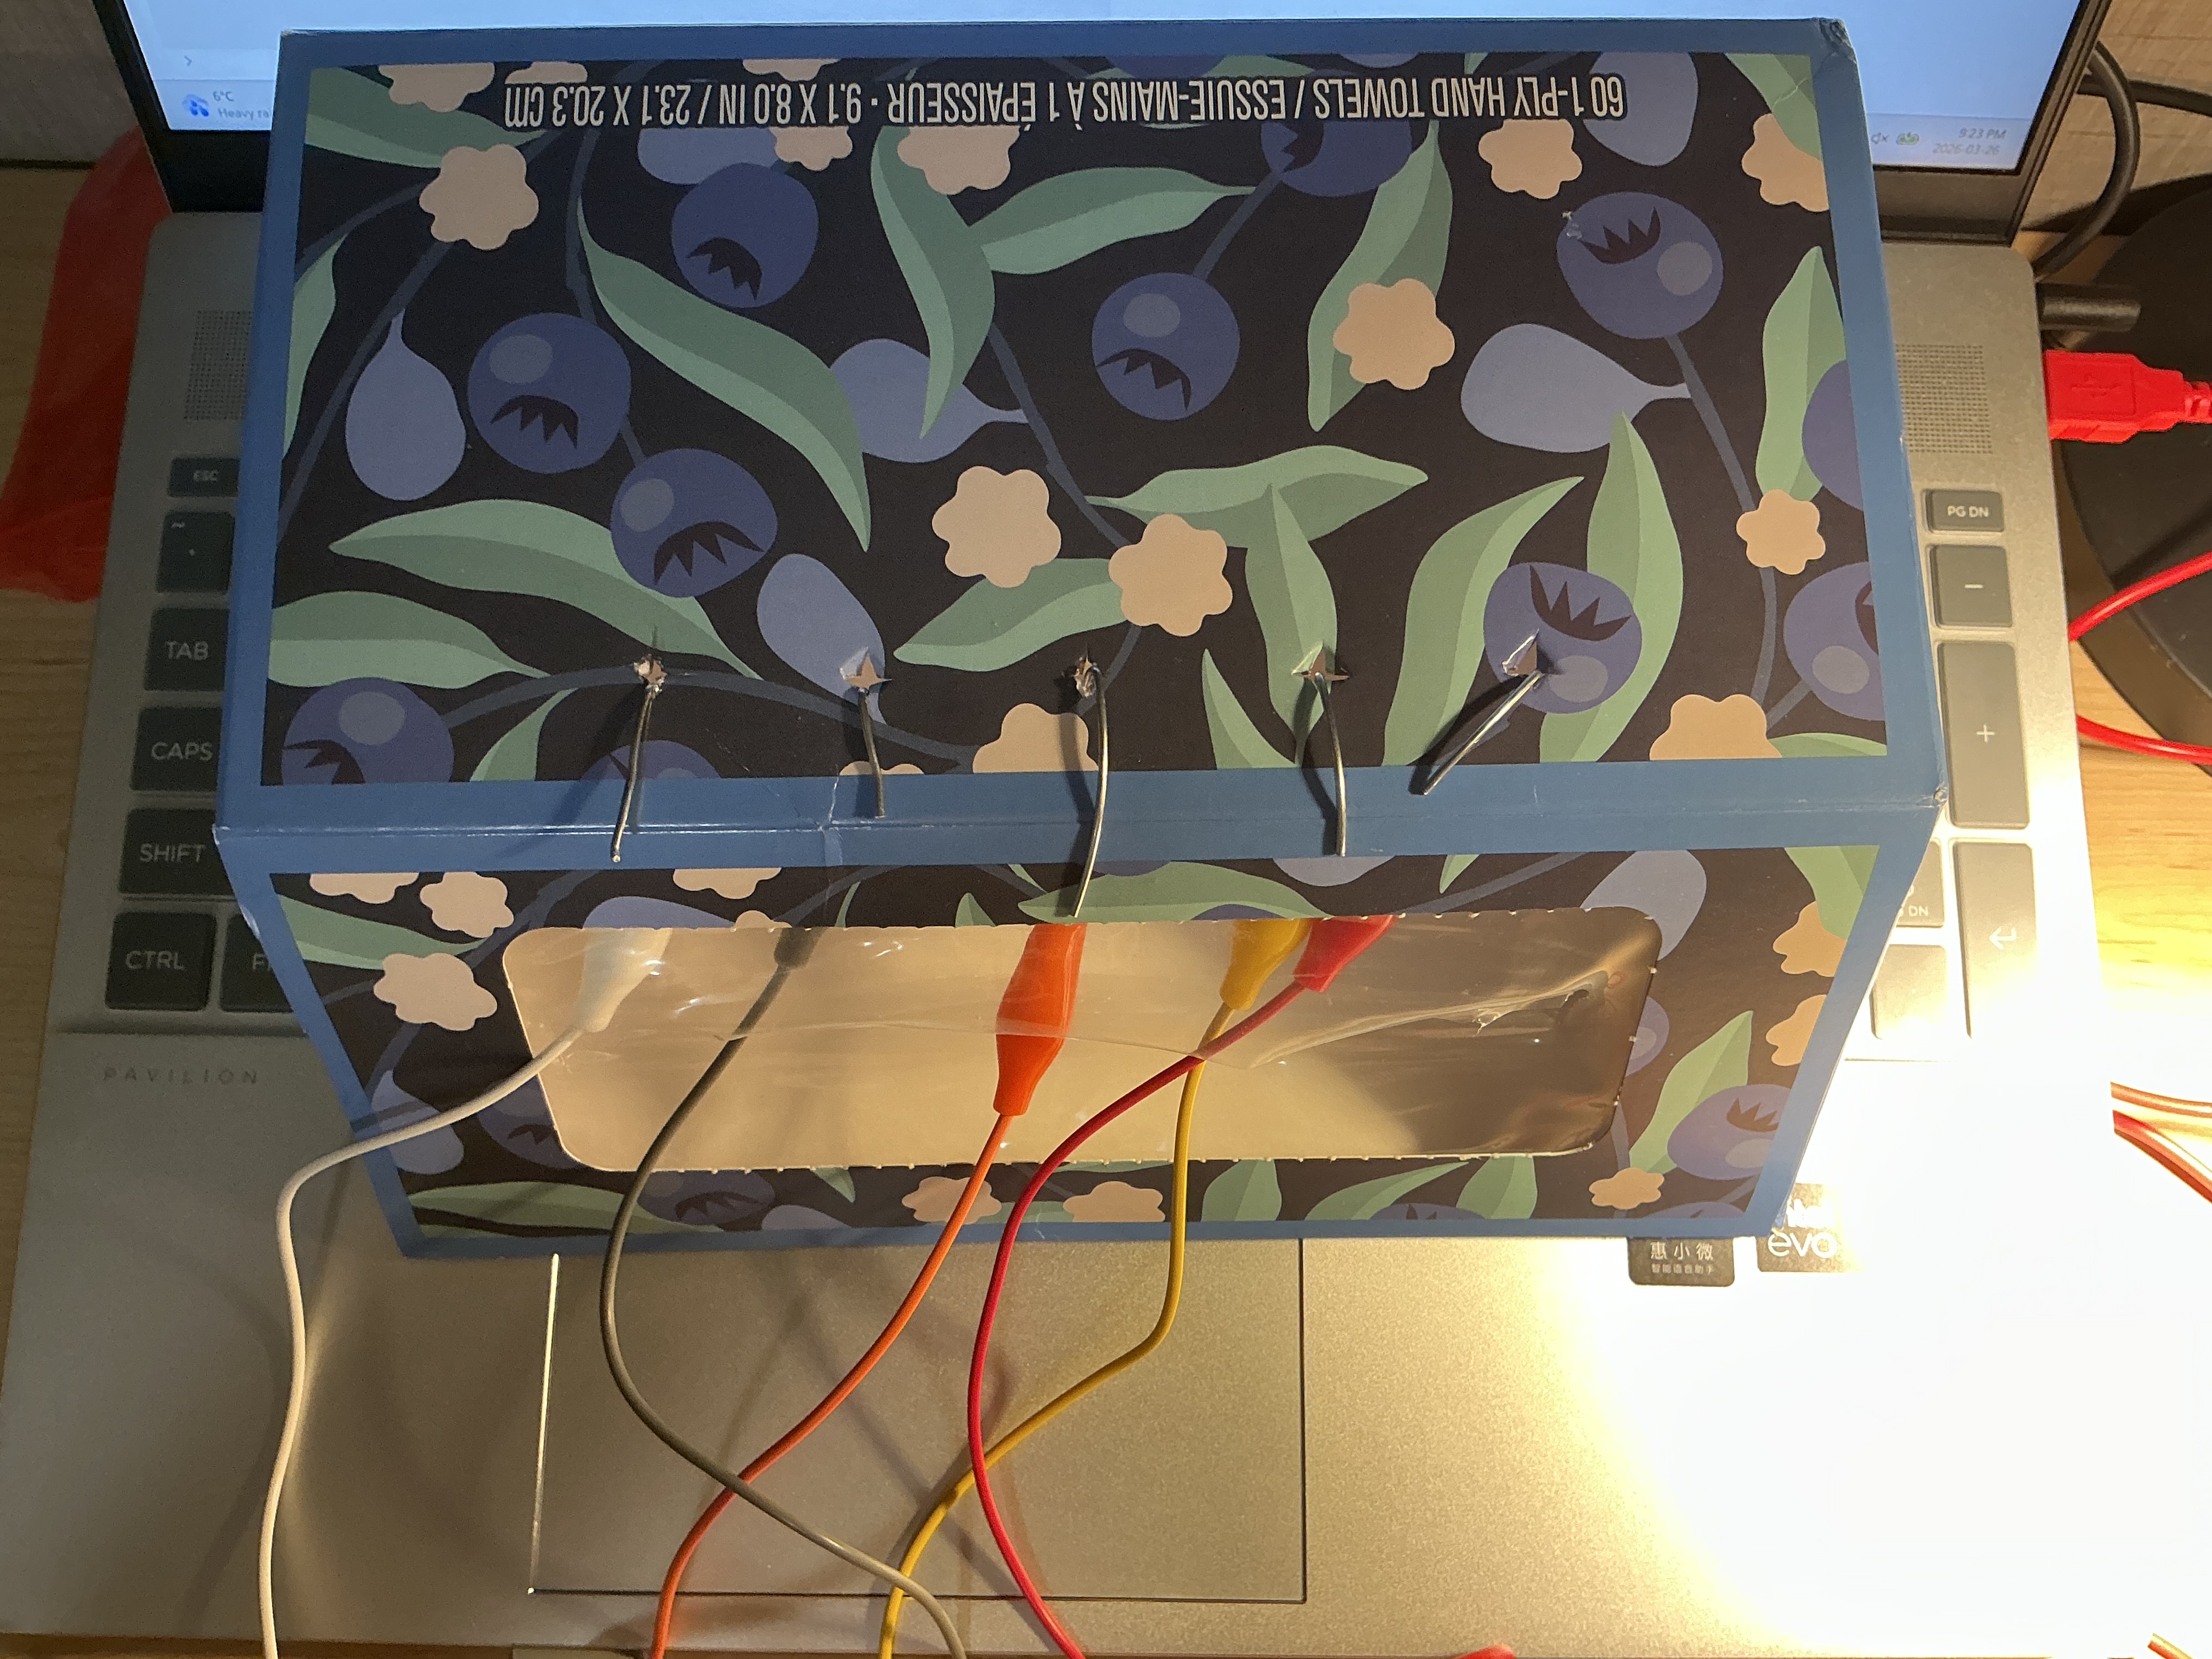
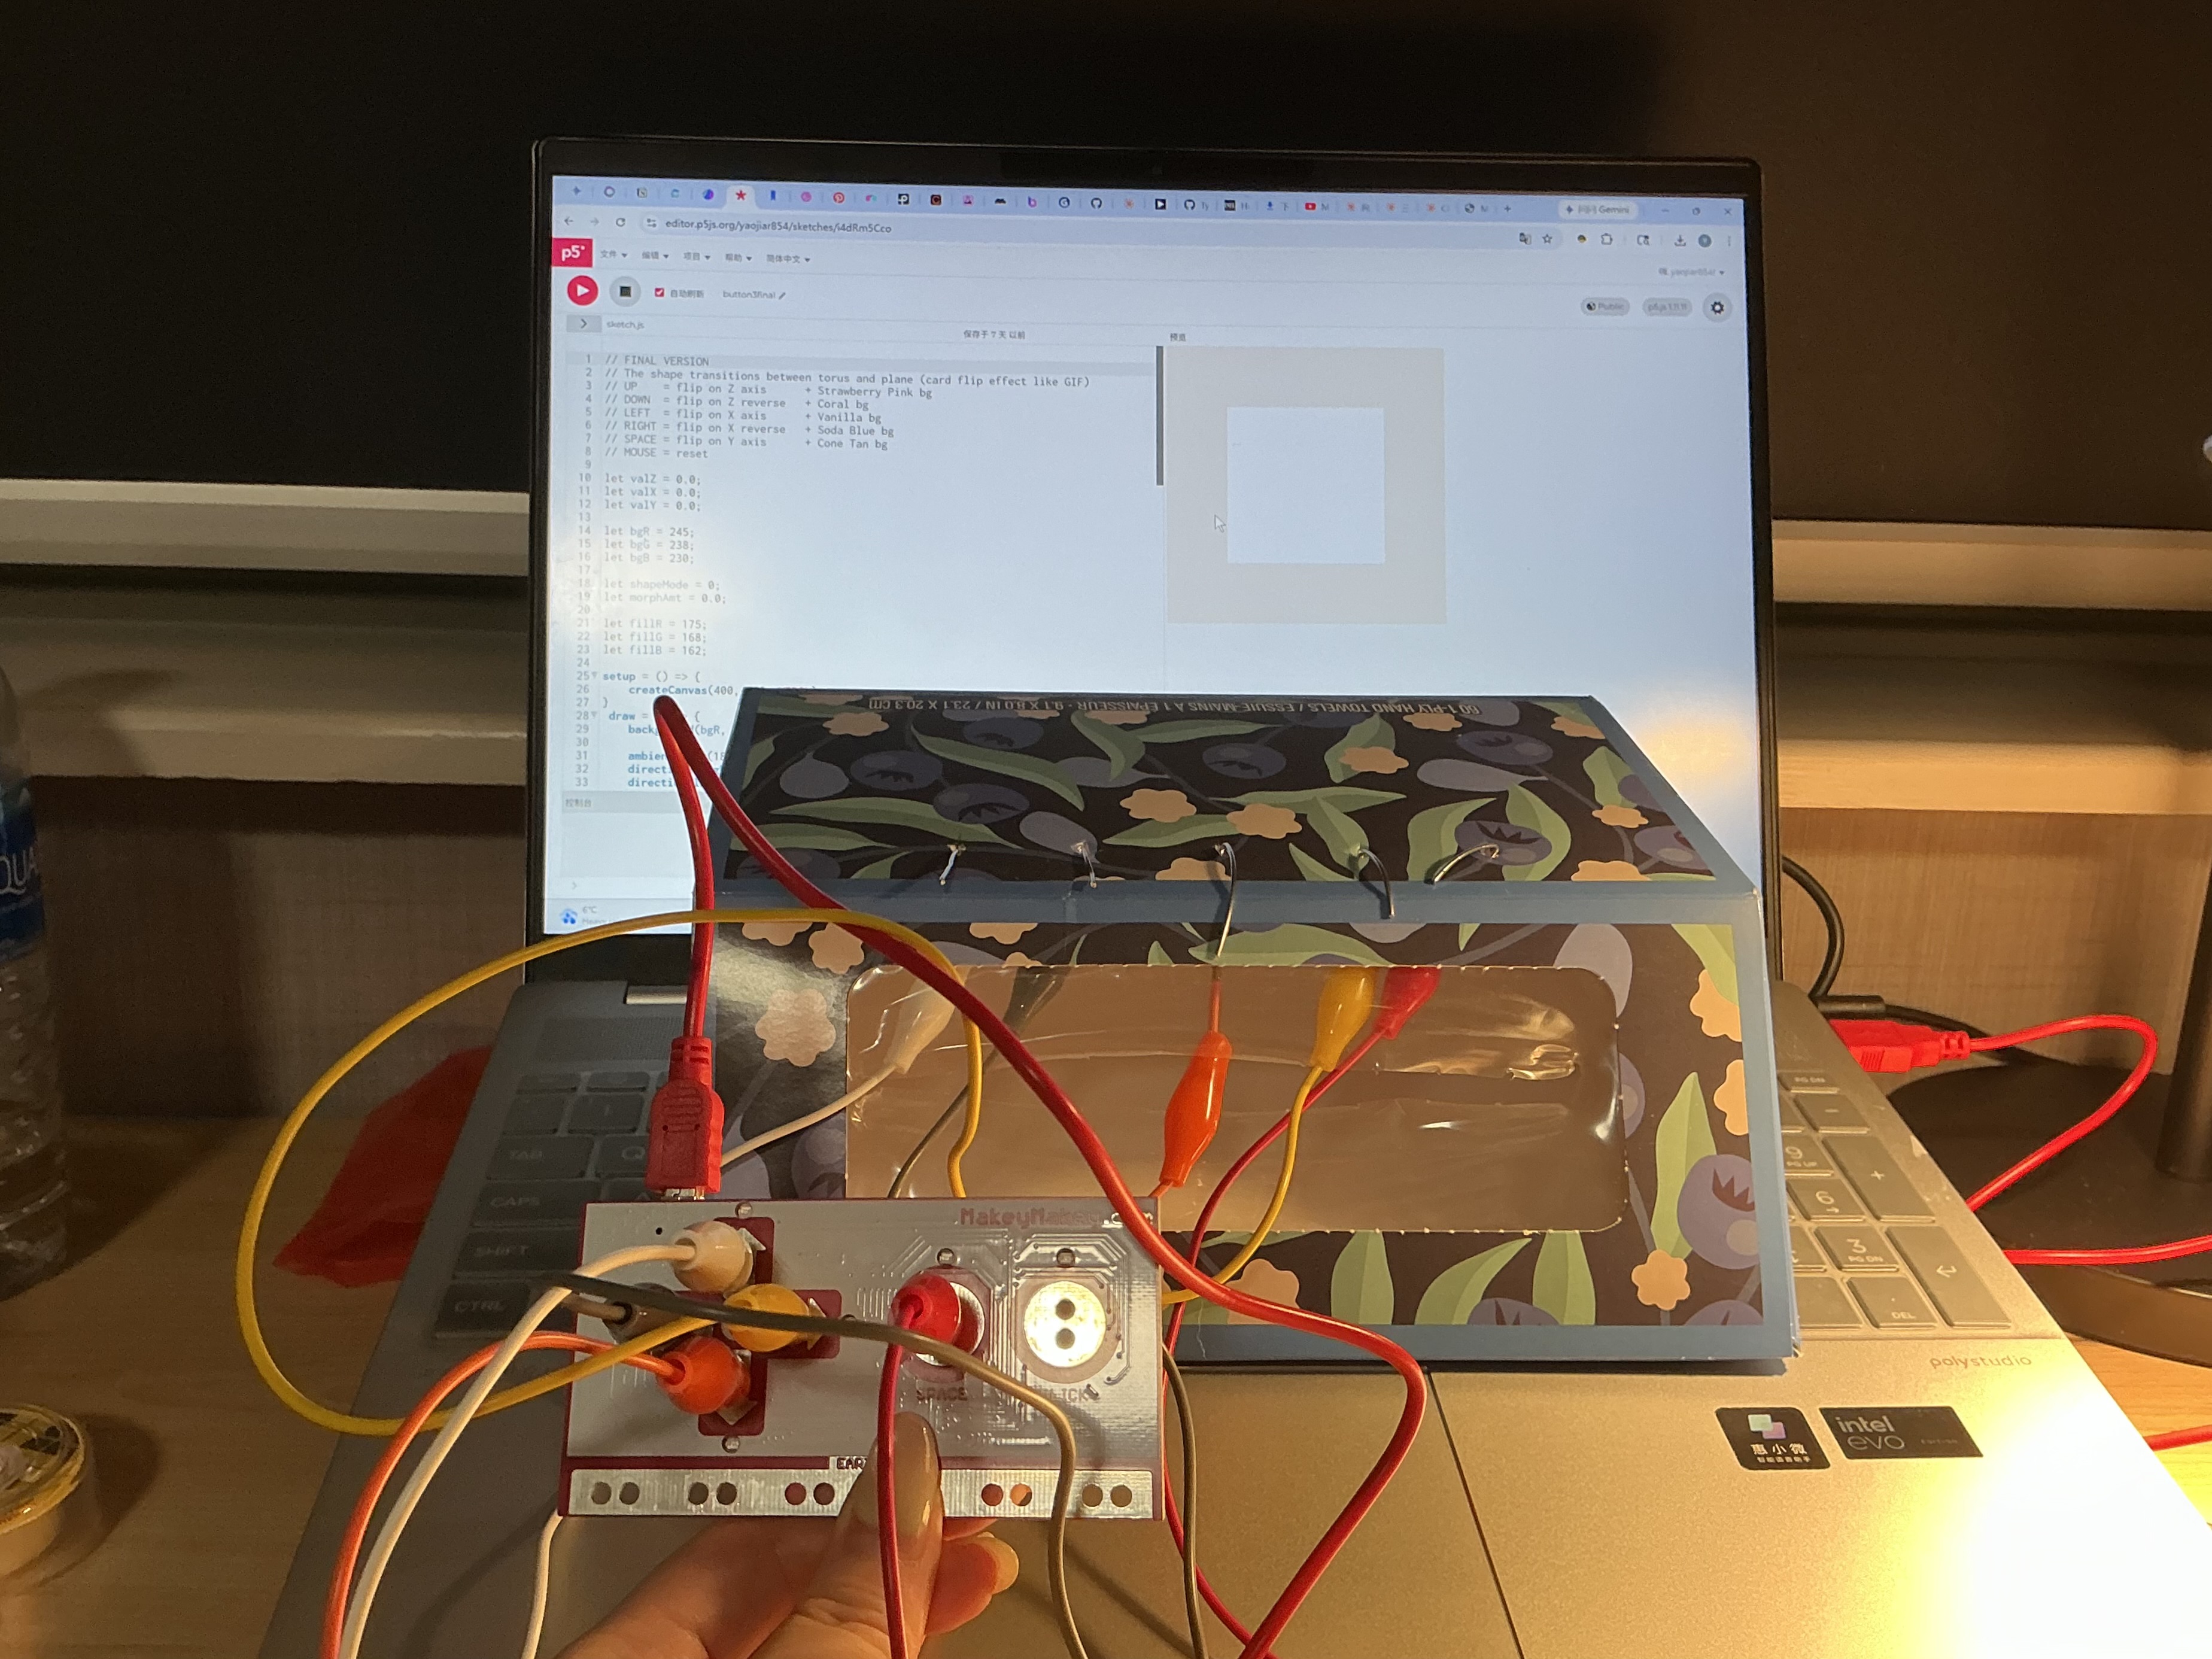
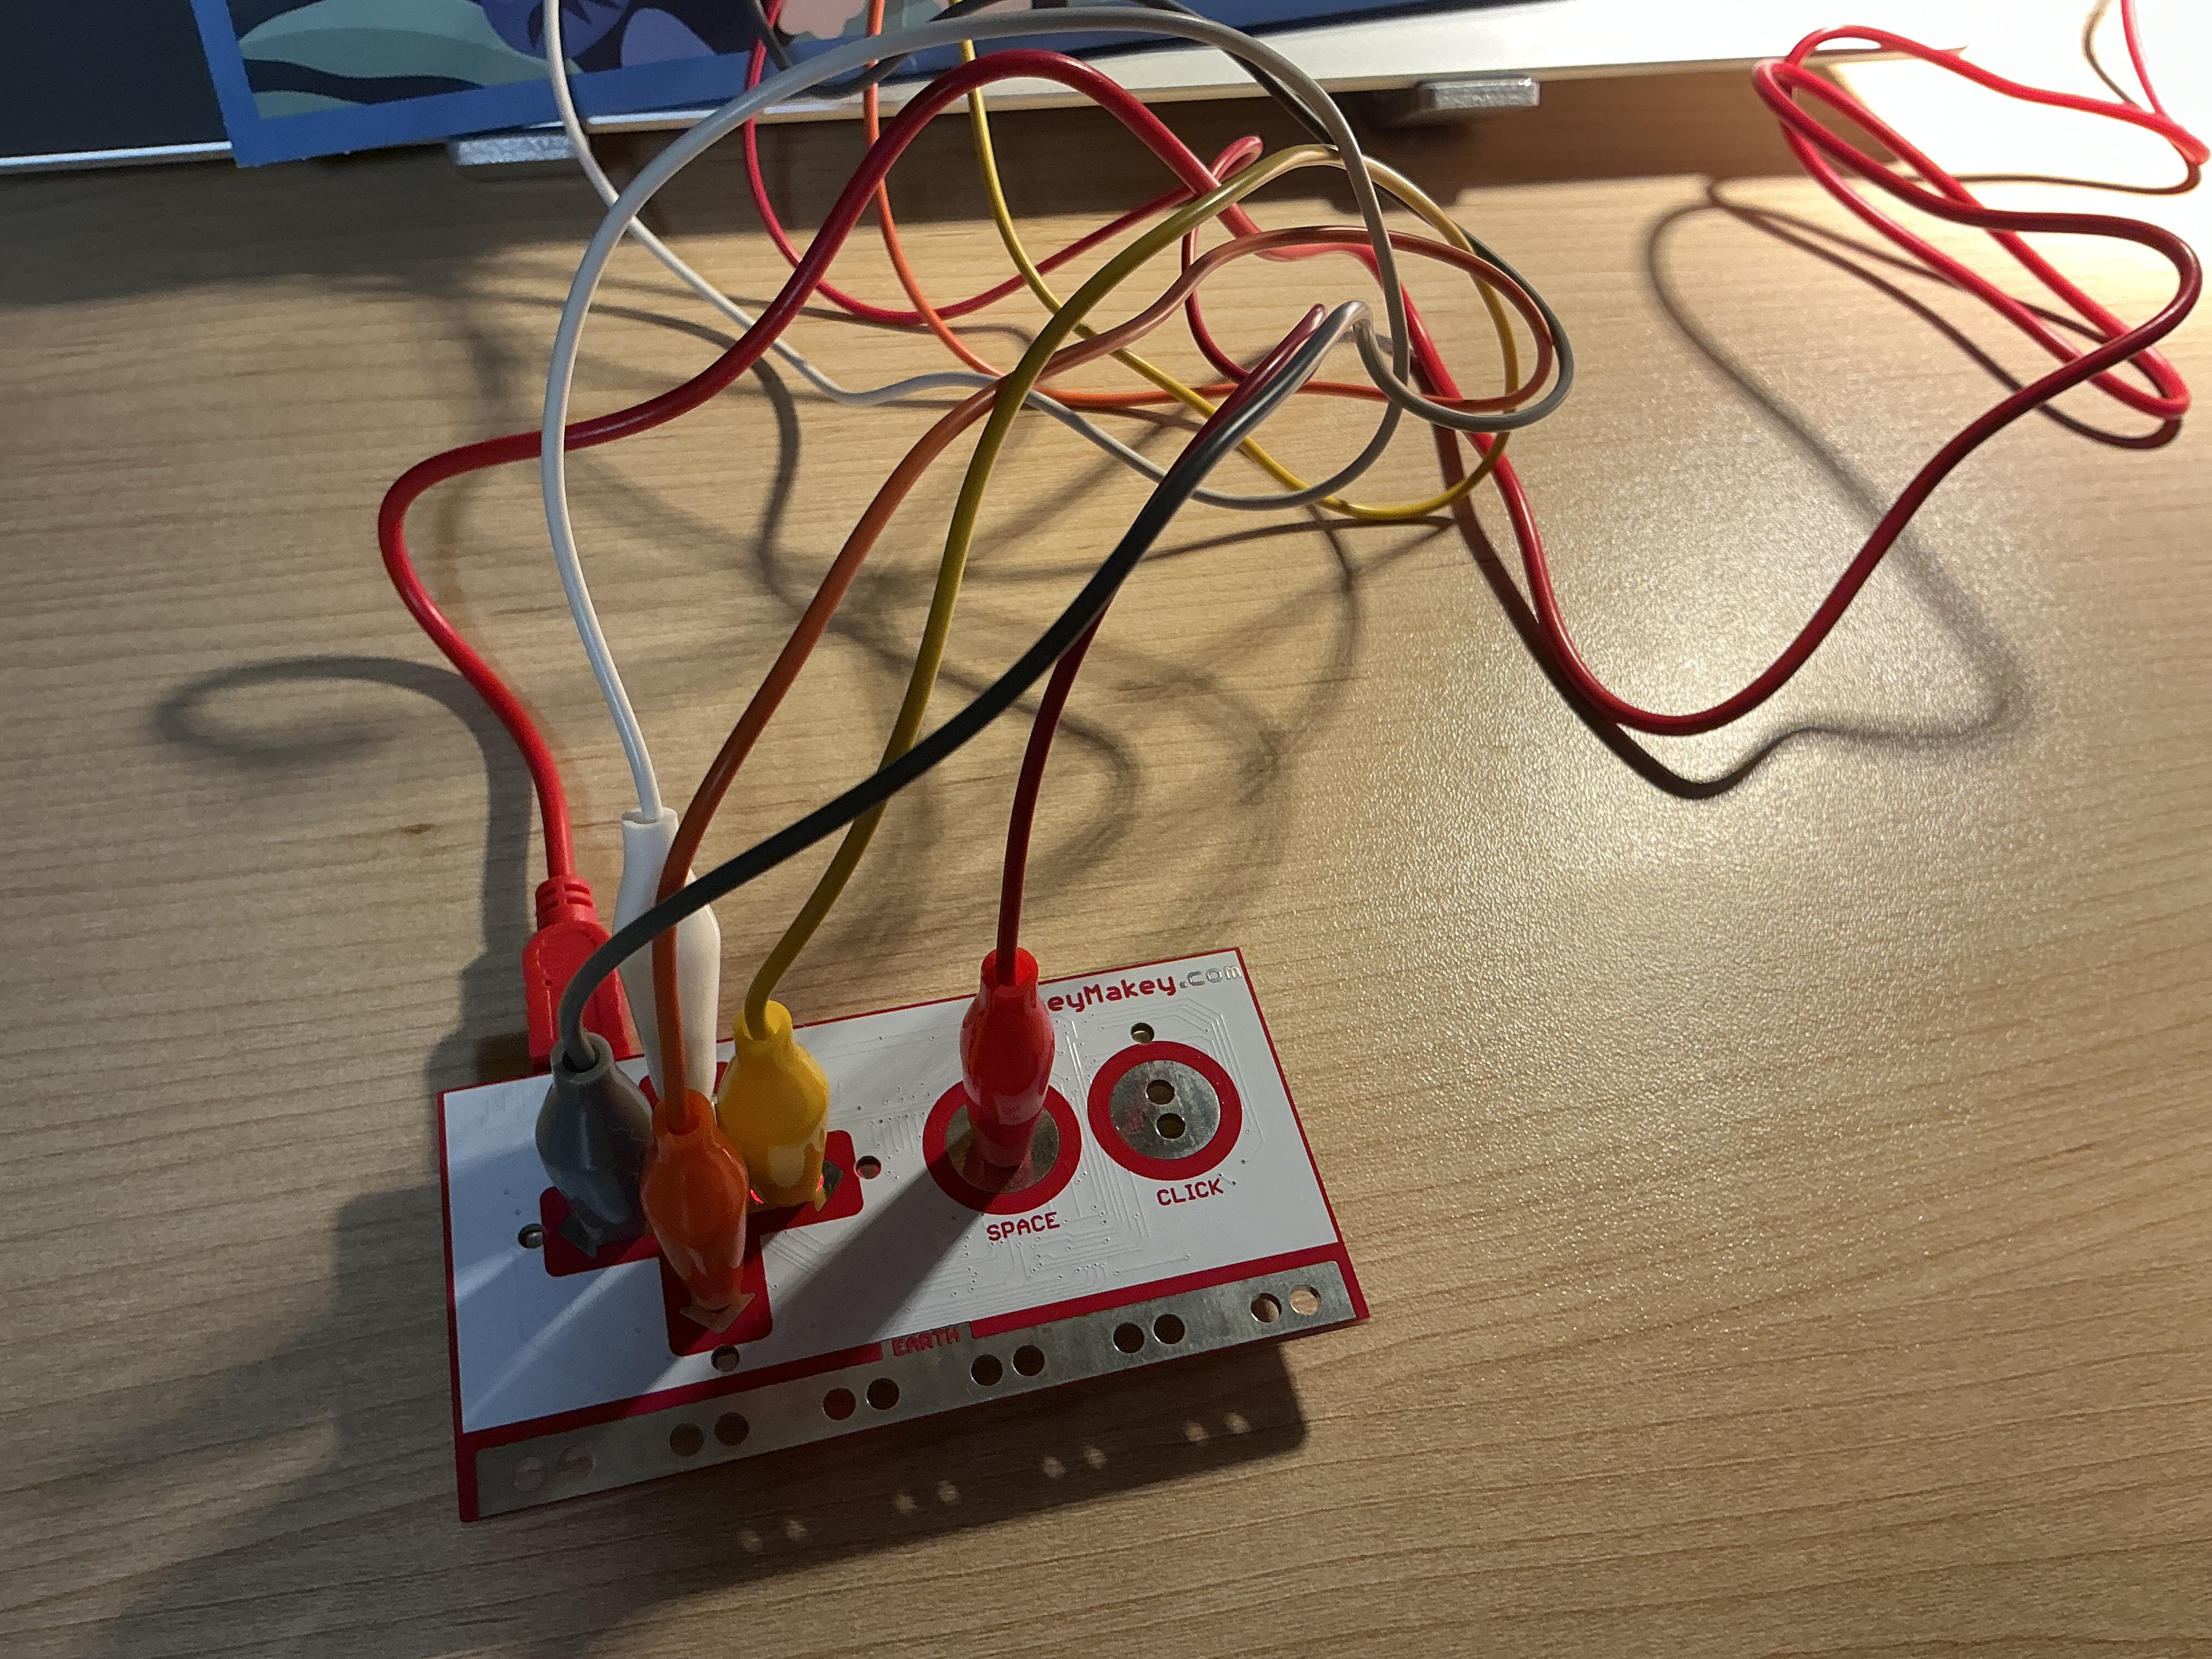
I engaged with the project theme by designing a physical-digital installation called Hypercortisolism, built around the concept that touch is diagnosis. The work was directly inspired by a personal medical event: a clinical diagnosis of dental nerve necrosis caused by stress-induced teeth grinding. That moment made clear that emotional states leave undeniable physical evidence on the body. The installation transforms a Makey Makey controller into a surrogate body — a hand-drawn hexagonal board of wooden tiles, each depicting a biological system affected by chronic cortisol. Participants must hold the HIGH cortisol anchor with one hand while exploring the body map with the other, triggering organ visualizations on an embedded display screen. Five symptoms — cortisol surge, sleepless eyes, bleeding gums, bone loss, and visceral fat growth — are each rendered as a distinct multi-sensory world through p5.js animation and synthesized audio.

Question 02  ·  Success

What was successful?

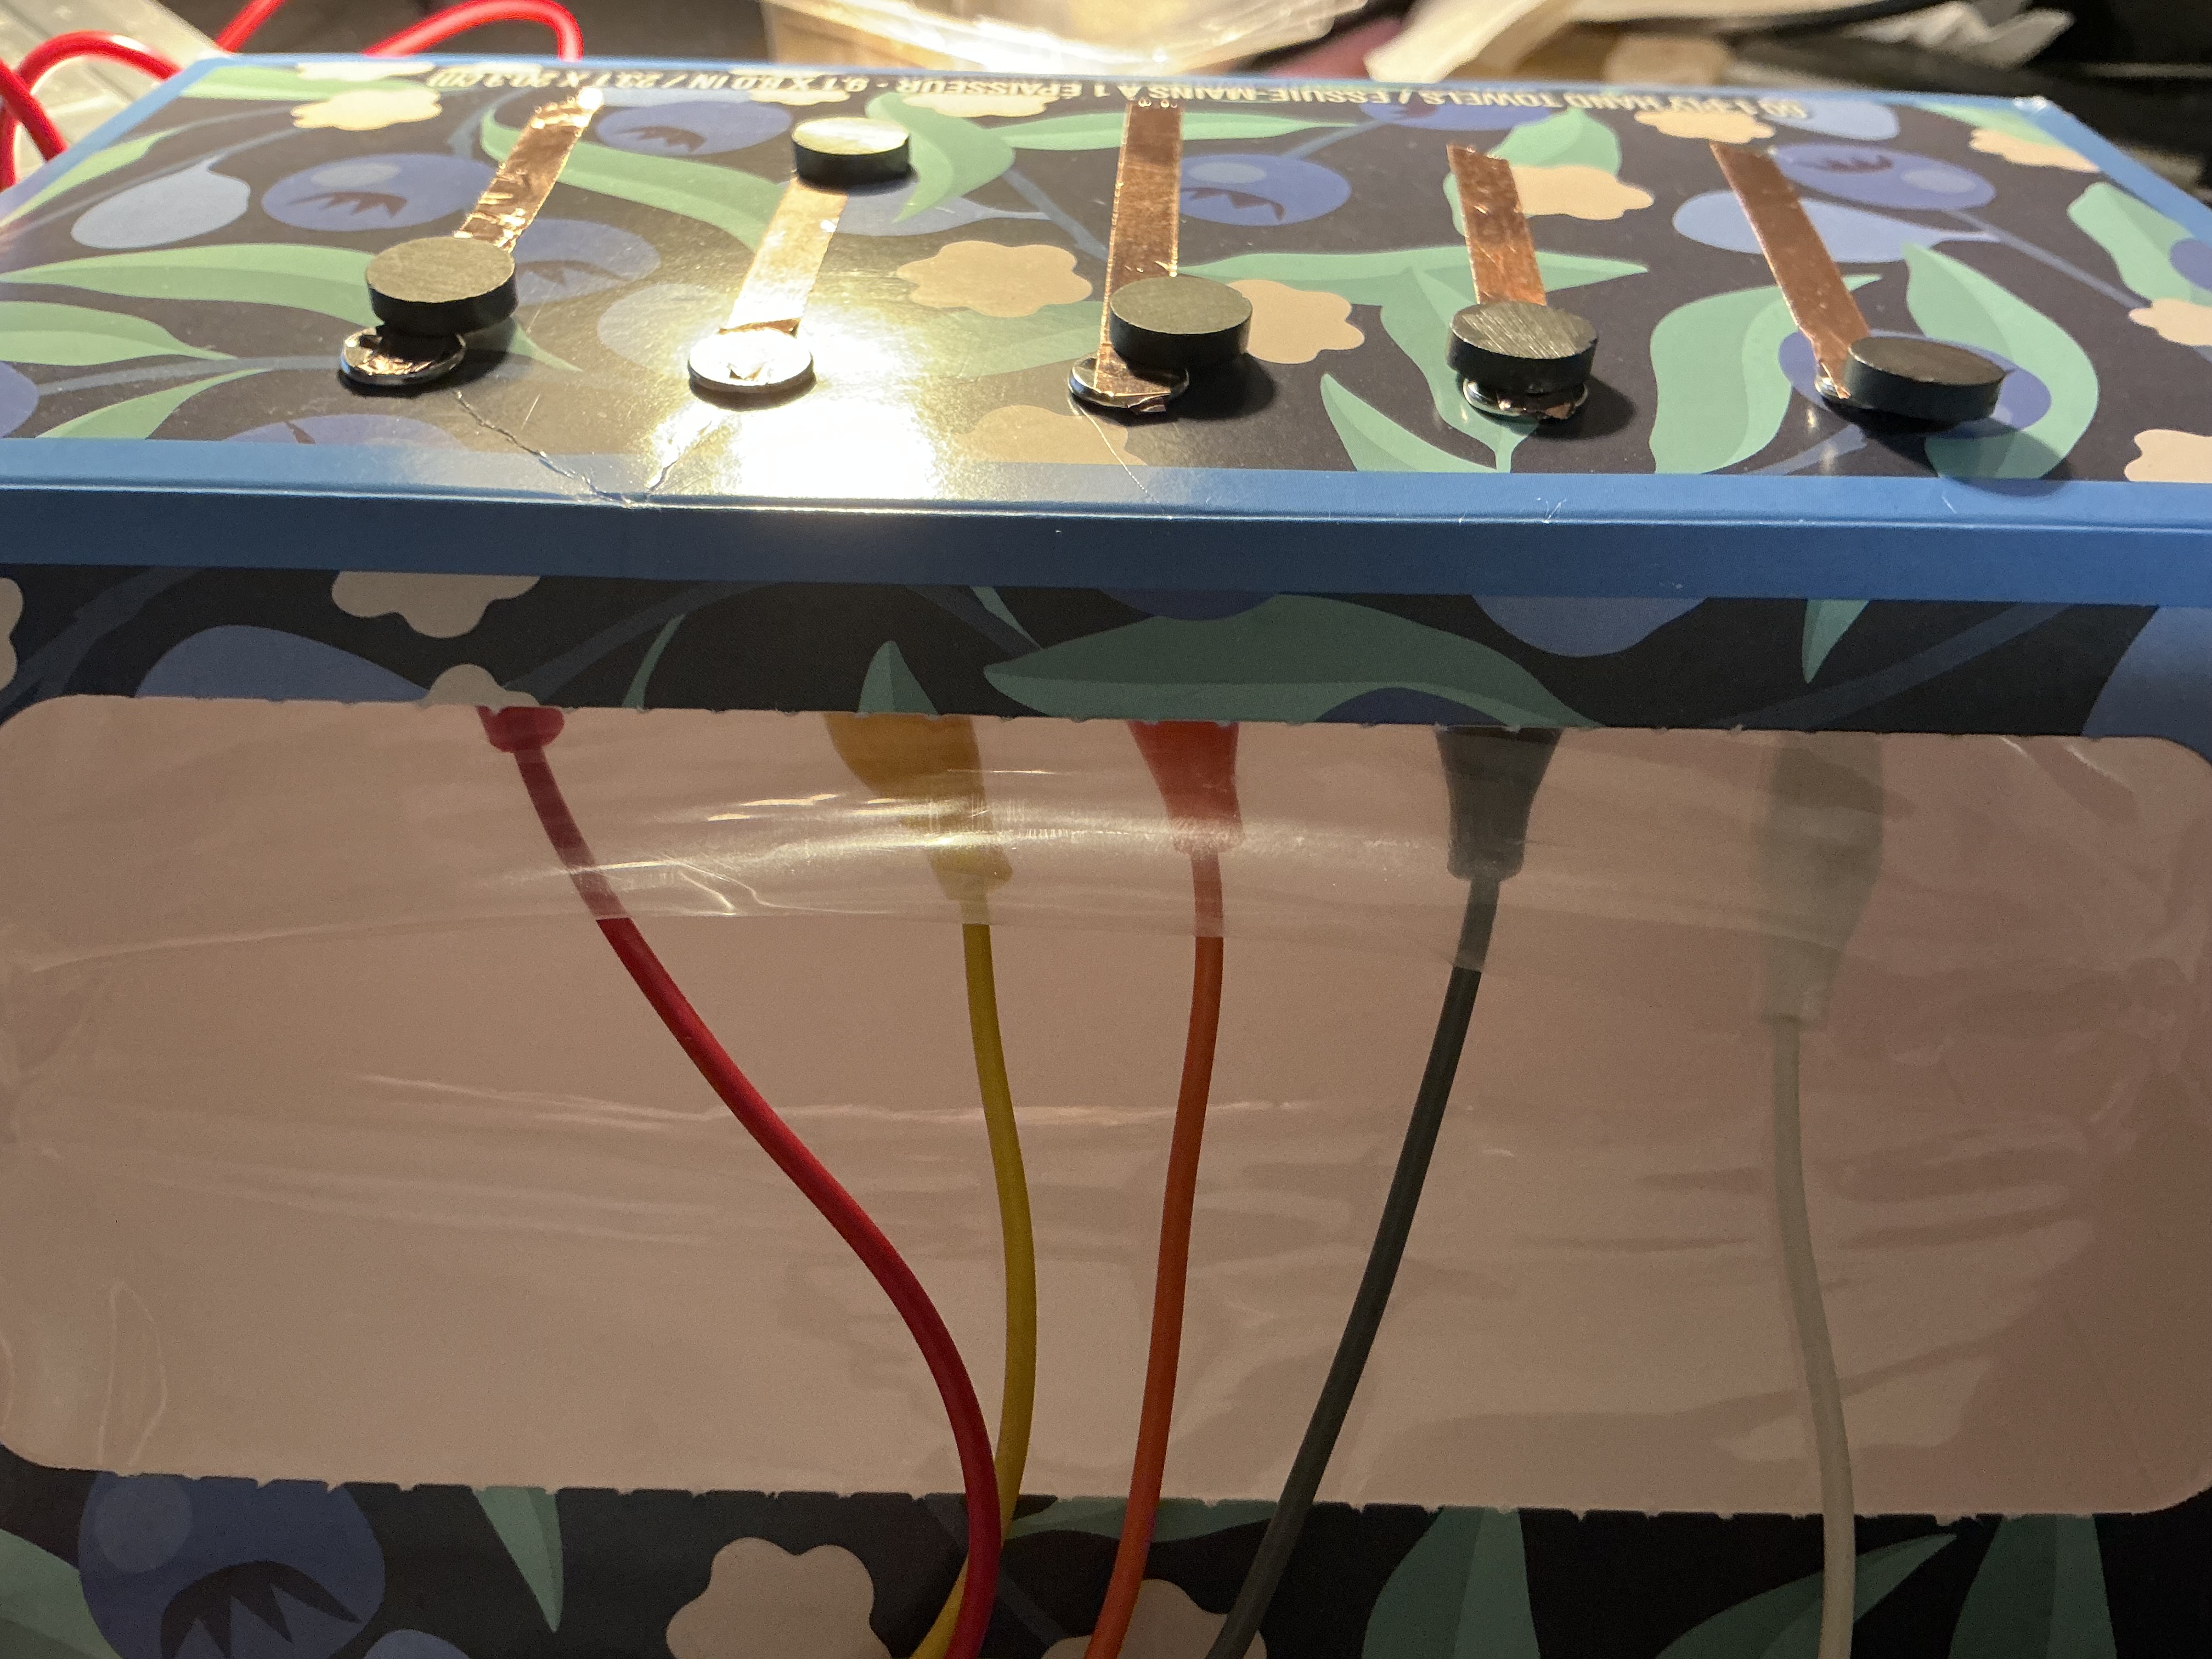
The strongest design decision was transforming the Makey Makey EARTH wire from a technical necessity into a ritual gesture. Requiring participants to hold the HIGH anchor before any system response occurs replicates the sustained physical tension of chronic stress — you cannot passively observe the decay; you must embody it. The concealment-as-design approach, where all trigger wires are hidden inside the box, was equally effective: the clean surface communicates that illness is internal, invisible until named. The addition of a dedicated display screen separated the input surface (the wooden body map) from the output surface (the organ visualizations), making the diagnostic loop spatially complete. The clinical labeling system — pairing sensory names like Brain Fog with medical terms like HPA Axis Dysregulation — successfully balanced emotional accessibility with professional credibility.

Question 03  ·  Challenge

What was challenging?

The most complex technical challenge was the composite rendering architecture. Because each symptom required different visual behavior — the brain needed a WEBGL CT scan, the bone needed persistent 2D particle trails, the tooth needed a static 2D silhouette — a single rendering mode could not serve all five. The solution was a multi-buffer compositing system: separate pgBrain (WEBGL), pgSym (WEBGL), pgFog (2D), pgBone (2D), and pgTooth (2D) graphics objects, each rendered independently and composited onto the main canvas with per-layer tint controls. A second challenge was the tooth geometry — a rotating 3D cylinder had no canonical readable viewing angle. The fix was to abandon 3D entirely and build a 2D bezier silhouette, which became immediately legible as a tooth at any screen size. Audio overlap was a third challenge: deleting an oscillator before its fade completed caused glitches. A stoppingOsc Set blocking re-creation during the 400ms fade window resolved this cleanly.

Question 04  ·  Research

How did you explore the lecture content?

I drew on six artist references organized into three thematic categories. For Body as Surface, Rafael Lozano-Hemmer's Body Movies (2001) established that the body should be the surface of the artwork rather than a subject on screen — this directly informed the hexagonal body map as the interaction plane. Stelarc's Body as Interface confirmed that the body can be simultaneously subject and sensor, realized here by making the participant's grounded hand the literal completion of the electrical circuit. For Invisible Made Visible, Refik Anadol's Sense of Healing (2023) modeled how biological data — cortisol, bone density — can be transformed into emotional visual material, which the CT brain visualization inherits directly. Sofie Layton's Making the Invisible Visible demonstrated that chronic illness accumulates rather than arrives all at once, justifying the five individually discovered symptoms rather than a single unified display. For Material and Code, Zimoun's cardboard sound installations showed that ordinary materials combined with minimal electronics can achieve profound sensory experience — the restraint of wood, wire, and alligator clips is itself the message. Richard Bourne's Brain Lab on OpenProcessing was a direct code reference: the CT scan layer stack and probe animation were adapted for the brain symptom visual.

Question 05  ·  Reflection

How does this website summarize your work and go beyond activities 1 & 2?

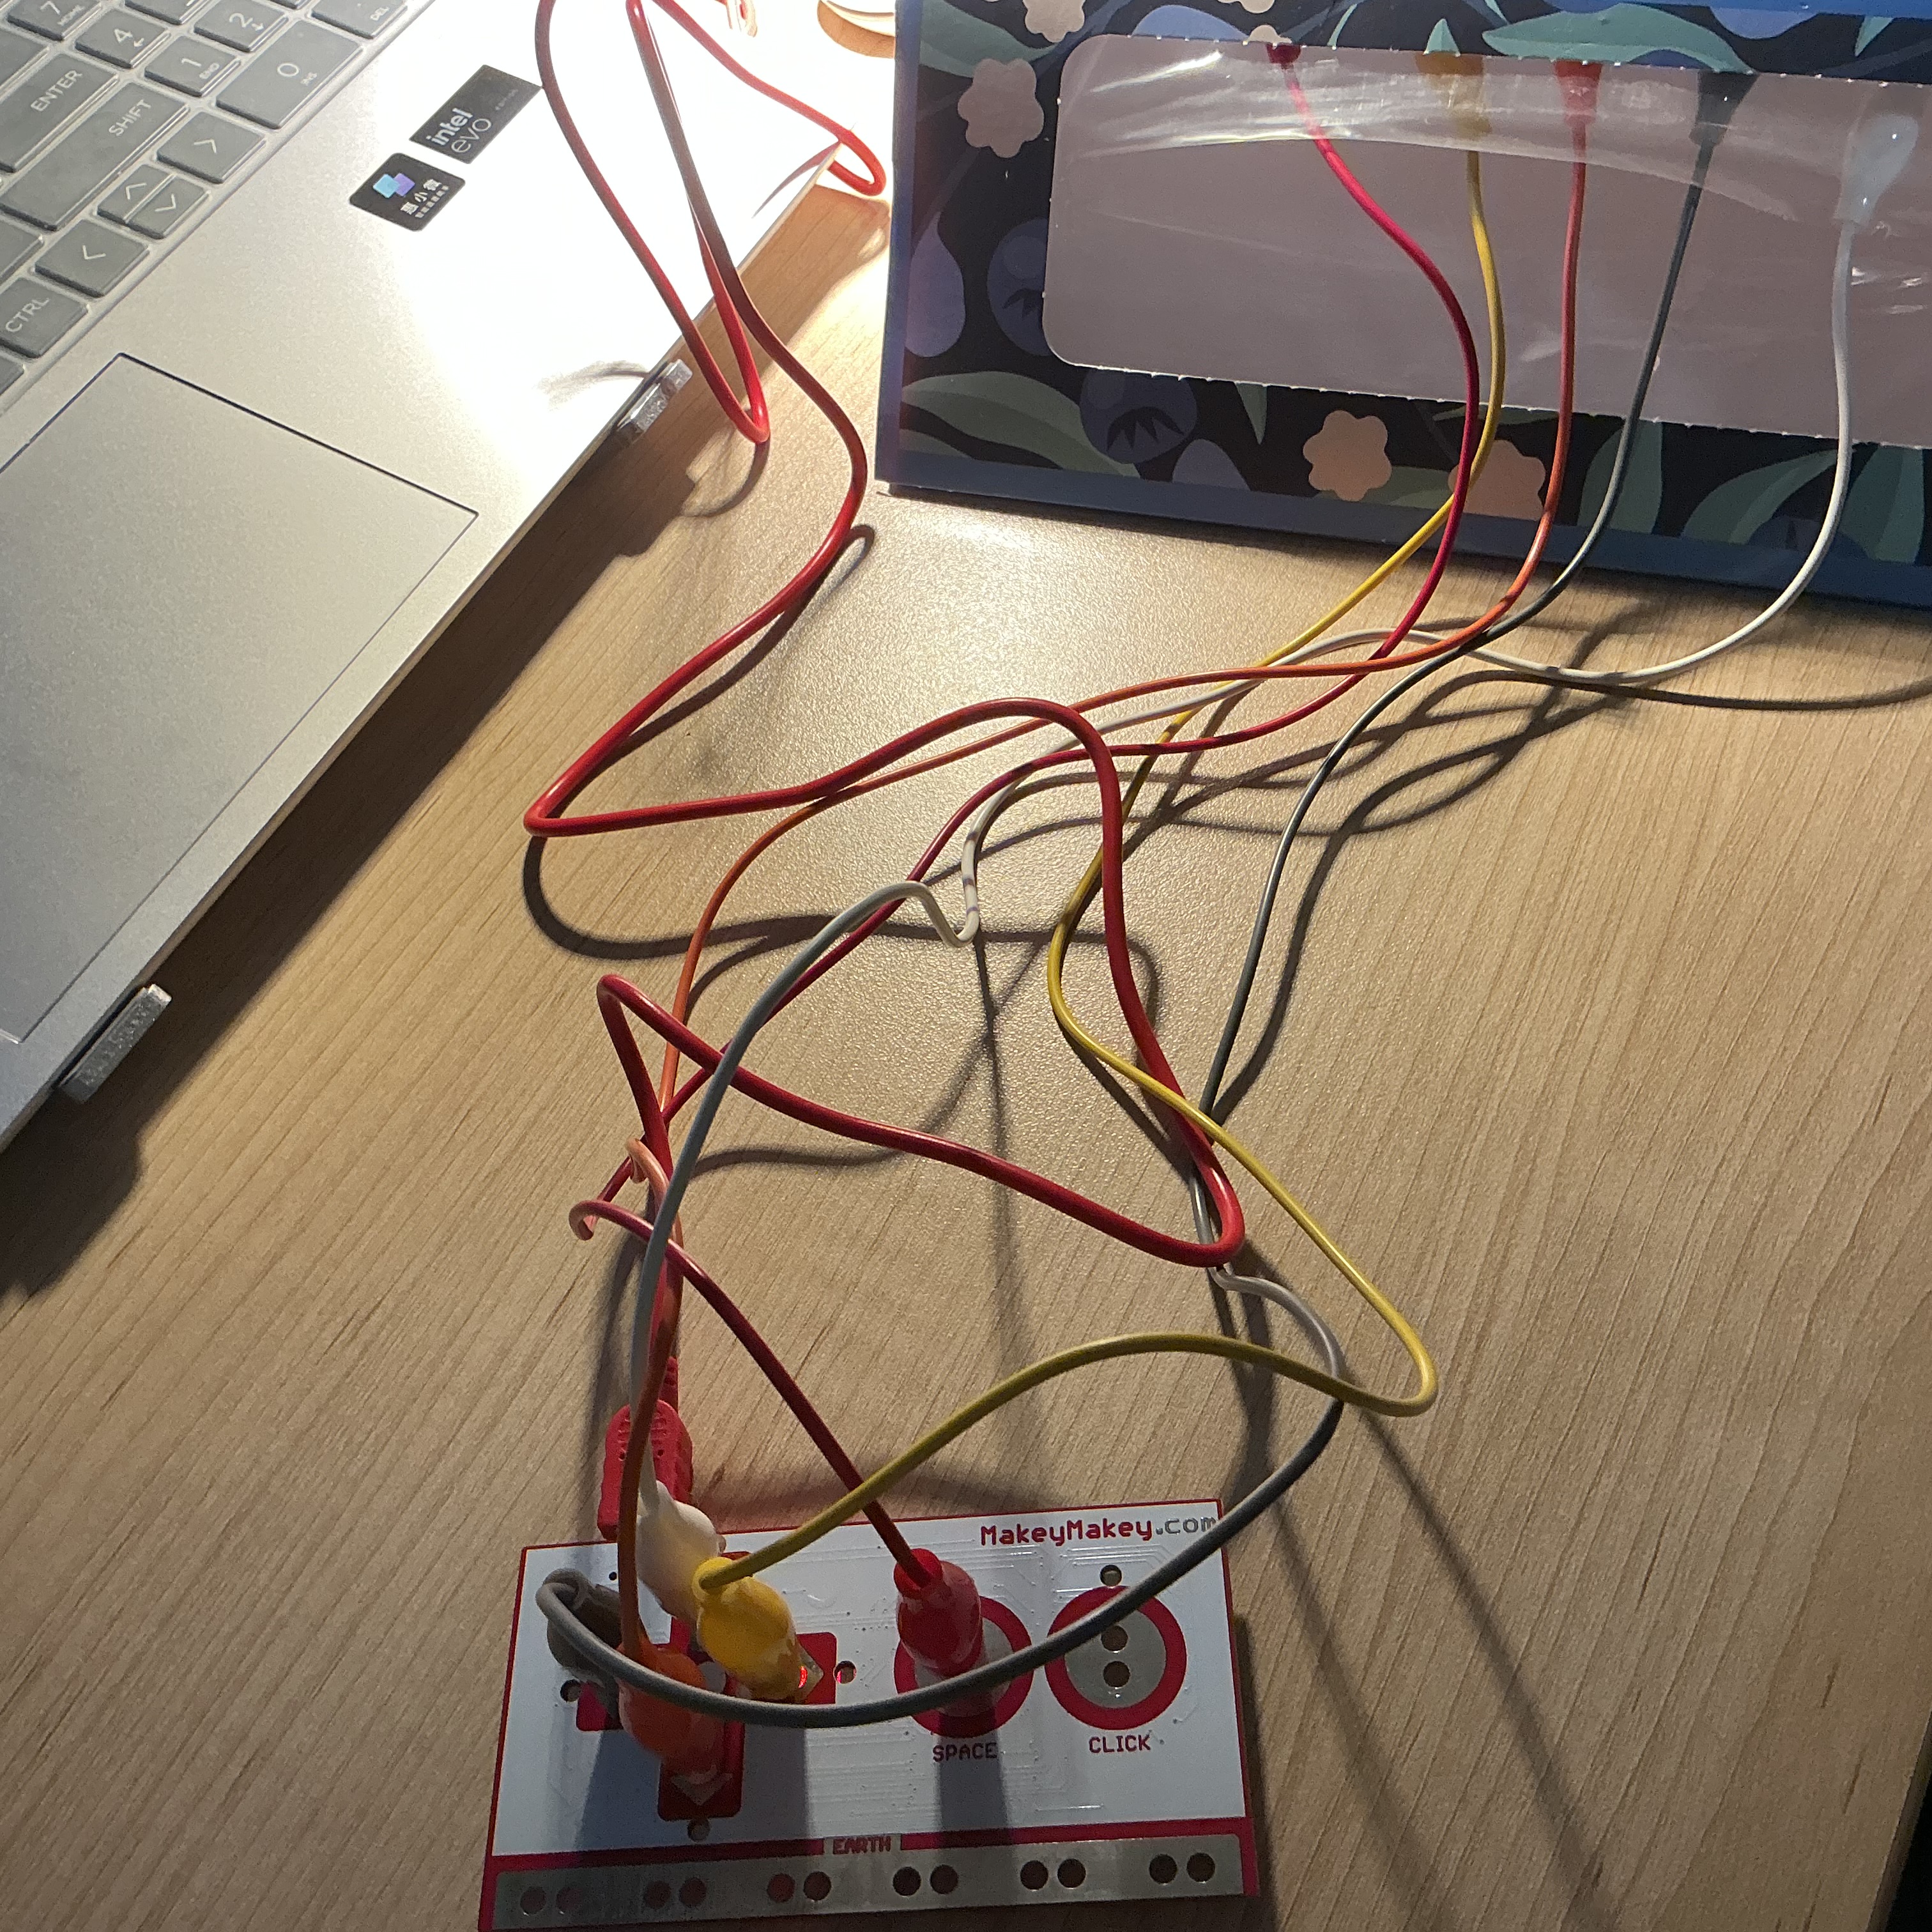
Activity 1 established the five-key Makey Makey constraint as a design prompt — not a limitation — and proved the system was built for physical integration from the first sketch. Activity 2 built three physical fabrication prototypes (iron wire loops, pencil graphite cards, copper tape with magnets), each exploring a different conductive material and spatial relationship between the body and the interface. These two activities converged on a central finding: the most meaningful touch interactions are those that cannot be replicated by a keyboard or screen tap. The final project synthesizes both discoveries into a complete diagnostic experience. It goes beyond the activities by introducing a dedicated display screen as a second spatial layer, clinical medical labeling as a parallel information system, synthesized audio tuned to each organ system, and a public health awareness message triggered when participants recognize their own symptoms. The installation was published as a live web application and embedded into a hand-fabricated physical body-surrogate, making the digital and physical inseparable — diagnosis requires both.

✦   Touch Is Diagnosis — View the Live Installation